
Red Velvet Cheesecake Cake

A decadent red velvet cake layered with a creamy cheesecake center and finished with silky cream cheese frosting—perfect for holidays and celebrations.

This Red Velvet Cheesecake Cake has been my celebratory go-to for years, the sort of dessert that makes people pause mid-conversation and ask for another slice. I first discovered the combination one winter when I wanted a show-stopping holiday cake that felt both familiar and a little indulgent. The red velvet base gives the cake its tender, cocoa-kissed crumb and striking color, while the cheesecake center adds a smooth, tangy contrast that keeps every bite balanced and never too sweet. It slices beautifully and always becomes the centerpiece on my table.
What makes this version special is the attention to texture and temperature: using room-temperature dairy and eggs creates a velvety cheesecake layer that melds into the moist red velvet without sinking or cracking. I learned the layering technique after a few trials, and now the cheesecake bakes into place without spreading into the cake. Family and friends often tell me the cream cheese frosting is the best part, and I agree—light, not overly sweet, and spreadable for clean edges and an elegant finish. This cake is festive, forgiving, and surprisingly simple once you understand the small technical choices that make it sing.
Why You'll Love This Recipe
- Balanced flavors with a moist red velvet base and a tangy, creamy cheesecake center that contrast beautifully rather than compete.
- Uses pantry-friendly ingredients like all-purpose flour, cocoa, and basic dairy items, so you can usually make it without a special shopping trip.
- Beginner-friendly techniques: no water bath, no complicated tempering—just careful layering and room-temperature ingredients for success.
- Ready to bake in about 25 minutes of hands-on time and 30 to 35 minutes in the oven; total cake time under 2 hours including cooling.
- Make-ahead friendly: bake the cake a day ahead and frost the next day for cleaner slicing and deeper flavor development.
- Decorates easily—top with seasonal sprinkles or fresh berries for holiday or party presentation.
In my house this cake always draws a crowd. I remember bringing it to a winter potluck where neighbors asked for the recipe, then came back the next week to borrow my cake pan so they could try it themselves. Little moments like that—someone savoring the tang of the cheesecake center against the soft cocoa crumb—are why I keep making it.
Ingredients
- Cheesecake Layer: 12 ounces cream cheese at room temperature, beaten until smooth; this ensures a silky center without lumps. Full-fat cream cheese gives the best texture and flavor. If you prefer lighter, use a reputable brand of reduced-fat cream cheese, but expect a slightly softer set.
- Sugar and Flour: 1/4 cup granulated sugar for the cheesecake and 1 tablespoon all-purpose flour to help stabilize the filling so it bakes firm without cracking.
- Vanilla and Egg: 1 teaspoon pure vanilla extract and 1 large egg at room temperature; the egg adds structure and a custardy richness to the filling.
- Red Velvet Base: 3 cups all-purpose flour and 1/4 cup unsweetened Dutch-process cocoa powder for a smooth, mellow chocolate note without bitterness. Choose a reliable brand of cocoa for best color and flavor.
- Leaveners and Salt: 2 teaspoons baking powder, 1 teaspoon baking soda, and 1 teaspoon salt to ensure an even rise and balanced taste.
- Fats and Sugars: 1 cup neutral oil (canola or vegetable) and 1 1/2 cups granulated sugar keep the crumb tender and moist. Oil maintains softness even after refrigeration.
- Acidic Reactors: 1 teaspoon white vinegar and 1 cup buttermilk—these react with the baking soda for lift and provide the characteristic tang of red velvet.
- Dairy and Eggs: 3 large eggs, room temperature, and 3/4 cup sour cream or Greek yogurt for richness and a slightly tangy crumb.
- Color: 1 teaspoon red gel food coloring for an even, vivid hue without watering down the batter. Gel is best for bold color with minimal liquid.
- Cream Cheese Frosting: 4 ounces cream cheese and 1 cup unsalted butter at room temperature, 3 cups sifted powdered sugar, and 1 teaspoon pure vanilla extract to create a classic, silky frosting that spreads cleanly and isn’t overly sweet.
Instructions
Prepare the Cheesecake Layer: In a medium bowl, beat 12 ounces room-temperature cream cheese with 1/4 cup granulated sugar on high for 1 minute until completely smooth and lump-free. Add 1 tablespoon all-purpose flour and 1 teaspoon pure vanilla extract; mix on medium until combined. Add 1 large egg and mix on low speed just until incorporated—overbeating can add air and cause cracking while baking. Set the filling aside and do not refrigerate; room temperature keeps it pourable for layering. Preheat and Prepare Pan: Preheat the oven to 350 degrees F (175 degrees C). Spray a 9 by 9-inch baking pan with nonstick spray, line the bottom with parchment paper, and spray again. This double layer of release protection makes it simple to lift the cake cleanly from the pan after baking. Use a light coat; excess oil can cause uneven browning. Mix Dry Ingredients: In a medium bowl, whisk together 3 cups all-purpose flour, 1/4 cup Dutch-process cocoa powder, 2 teaspoons baking powder, 1 teaspoon baking soda, and 1 teaspoon salt until evenly blended. Sifting the cocoa helps avoid clumps and gives a more even color in the final crumb. Combine Wet Ingredients: In a large mixing bowl, whisk 1 cup neutral oil with 1 1/2 cups granulated sugar, 1 teaspoon white vinegar, 3 large eggs, 3/4 cup sour cream or Greek yogurt, 1 cup buttermilk, and 1 teaspoon red gel food coloring until the mixture is smooth and even. The order here helps dissolve the sugar and integrates the wet ingredients so the batter is uniform before folding in dry ingredients. Incorporate Dry Ingredients: Gently fold the dry ingredients into the wet mixture using a rubber spatula. Fold until just combined; overmixing develops gluten and can tighten the crumb. Stop mixing when you no longer see streaks of flour. The batter should be pourable but thick enough to hold shape when spread. Layer the Batter: Spoon half of the red velvet batter into the prepared pan and spread it into an even layer. Dollop the cheesecake batter over the red velvet using a spoon or small cookie scoop, then carefully smooth it with an offset spatula into an even layer that reaches all edges. Top with the remaining red velvet batter and smooth the surface. Tap the pan gently on the counter to remove air pockets but avoid aggressive shaking. Bake: Bake at 350 degrees F (175 degrees C) for 30 to 35 minutes, until a toothpick inserted near the center comes out with a few moist crumbs but not raw batter. The center will set as it cools; avoid overbaking which dries the crumb. If the top browns too quickly, tent loosely with foil after 20 minutes. Cool Completely: Allow the cake to rest in the pan for 10 minutes, then lift it out using the parchment and transfer to a wire rack to cool completely. Cooling fully before frosting prevents the frosting from sliding and helps flavors meld for a cleaner slice. Prepare Frosting: Sift 3 cups powdered sugar into a bowl. Beat 1 cup unsalted butter on high for 2 minutes until light and fluffy. Add 4 ounces room-temperature cream cheese and beat on high for 1 minute more. Gradually add powdered sugar on medium speed until combined, then add 1 teaspoon vanilla and beat on high until smooth and spreadable. Scrape the bowl as needed for even texture. Frost and Decorate: Spread the frosting evenly over the cooled cake using an offset spatula. For a festive finish, sprinkle Christmas sprinkles or finely grated chocolate along the top. Chill briefly if you prefer firmer slices, then slice with a serrated knife warmed under hot water and dried for clean cuts.
You Must Know
- This cake keeps well covered in the refrigerator for up to 4 days and freezes for up to 3 months if tightly wrapped and stored in an airtight container.
- Allow ingredients to come to room temperature before starting; cold cream cheese or eggs can cause the cheesecake layer to be lumpy or not set properly.
- Use gel food coloring to achieve a vivid red without thinning the batter; avoid liquid food coloring which can alter batter consistency.
- Because this contains dairy and eggs, it is not shelf-stable and must be refrigerated after cooling and frosting.
- For even slices, chill the cake for 20 to 30 minutes after frosting and use a warm knife for each cut.
My favorite aspect is the contrast in textures: the smooth, slightly dense cheesecake against the soft, oil-rich red velvet crumb. Once I began making the cheesecake as a distinct layer rather than a swirl, the cake consistently held its shape and presentation improved dramatically. Family members often request this for birthdays and holiday gatherings because it looks special yet is straightforward to prepare.
Storage Tips
Store the cake covered in the refrigerator for up to four days. Wrap slices individually in cling film and place in an airtight container to preserve moisture and prevent absorption of fridge odors. For longer storage, freeze individual slices or the whole cake (unfrosted or frosted) for up to three months. To freeze, wrap tightly in plastic wrap, then again in aluminum foil, and place in a freezer-safe container. Thaw overnight in the refrigerator before serving. Reheat slices gently at room temperature for 20 to 30 minutes for a softer mouthfeel.
Ingredient Substitutions
If you prefer a tangier center, swap sour cream for full-fat Greek yogurt in the red velvet batter at a 1:1 ratio. For a lower-fat frosting, reduce the butter by one-quarter and increase cream cheese by the same amount, but expect a softer spread. To make a gluten-free version, replace the all-purpose flour with a 1:1 gluten-free blend that contains xanthan gum; texture may be slightly more crumbly. Use natural cocoa instead of Dutch-process only if you replace baking powder with an adjusted leavening method, as acidity interactions change.

Serving Suggestions
Serve this cake slightly chilled with a dollop of lightly sweetened whipped cream or a few fresh raspberries to cut the richness. For holiday gatherings, pair with hot coffee or lightly spiced tea to balance the sweetness. Slice thinly—this cake is rich, and smaller portions satisfy most guests. Garnish with grated dark chocolate, toasted chopped pecans, or a sprinkle of seasonal sprinkles for a festive look. For a brunch, pair with a citrus salad to provide a bright counterpoint.
Cultural Background
Red velvet has roots in Southern United States baking traditions, where its signature color and soft crumb became popular through layered cakes at celebrations. The name and color were historically enhanced by cocoa and acidic reactions in buttermilk and baking soda. Combining a cream cheese center with red velvet adds a nod to classic cheesecake influences, marrying two widely loved elements of American baking into a single celebratory confection.
Seasonal Adaptations
In winter, add warm spices like a pinch of cinnamon or a quarter teaspoon of ground ginger to the red velvet batter for a cozy note. For spring, top the cake with fresh strawberries and edible flowers for a lighter presentation. At Thanksgiving, swap sprinkles for chopped toasted pecans and a dusting of cinnamon sugar. For a Valentine’s or romantic dinner, pipe rosettes of frosting and scatter freeze-dried raspberries for color and tartness.
Meal Prep Tips
Make the cake a day ahead: bake and cool it fully, then store in an airtight container overnight. Frost on the day you plan to serve to ensure the frosting looks fresh. If you need speed, prepare the cheesecake filling and sift the dry ingredients the evening before; keep covered in the refrigerator and bring to room temperature before assembling. Use a scale for consistent portioning if serving at an event, and keep a small tray of clean, warmed knives for neat slices.
This cake has become more than a dessert; it’s a festive ritual in my kitchen. Whether for a holiday dinner, birthday, or casual get-together, it invites conversation and always gets requested again—make it yours and enjoy the smiles it brings.
Pro Tips
Bring all dairy and eggs to room temperature before starting to ensure a smooth cheesecake layer.
Use an offset spatula to smooth the cheesecake and cake layers for even presentation.
Sift powdered sugar into the frosting to avoid lumps and beat until the frosting is silky but not over-whipped.
Chill the frosted cake for 20 to 30 minutes before slicing for clean cuts.
Warm the knife under hot water and dry it between slices for perfect edges.
This nourishing red velvet cheesecake cake recipe is sure to be a staple in your kitchen. Enjoy every moist, high protein slice — it is perfect for breakfast or as a wholesome snack any time.
FAQs about Recipes
Can I make this in advance?
Yes, you can bake the cake a day ahead and frost it the next day for cleaner slices and better flavor. Keep it refrigerated after frosting.
What type of food coloring should I use?
Use gel or paste food coloring to avoid changing batter consistency. Liquid coloring can thin the batter and affect texture.
Why do ingredients need to be room temperature?
Bring eggs, cream cheese, and butter to room temperature before mixing. Cold ingredients can cause lumps and uneven baking.
Tags
Red Velvet Cheesecake Cake
This Red Velvet Cheesecake Cake recipe makes perfectly juicy, tender, and flavorful steak every time! Serve with potatoes and a side salad for an unforgettable dinner in under 30 minutes.
Ingredients
Cheesecake Layer
Red Velvet Cake
Cream Cheese Frosting
Instructions
Prepare the cheesecake layer
Beat cream cheese and sugar until smooth, add flour and vanilla, then mix in the egg on low until just combined. Keep at room temperature so it remains pourable for layering.
Preheat and prepare pan
Preheat oven to 350 F. Spray a 9x9 pan, line the bottom with parchment, and spray again for easy release.
Mix dry ingredients
Whisk together flour, Dutch-process cocoa, baking powder, baking soda, and salt until evenly combined to ensure consistent rise and color.
Combine wet ingredients
Whisk oil, sugar, vinegar, eggs, sour cream, buttermilk, and red gel coloring until smooth and homogenous before folding in dry ingredients.
Fold and layer
Fold dry into wet until just combined. Spread half the batter in the pan, top with cheesecake filling, then finish with remaining batter and smooth surface.
Bake and cool
Bake 30 to 35 minutes until a toothpick comes out with a few moist crumbs. Cool in pan 10 minutes, then transfer to a wire rack to cool completely before frosting.
Make frosting and finish
Beat butter, add cream cheese, then gradually add sifted powdered sugar and vanilla. Spread over cooled cake and decorate as desired.
Last Step: Please leave a rating and comment letting us know how you liked this recipe! This helps our business to thrive and continue providing free, high-quality recipes for you.
Nutrition
Did You Make This?
Leave a comment & rating below or tag
@cravele on social media!
Categories:
You might also like...
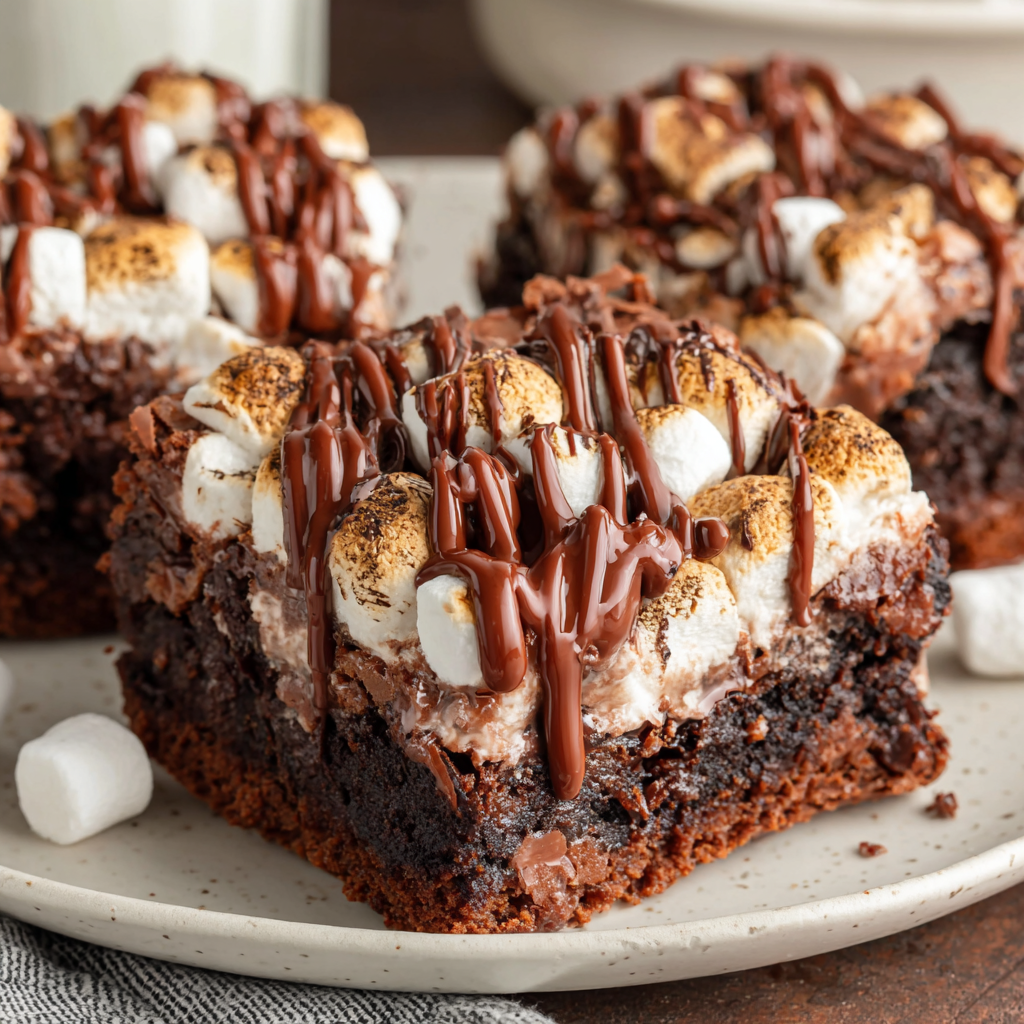
Fudgy Marshmallow Brownies
Ultra-fudgy brownies studded with chocolate chunks, crowned with gooey marshmallows and a quick cocoa icing for irresistible, crowd-pleasing decadence.
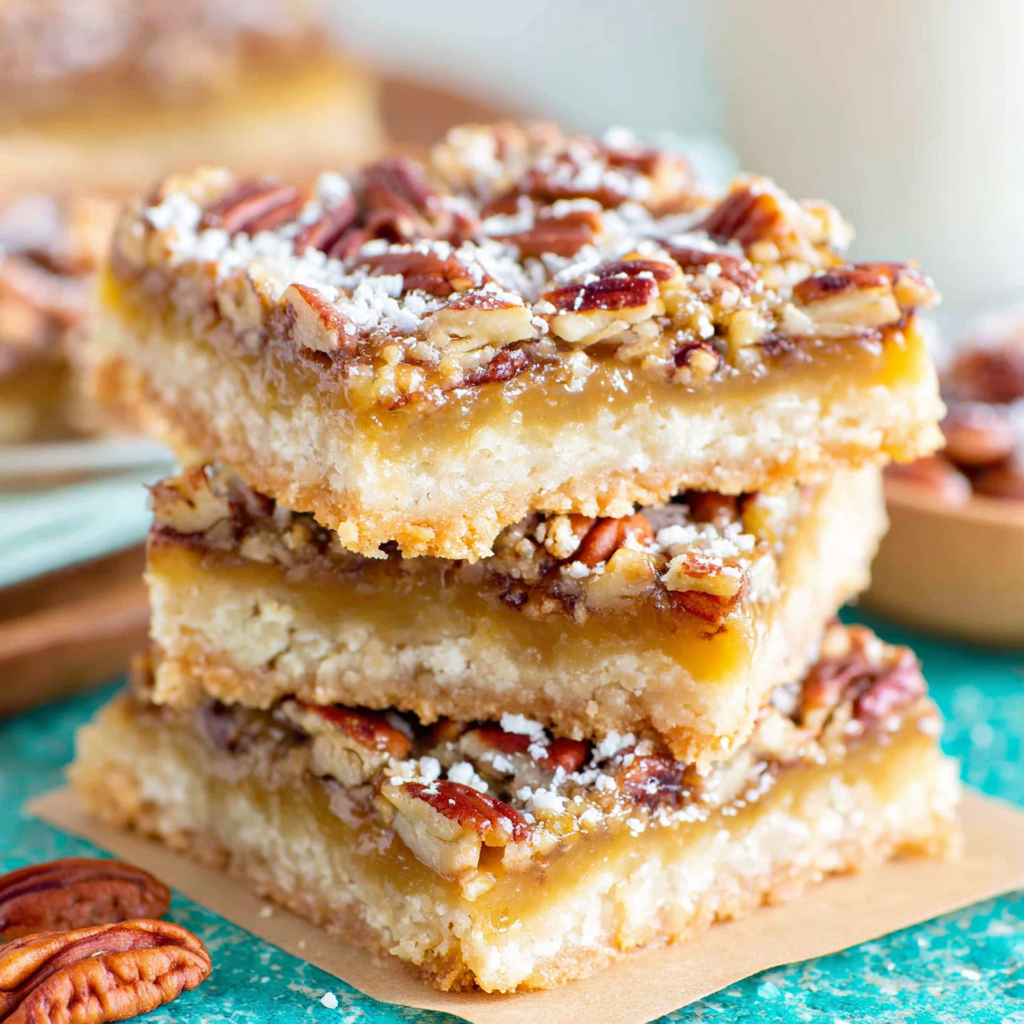
Buttery Pecan Pie Bars
Buttery shortbread crust topped with a gooey brown sugar pecan filling. Easy, crunchy, and truly irresistible with just 10 minutes of prep.
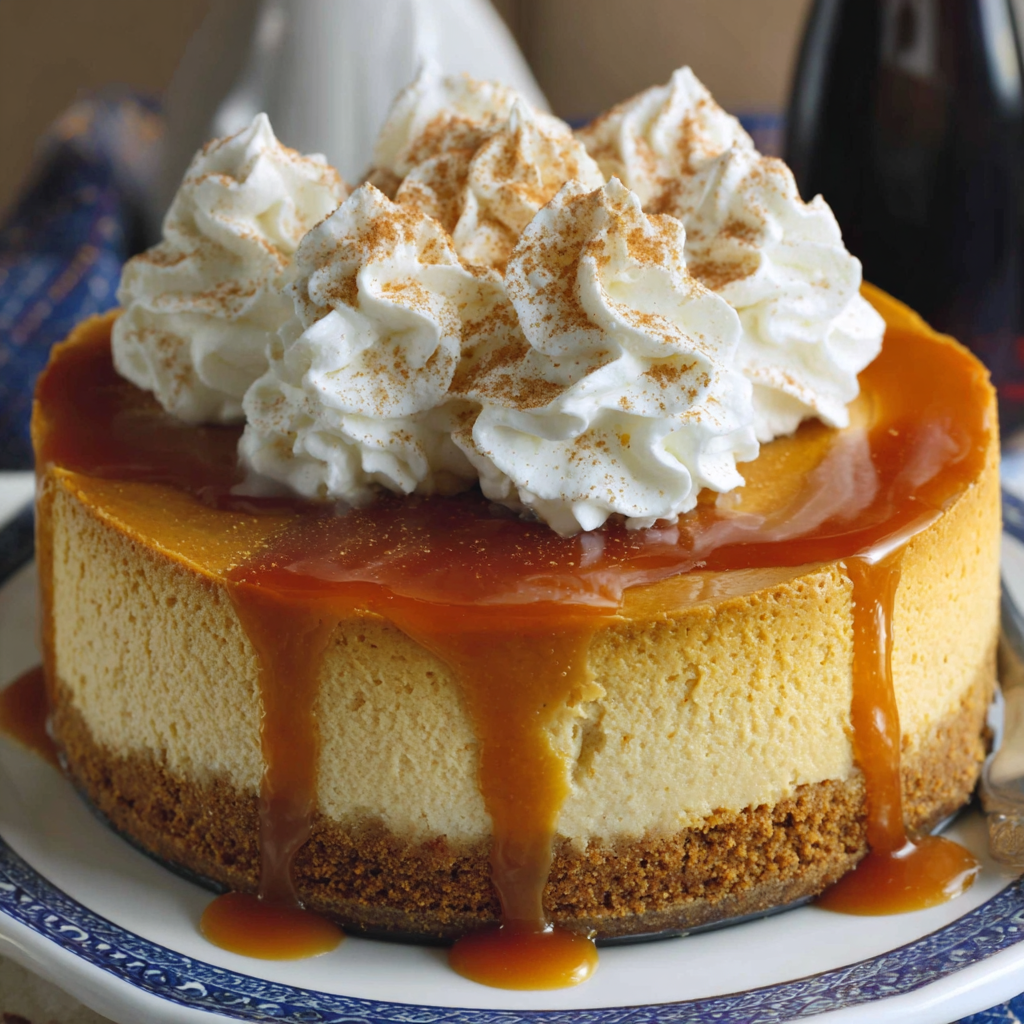
Silky No-Crack Pumpkin Cheesecake
Silky pumpkin cheesecake with a spiced graham crust, no cracks, effortless mixing, and decadent caramel and rum whipped cream for unforgettable holiday celebrations.
Did You Make This?
Leave a comment & rating below or tag @cravele on social media!
Rate This Recipe
Share This Recipe
Enjoyed this recipe? Share it with friends and family, and don't forget to leave a review!
Comments (1)
This recipe looks amazing! Can't wait to try it.
Comments are stored locally in your browser. Server comments are displayed alongside your local comments.

Hi, I'm Emily!
What's Popular

30-Minute Meals!
Join to receive our email series which contains a round-up of some of our quick and easy family favorite recipes.