
>>

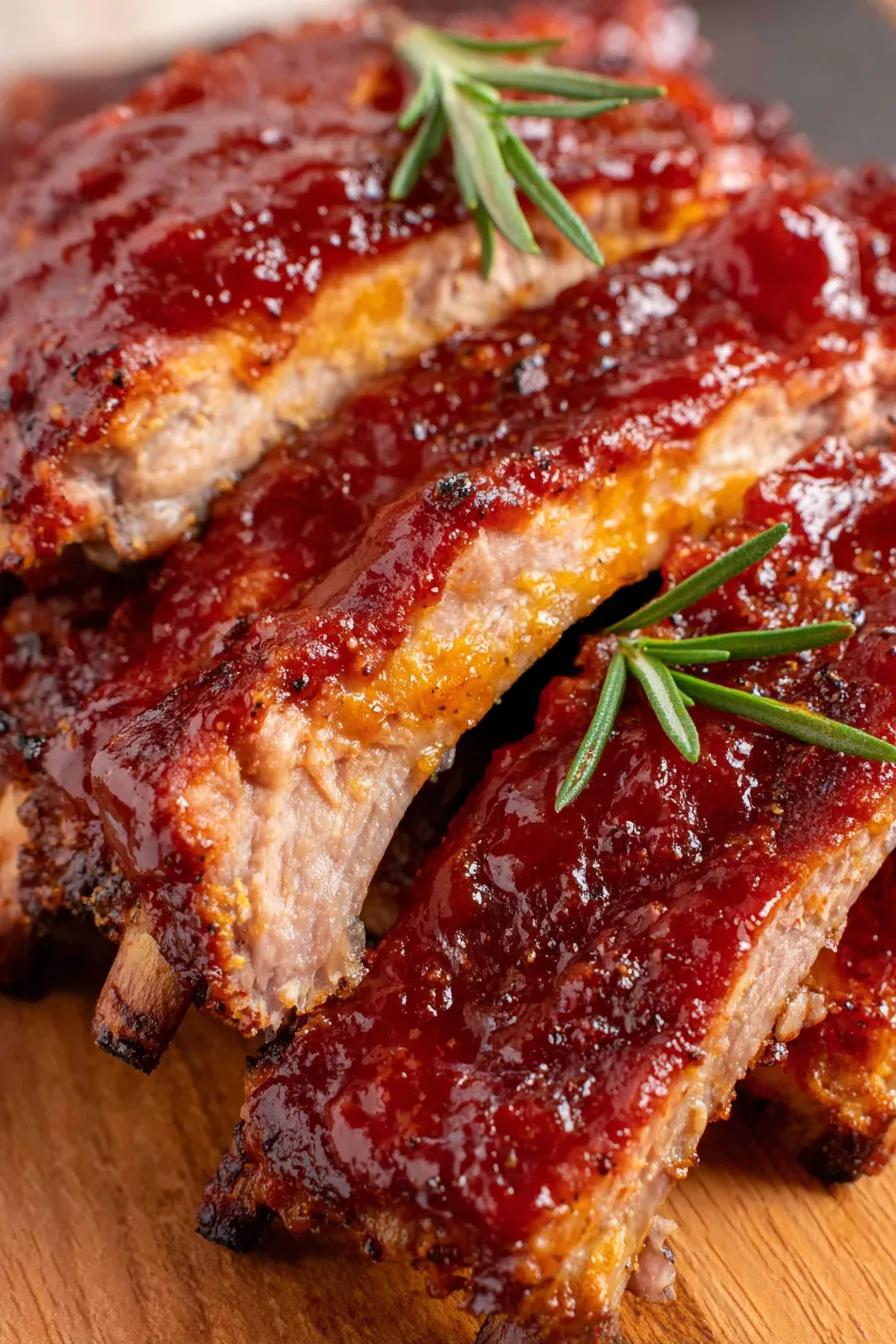
Fall-off-the-bone baby back ribs rubbed with a smoky, sweet dry mix and finished under the broiler with a sticky barbecue glaze. Simple steps, big flavor.

This rack of baby back ribs has been a weekend ritual for my family ever since I first learned how to coax deep barbecue flavor out of a modest oven. I discovered this approach on a rainy Saturday when we wanted the comfort of takeout ribs without leaving the house. The method is forgiving yet yields tender meat that pulls back from the bone, with a crust of seasoned bark and a glossy caramelized glaze on top. The first time I made these, my partner closed their eyes after the first bite and said it tasted like a backyard cookout even though we had no grill involved.
What makes this version special is the balance between a sweet, smoky dry rub and a short, high-heat finish that creates a satisfying crust. The slow oven braise inside a tightly sealed foil packet traps steam, gently breaking down connective tissue without drying the meat. The final broil with a simple sauce and extra brown sugar quickly caramelizes, producing those sticky edges we all chase. This approach is especially reliable for busy cooks who want the barbecue experience without babysitting a smoker all afternoon.
In my kitchen these ribs have become a family favorite for weekend dinners. Kids and adults alike line up for seconds because the exterior has just enough crust while the meat remains juicy. I often pair these with a simple slaw and roasted potatoes, and guests always ask for my dry rub recipe. On busy holidays I prep several racks this way and finish them quickly before guests arrive.
My favorite part of this method is how predictable it is. I have served these to friends who swore they were smoked. The membrane removal is a small extra step that yields a huge payoff in texture. Family members often fight over the end pieces which develop the best caramelized bark.
Allow leftovers to cool and store in an airtight container in the refrigerator for up to four days. For longer storage wrap individual portions tightly in plastic wrap and foil before freezing for up to three months. Reheat gently in a low oven at 300 degrees F wrapped in foil to preserve moisture. If using a microwave, cover loosely and reheat in short intervals to avoid drying. When reheating from frozen, thaw overnight then reheat at 325 degrees F until warmed through, finishing under the broiler for a minute if you want to refresh the crust.
If you prefer a spicier profile substitute 1/2 teaspoon cayenne with 1 teaspoon smoked chipotle powder for smokier heat. For a gluten free profile check your barbecue sauce label or use a certified gluten free brand. Swap light brown sugar for dark brown sugar for a stronger molasses flavor, noting the sauce will darken. If you cannot find baby back ribs use a similar weight of St. Louis style ribs but expect slightly longer cooking time because they are meatier and have more connective tissue.
Serve these ribs with classic sides such as coleslaw, cornbread, and roasted new potatoes. A crisp green salad cuts through the richness and bright pickles add acid. For beverages try a cold lager or iced tea. Garnish with chopped fresh parsley or extra cracked black pepper. For family style meals slice the rack and arrange on a wooden board so guests can help themselves.
Oven baked ribs reflect a modern adaptation of regional American barbecue traditions where smoking is central. Many home cooks adopted foil braising as a practical shortcut that mimics low and slow transformation of connective tissue. While true pit barbecue uses smoke and live fire, finishing ribs under high heat with a sticky sauce is a common technique across many backyard and family kitchens and provides similar textural contrasts.
In winter add warming spices such as cinnamon or more ground mustard to the rub for depth. During summer swap brown sugar for honey in the glaze for a floral note and finish quickly on a hot grill if available. For holiday crowds double the rub and prepare multiple racks ahead; finish them in batches under the broiler so everyone gets hot ribs simultaneously.
For make ahead convenience season and foil the ribs up to 24 hours before baking and store them refrigerated. When entertaining, bake while guests arrive and do the quick glaze and broil just before serving. Portion cooked ribs into individual containers and include small cups of sauce for grab and go lunches. Use a probe thermometer to avoid overcooking when reheating several racks at once.
These ribs are a fantastic example of how a few well chosen techniques turn simple ingredients into something memorable. I encourage you to make this your go to oven method for tender sauced ribs and to tweak the glaze and rub until it fits your family style. Enjoy the process and the inevitable leftovers.
Use heavy duty aluminum foil to avoid tears during baking and make a double layer if your foil is thin.
If you have a probe thermometer aim for 190 to 203 degrees Fahrenheit for tender ribs that pull away from the bone.
Watch closely under the broiler. The glaze caramelizes quickly and can burn in seconds.
Pat the ribs dry before applying the rub to help the spices adhere and form a better crust.
Let the ribs rest for 10 minutes after broiling to redistribute juices.
This nourishing tender oven-baked baby back ribs with caramelized bbq glaze recipe is sure to be a staple in your kitchen. Enjoy every moist, high protein slice — it is perfect for breakfast or as a wholesome snack any time.
Yes. After baking, cool slightly, wrap tightly, and freeze for up to three months. Thaw in the refrigerator before finishing and broiling.
Remove the thin membrane on the underside. Use a knife to lift a corner then pull with a paper towel. This improves tenderness and allows seasoning to penetrate.
This Tender Oven-Baked Baby Back Ribs with Caramelized BBQ Glaze recipe makes perfectly juicy, tender, and flavorful steak every time! Serve with potatoes and a side salad for an unforgettable dinner in under 30 minutes.
Preheat the oven to 300 degrees Fahrenheit and position a rack in the center.
Whisk together all dry rub ingredients in a small bowl until uniform.
Use a small knife to lift the membrane on the underside of the ribs and pull away with a paper towel to improve texture.
Place ribs on heavy duty foil, rub seasoning onto bone side then meat side, seal tightly into a packet and place on a rimmed baking sheet.
Bake sealed for 2 hours and 30 minutes to break down connective tissue and render the meat tender.
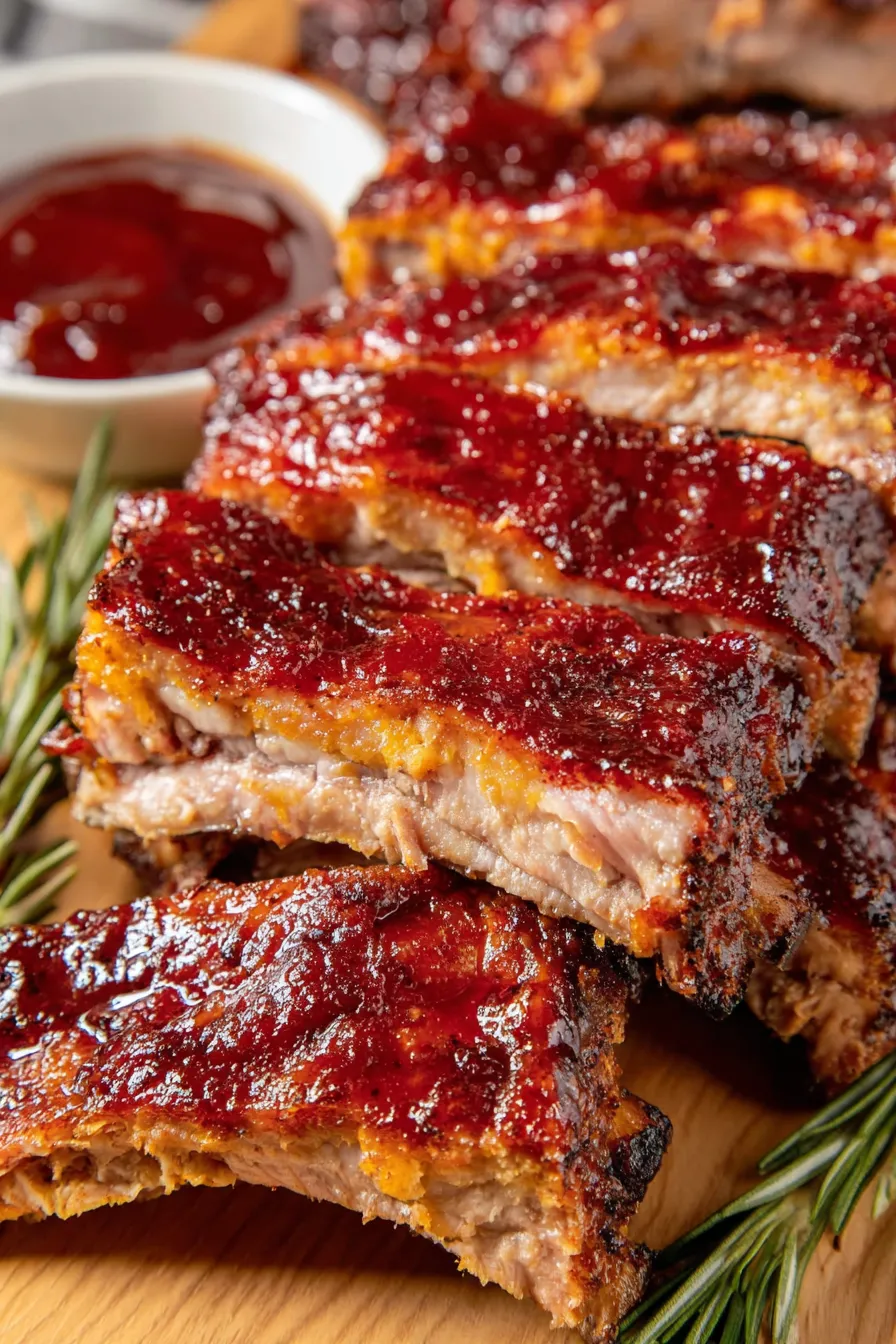
Whisk barbecue sauce with extra brown sugar until smooth and ready to spread.
Open the foil carefully, coat ribs with the glaze, then broil 2 to 3 minutes until bubbly and caramelized, watching closely.
Let the ribs rest for 10 minutes before slicing between bones and serving with extra sauce.
Last Step: Please leave a rating and comment letting us know how you liked this recipe! This helps our business to thrive and continue providing free, high-quality recipes for you.
Leave a comment & rating below or tag
@cravele on social media!

Ultra-fudgy brownies studded with chocolate chunks, crowned with gooey marshmallows and a quick cocoa icing for irresistible, crowd-pleasing decadence.

Buttery shortbread crust topped with a gooey brown sugar pecan filling. Easy, crunchy, and truly irresistible with just 10 minutes of prep.

Silky pumpkin cheesecake with a spiced graham crust, no cracks, effortless mixing, and decadent caramel and rum whipped cream for unforgettable holiday celebrations.
Leave a comment & rating below or tag @cravele on social media!
Enjoyed this recipe? Share it with friends and family, and don't forget to leave a review!
This recipe looks amazing! Can't wait to try it.
Comments are stored locally in your browser. Server comments are displayed alongside your local comments.

Join to receive our email series which contains a round-up of some of our quick and easy family favorite recipes.
