
Mini Red Velvet Cheesecake Bites

Tender red velvet base topped with a silky cheesecake center—perfect bite-sized treats for parties, lunchboxes, or a cozy night in.
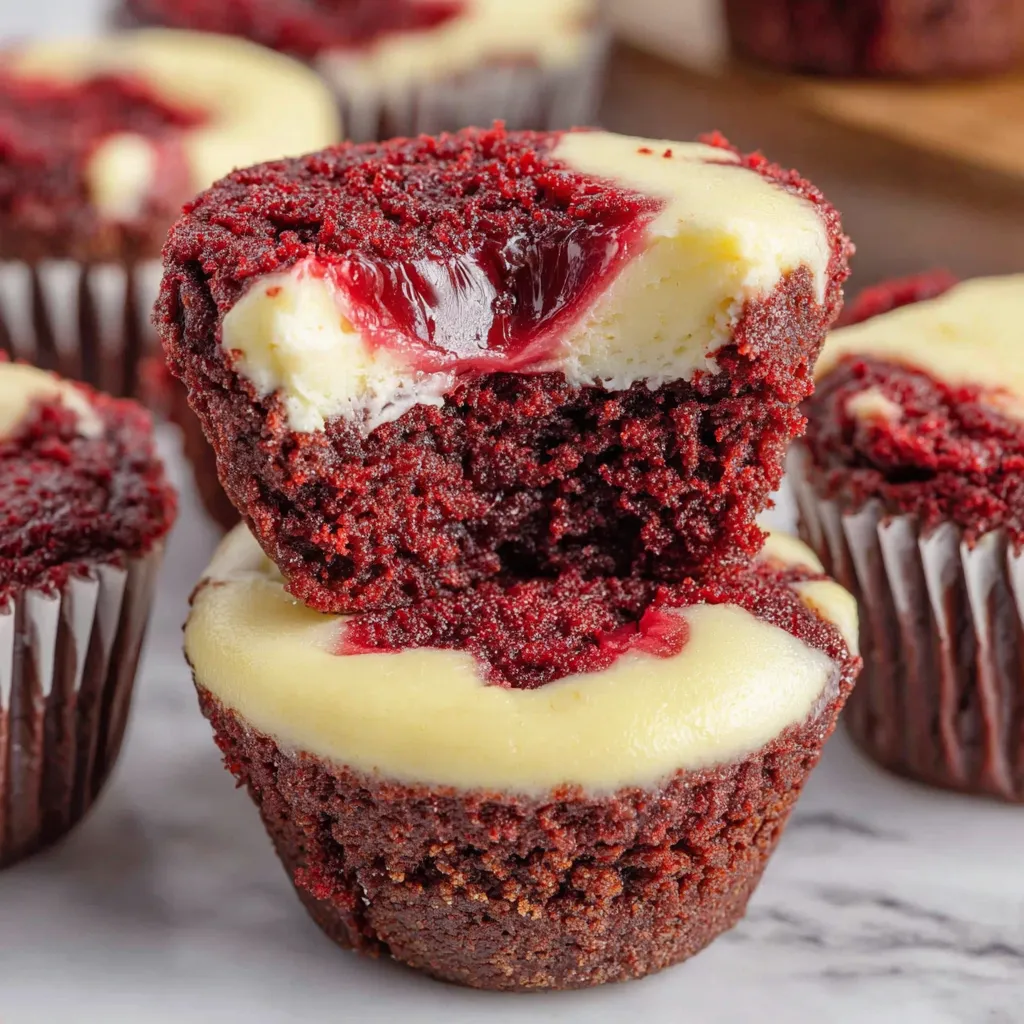
This playful mini red velvet cheesecake has been a go-to treat for celebrations and quiet afternoons alike. I first came across the idea when I wanted to combine two beloved classics—red velvet cake and New York–style cheesecake—into something small and shareable. The first batch was baked for a family game night, and what started as an experiment turned into the recipe everyone asks for at birthdays. The crisp edge of the red velvet base gives way to a soft, tangy cheesecake center; each bite balances cocoa, butter, and cream cheese in a way that feels both nostalgic and a little bit fancy.
I love how quick these bites come together: they’re ready for the oven in about 20 minutes and bake in under 10. They travel well, freeze beautifully, and are forgiving enough for home bakers who are still mastering texture. My kids love to help spoon and pipe the filling, and I enjoy the tiny canvas that a mini muffin pan provides—perfect for experimenting with different toppings like a sprinkle of cocoa or a tiny swirl of whipped cream. If you’re looking for a small-format dessert that performs like a showstopper, these are it.
Why You'll Love This Recipe
- Make-ahead friendly: batter and filling can be prepped ahead and assembled right before baking, saving time on party day.
- Quick bake time: ready in roughly 30 minutes from start to oven, with just 8–9 minutes of baking per batch.
- Pantry-forward: uses common ingredients—flour, cocoa, butter, cream cheese, eggs—so it’s easy to pull together on short notice.
- Crowd-pleaser: bite-sized portions mean guests can sample more than one flavor; perfect for buffets, brunches, and parties.
- Versatile presentation: top with frosting, crushed cookies, or a dusting of cocoa; frozen for grab-and-go treats or plated as petite desserts.
In my kitchen these are a hit every time. The first time I served them at a holiday open house, neighbors kept asking for the recipe—then doubled back an hour later for seconds. They’re simple enough for a weekday sweet, yet elegant enough for entertaining.
Ingredients
- Red Velvet Base: 1 cup all-purpose flour — look for a soft wheat flour for a tender crumb; King Arthur or your preferred local brand work well and give consistent results.
- Red Velvet Base: 1/4 cup unsweetened cocoa powder — natural cocoa is traditional for red velvet; it gives a bright cocoa tang without overpowering the color.
- Red Velvet Base: 1 tablespoon unsweetened cocoa powder — a small extra boost to balance the batter and deepen the chocolate note.
- Red Velvet Base: 3/4 cup salted sweet cream butter, melted and cooled — salted butter adds a subtle savory lift; allow it to cool slightly so it doesn’t cook the eggs when mixed.
- Red Velvet Base: 1 1/4 cups granulated sugar — provides sweetness and tenderizes the base; measure by spooning into the cup for accuracy.
- Red Velvet Base: 1 tablespoon red gel food color (Sunny Side Up Bakery recommended) — gel color offers vivid hue without thinning the batter; add more or less to taste.
- Red Velvet Base: 2 teaspoons pure vanilla extract — a finishing note that rounds the flavors.
- Red Velvet Base: 2 large eggs, room temperature and beaten — eggs provide structure and moisture; bring them to room temperature for better emulsion.
- Cheesecake Filling: 8 ounces cream cheese, softened — full-fat gives the creamiest texture; soften at room temperature or briefly microwave on low from cold.
- Cheesecake Filling: 1/4 cup granulated sugar — a little sweetness keeps the filling balanced without becoming cloying.
- Cheesecake Filling: 1 teaspoon pure vanilla extract — complements the red velvet base.
- Cheesecake Filling: 1 large egg yolk — adds richness and helps the filling set without becoming dense.
Instructions
Preheat and prepare the pan:Preheat the oven to 350°F. Spray a mini muffin pan thoroughly with nonstick cooking spray, or line with paper liners if preferred. A light spray helps the tiny cakes release cleanly; if your pan is older, a little extra spray or a small dot of butter in each cup helps.Combine dry ingredients:In a small mixing bowl, whisk together the 1 cup all-purpose flour, 1/4 cup unsweetened cocoa powder, and 1 tablespoon unsweetened cocoa powder until uniform. Whisking now prevents lumps and ensures an even distribution of cocoa, which is important for consistent color and flavor.Mix the wet base:In a medium bowl, whisk the cooled melted butter with 1 1/4 cups granulated sugar until smooth. Add 1 tablespoon red gel food color, 2 teaspoons vanilla, and the 2 beaten eggs, whisking until combined. The mixture should be glossy and ribbon slightly when the whisk is lifted.Combine wet and dry:Fold the flour-cocoa mixture into the wet ingredients just until incorporated; stop when no streaks of flour remain. Overmixing develops gluten and will make the base tough—stop at the point where the batter is smooth and homogeneous.Prepare the filling:In a separate medium bowl, beat 8 ounces softened cream cheese with a handheld mixer at medium-high for 1 minute until light. Add 1/4 cup granulated sugar and 1 teaspoon vanilla; beat 1 to 1 1/2 minutes until creamy. Add 1 large egg yolk and mix just until no yellow streaks remain; overbeating will aerate the filling and cause cracking or bubbles.Transfer filling to a bag:Place the cheesecake filling into a disposable piping bag or a quart-size resealable plastic bag, smoothing it down to remove air pockets. If using a plastic bag, snip a tiny corner off the seam so the filling can be piped neatly.Portion the base:Use a tablespoon to place about 1 tablespoon of red velvet batter into each prepared mini muffin cup. Tap the pan on the counter to level the batter and remove any large air pockets.Pipe the filling:Snip the piping bag tip and squeeze roughly 2 teaspoons of cheesecake filling into the center of each red velvet base. Leave a small border of red velvet batter around the filling so the base bakes up with a little rim.Bake and cool:Bake for 8 to 9 minutes at 350°F. They should be just set—the centers slightly jiggly but not liquid. Remove from oven and let the pan cool on a wire rack for 20 to 30 minutes before removing the bites; this helps the filling set and prevents collapse. Transfer to a wire rack to cool completely.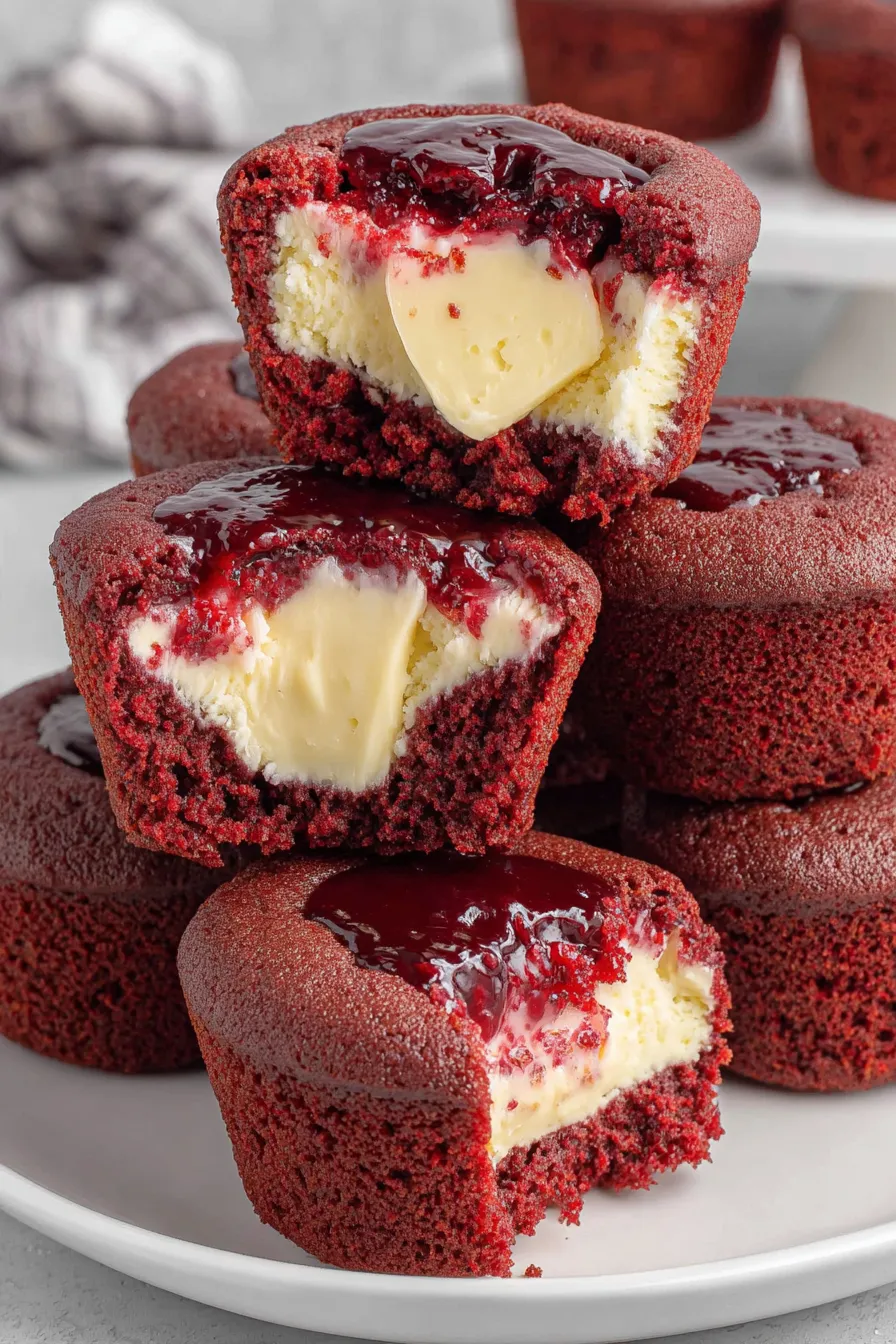
You Must Know
- Storage: store in an airtight container in the refrigerator up to 4 days; freeze for up to 3 months. Thaw in the fridge overnight.
- Cooling: allow the bites to cool partially in the pan for 20–30 minutes before unmolding to prevent breakage.
- Portion control: this recipe yields approximately 24 mini bites depending on pan size and exact spooning.
- Nutrition: each bite is a small indulgence—expect roughly 150 calories, with moderate sugar and fat; they’re best enjoyed in small portions.
What I love most about these is how forgiving they are. The first time I overfilled a few cups and they still looked charming after baking; a quick trim with a small round cutter transformed them into uniform bites. Family members have taken these to potlucks wrapped in parchment, and they always vanish first. The contrast between the tender cocoa base and the silky filling keeps people coming back for another small, satisfying bite.
Storage Tips
Store fully cooled bites in a single layer in an airtight container in the refrigerator for up to 4 days. For longer storage, flash-freeze on a parchment-lined baking sheet until firm, then transfer to a freezer bag for up to 3 months. To serve from frozen, thaw in the refrigerator overnight or at room temperature for 30–60 minutes. When reheating, avoid microwaving for more than 10–15 seconds per piece—these are best served chilled or at room temperature, not hot.
Ingredient Substitutions
If you need to adapt ingredients, swap full-fat cream cheese for a lower-fat version but expect a slightly less silky texture. For a dairy-free version, use a firm dairy-free cream cheese alternative and a vegan butter substitute, though color and set may vary. Replace the red gel with natural alternatives like beet powder mixed with water for a subtler hue—use about 1–2 teaspoons of rehydrated beet powder for color. If you’re avoiding eggs, try a commercial egg replacer in the base; the structure will be slightly more delicate.
Serving Suggestions
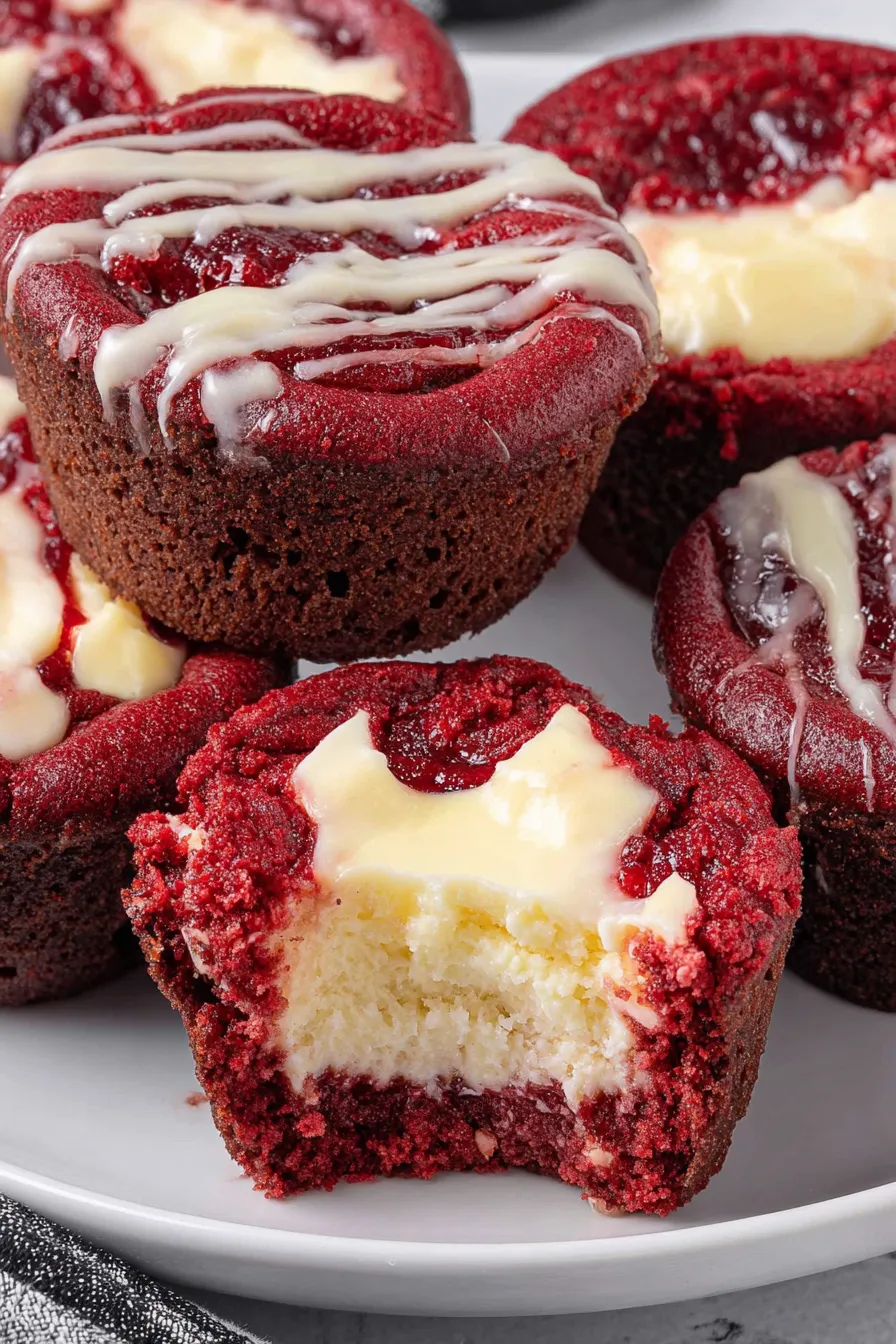
Serve chilled or at room temperature. Garnish with a light dusting of cocoa powder, shaved white chocolate, or a small dollop of stabilized whipped cream. Pair with a robust coffee or a glass of dessert wine for an elegant finish. For kid-friendly presentation, top with sprinkles just after baking so they adhere slightly to the warm filling.
Cultural Background
Red velvet has roots in early American baking, popularized in the 20th century for its striking color and tender crumb achieved through the interaction of cocoa and acidic ingredients. Paired with a cheesecake element, these bites borrow from classic American dessert traditions—combining the visual drama of red velvet with the creamy, tangy tradition of cheesecake to create a hybrid that honors both histories.
Seasonal Adaptations
In winter, add warm spices like a pinch of cinnamon to the base for holiday flair. In spring, top the bites with fresh strawberry slices or a raspberry coulis. For fall entertaining, swap the vanilla in the filling for a touch of maple extract and top with toasted pecans. Small seasonal changes keep this recipe fresh year-round.
Meal Prep Tips
Prep components in advance: make the red velvet batter and cheesecake filling separately and keep chilled until assembly. Fill and bake on the day you plan to serve for the best texture. For quick assembly, spoon base batter into the pan and pipe filling from pre-filled bags arranged in a shallow tray—this speeds up party service and keeps hands clean.
These little bites are a joy to share—compact, elegant, and endlessly adaptable. Whether you’re serving a crowd or treating yourself, they showcase how simple ingredients and a little care can produce something memorable.
Pro Tips
Bring eggs and cream cheese to room temperature before mixing to ensure a smooth, lump-free filling.
Use a piping bag for neat, consistent filling; a zip-top bag with a small corner snipped works well in a pinch.
Cool the pan for 20–30 minutes before removing bites to prevent them from collapsing or breaking apart.
If baking in batches, rotate the pan halfway through if your oven has hot spots to ensure even browning.
This nourishing mini red velvet cheesecake bites recipe is sure to be a staple in your kitchen. Enjoy every moist, high protein slice — it is perfect for breakfast or as a wholesome snack any time.
Tags
Mini Red Velvet Cheesecake Bites
This Mini Red Velvet Cheesecake Bites recipe makes perfectly juicy, tender, and flavorful steak every time! Serve with potatoes and a side salad for an unforgettable dinner in under 30 minutes.
Ingredients
Red Velvet Base
Cheesecake Filling
Instructions
Preheat and Prepare
Preheat oven to 350°F and spray a mini muffin pan with nonstick spray. Having the pan ready ensures immediate assembly and consistent baking.
Whisk Dry Ingredients
In a small bowl, whisk together flour and cocoa powders until even. This prevents lumps and distributes cocoa uniformly for consistent color.
Mix Wet Ingredients
Whisk melted cooled butter with sugar, red gel color, vanilla, and beaten eggs until glossy and combined. Ensure butter is cool so it doesn’t cook the eggs.
Combine Base Batter
Fold the dry mixture into the wet just until no streaks of flour remain; overmixing will toughen the base.
Prepare Cheesecake Filling
Beat softened cream cheese until smooth, add sugar and vanilla, then add the egg yolk and mix until homogeneous. Avoid overbeating to keep the filling dense and creamy.
Assemble
Spoon approximately 1 tablespoon of red velvet base into each mini cup, then pipe about 2 teaspoons of cheesecake filling into the center of each base.
Bake and Cool
Bake for 8–9 minutes at 350°F until centers are set but slightly jiggly. Cool in the pan 20–30 minutes, then transfer to a wire rack to cool completely.
Last Step: Please leave a rating and comment letting us know how you liked this recipe! This helps our business to thrive and continue providing free, high-quality recipes for you.
Nutrition
Did You Make This?
Leave a comment & rating below or tag
@cravele on social media!
Categories:
You might also like...
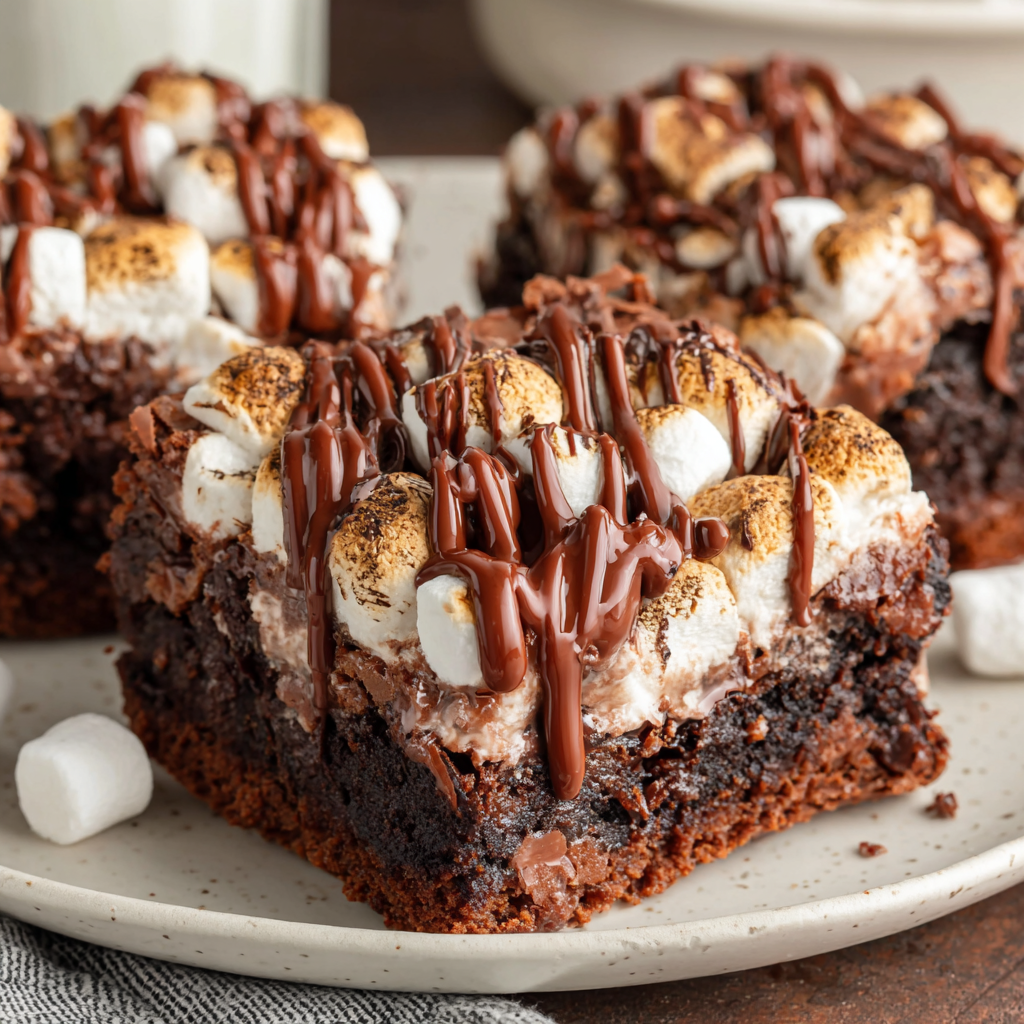
Fudgy Marshmallow Brownies
Ultra-fudgy brownies studded with chocolate chunks, crowned with gooey marshmallows and a quick cocoa icing for irresistible, crowd-pleasing decadence.
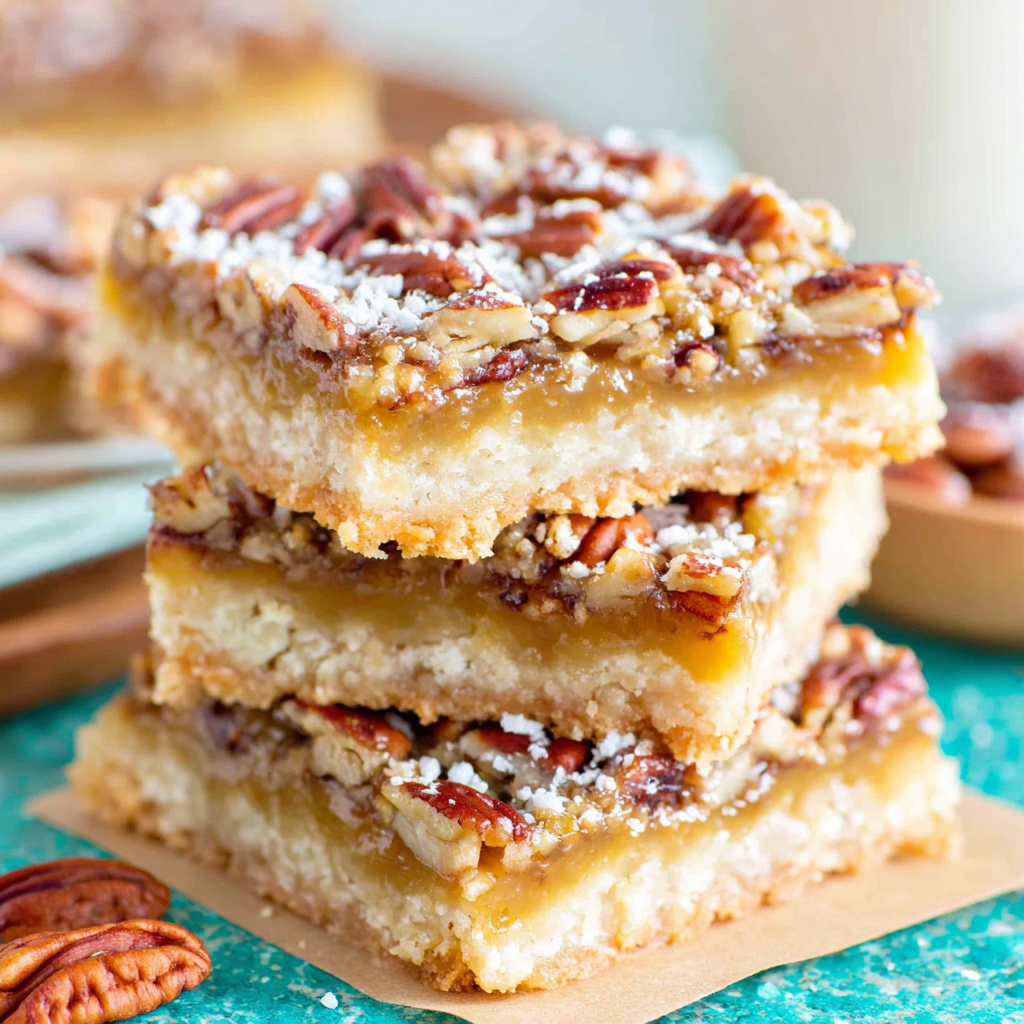
Buttery Pecan Pie Bars
Buttery shortbread crust topped with a gooey brown sugar pecan filling. Easy, crunchy, and truly irresistible with just 10 minutes of prep.
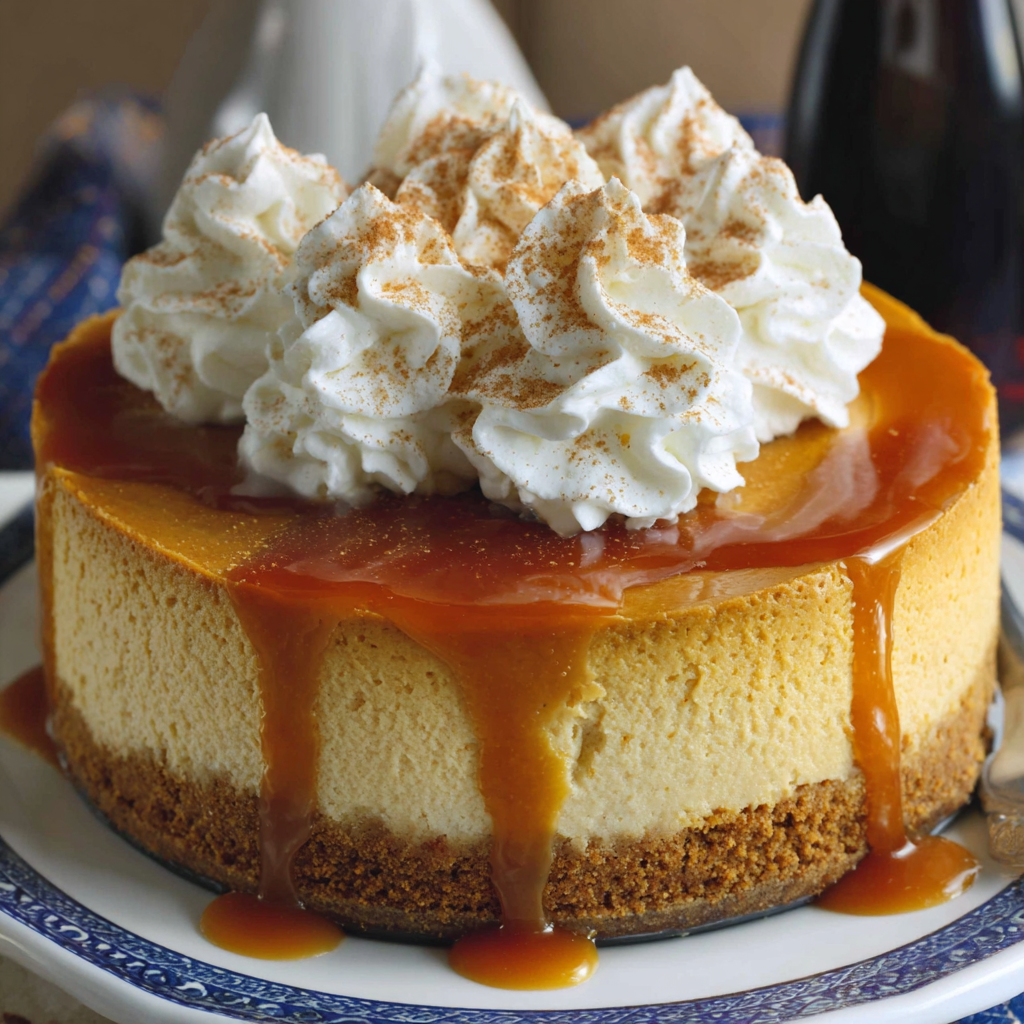
Silky No-Crack Pumpkin Cheesecake
Silky pumpkin cheesecake with a spiced graham crust, no cracks, effortless mixing, and decadent caramel and rum whipped cream for unforgettable holiday celebrations.
Did You Make This?
Leave a comment & rating below or tag @cravele on social media!
Rate This Recipe
Share This Recipe
Enjoyed this recipe? Share it with friends and family, and don't forget to leave a review!
Comments (1)
This recipe looks amazing! Can't wait to try it.
Comments are stored locally in your browser. Server comments are displayed alongside your local comments.

Hi, I'm Emily!
What's Popular

30-Minute Meals!
Join to receive our email series which contains a round-up of some of our quick and easy family favorite recipes.