>>

Golden, crunchy panko coated chicken cutlets baked to juicy perfection with parmesan and simple pantry ingredients. A quick weeknight winner that pleases kids and guests alike.
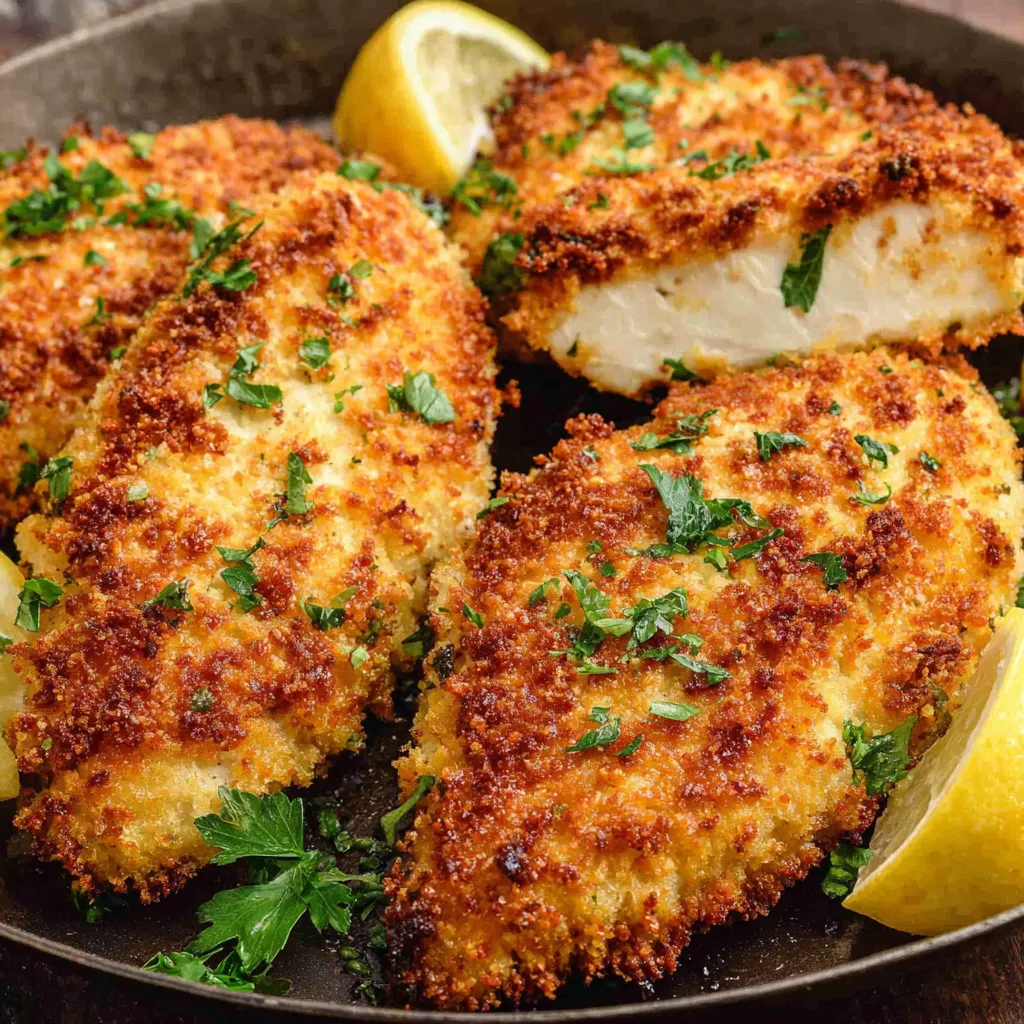
This panko chicken has been a staple in my kitchen for years and it always brings a chorus of requests for seconds. I discovered this method the first time I wanted the crunch of fried chicken without the extra time and fuss of deep frying. The result is a cutlet that is crisp on the outside and tender and juicy on the inside. I usually make it on busy weeknights but it is elegant enough to serve to friends when entertaining. Lightly fragrant from garlic and onion powders and with a salty parmesan note woven through the panko, each bite has a satisfying contrast of textures that keeps everyone reaching for more.
I first tested the technique during a small dinner with neighbors. I wanted a simple approach that used pantry staples and required minimal active attention. The olive oil mixed into the panko gave the crust that toasty, golden finish I love. Since then this method has replaced pan frying for many occasions because it is forgiving, fast, and less messy. The cutlets finish in under half an hour and keep well for leftovers. If you want to make people smile at the table without standing over a stove, this is the dish to choose.
I remember my youngest arriving from soccer practice right as these came from the oven and asking if she could eat one with a lemon wedge before we sat down. The bright squeeze of lemon lifts the flavors and my family always notices the parmesan crumb which makes it feel special. I have served this for casual dinners and for company and the reactions are consistently enthusiastic.
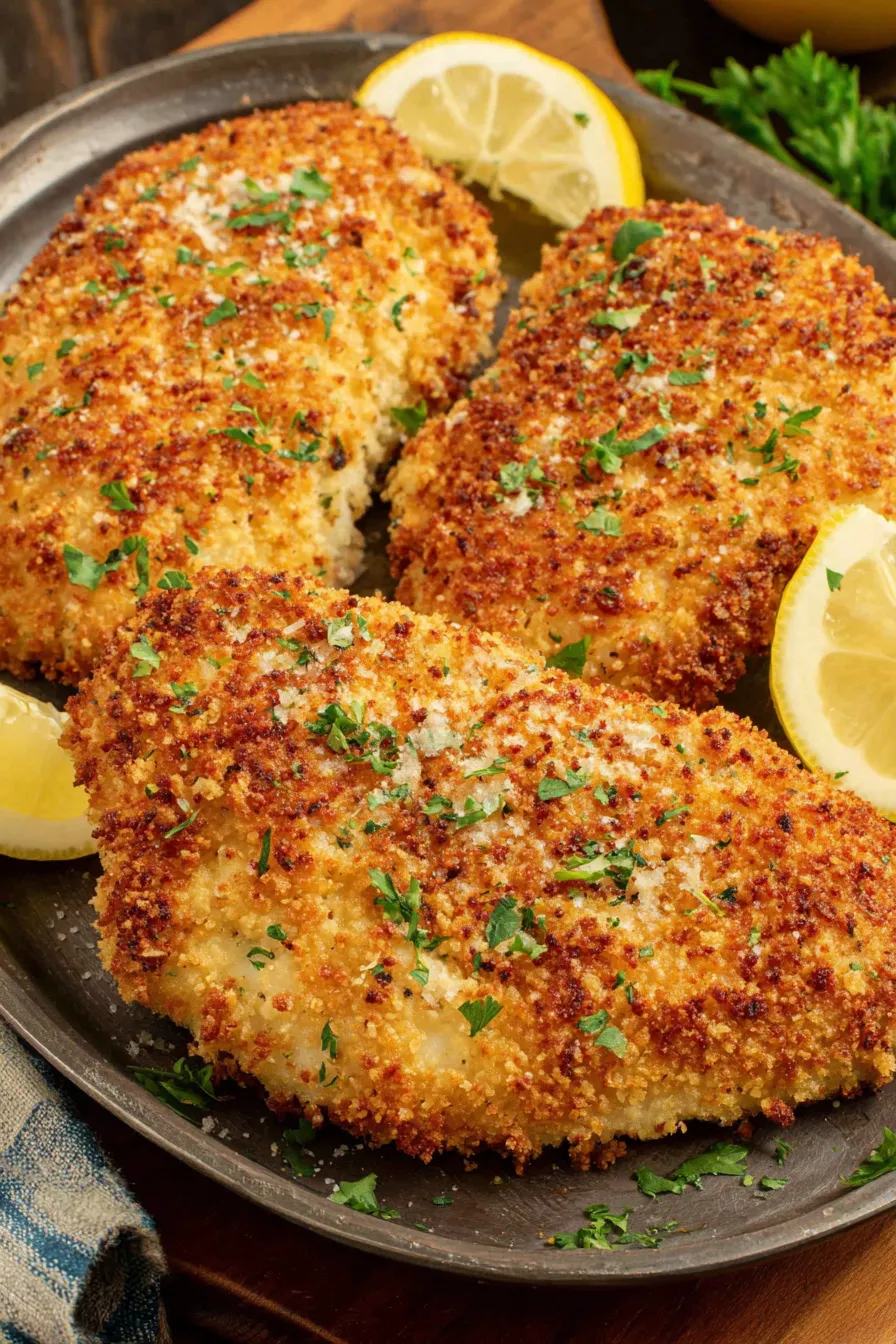
My favorite aspect of this method is how reliable it is. Even on a hectic evening I can feed a hungry family something that looks put together and tastes deliberate. A bright squeeze of lemon brightens the whole plate and the parmesan keeps the crumbs interesting. Friends often guess the cutlets were fried and are surprised when I tell them they were baked. That reaction never gets old.
Cool the cutlets completely before refrigerating to avoid sogginess from trapped steam. Store in a single layer or separate with sheets of parchment in an airtight container for up to three days. For longer storage freeze on a tray until solid then move to a freezer bag for up to three months. Reheat refrigerated pieces in a 375 F oven for 8 to 12 minutes on a wire rack set on a baking tray. From frozen reheat at 400 F for 12 to 18 minutes turning once until internal temperature reaches 165 F and crust is crisp.
If you do not have plain panko use regular dry breadcrumbs though the texture will be denser. For a dairy free option omit parmesan and increase panko by 1/2 cup, then add a pinch of extra salt and a tablespoon of nutritional yeast for savory depth. To make it gluten free swap the flour for a gluten free flour blend and use certified gluten free panko. For less sodium use a low sodium parmesan or reduce added salt to 1/2 teaspoon and adjust after baking.
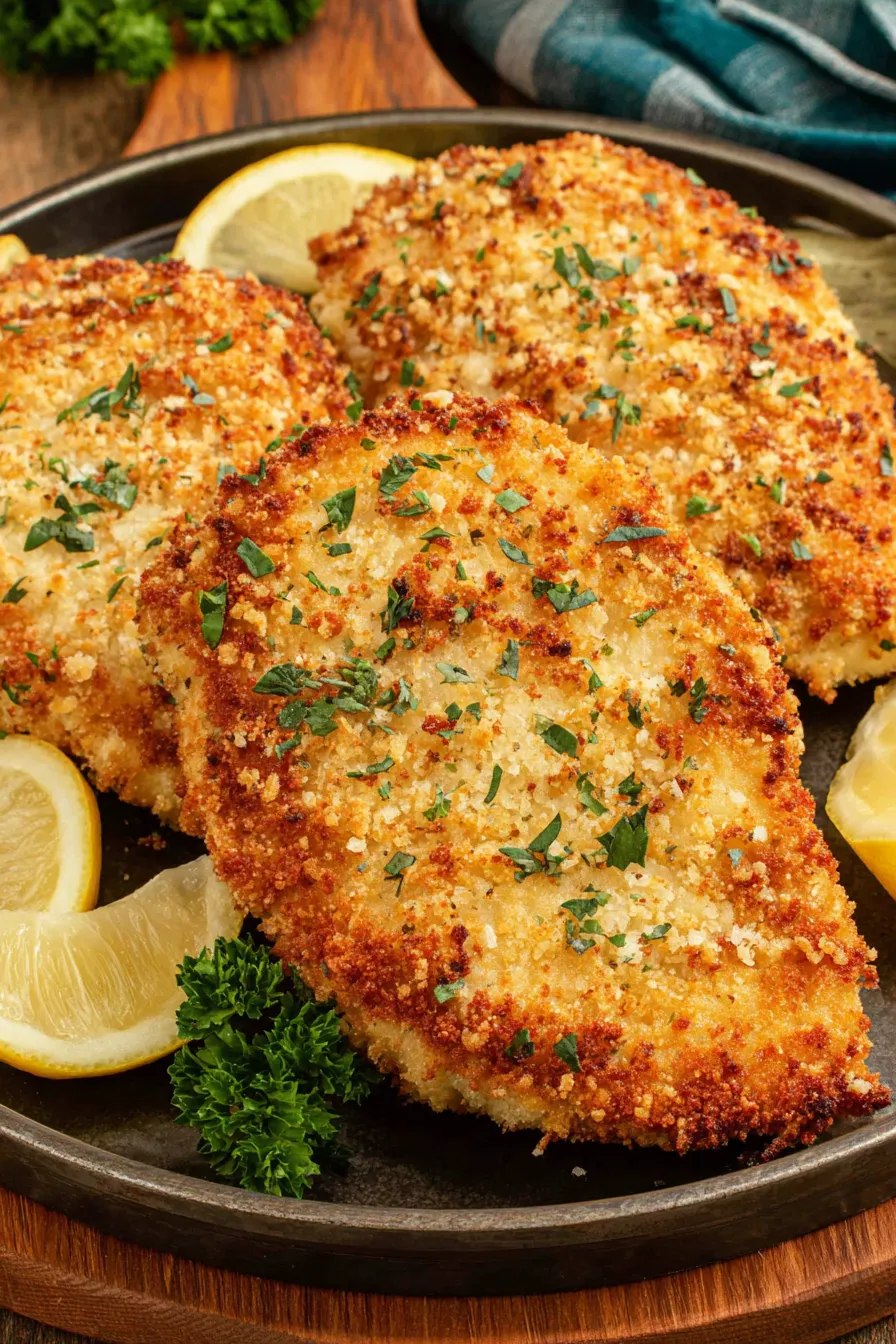
Serve the cutlets with simple sides like a crisp green salad, roasted vegetables, or steamed rice. For a family friendly plate try mashed potatoes and steamed green beans. For a Mediterranean twist top with arugula and a drizzle of lemon dressing. To make sandwiches place a cutlet on a toasted roll with aioli, sliced tomato, and baby spinach. Garnish with chopped parsley and lemon wedges to add color and brightness to the presentation.
The technique of using panko originates from Japanese cooking where panko is prized for its light crisp texture. Breadcrumbed and fried cutlets have many cousins across world cuisines including European schnitzels and Italian breaded cutlets. Baking the breadcrumbed cutlet is a home cook adaptation that keeps the spirit of the crust while reducing oil use and cleanup. The parmesan twist nods to Italian flavors and makes this dish feel familiar to a wide audience.
In spring and summer serve cutlets with a bright herb salad and fresh lemon. In autumn add roasted root vegetables and a sage brown butter drizzle. For winter offer warm grain salads like farro tossed with roasted squash and pomegranate seeds. Swap parsley for thyme or rosemary in cooler months to match the seasonal produce and create harmonious flavor pairings.
To streamline weeknight dinners dredge several cutlets ahead of time and refrigerate on a tray covered loosely for up to 24 hours. For a freezer friendly approach lay coated cutlets on a tray and freeze until firm then transfer to a labeled bag. When baking from frozen add a few minutes to the bake time. Prepare sides in advance and reheat while the cutlets rest, this makes plating fast and keeps everything hot when served.
Bringing everything together, this panko chicken method is an approachable way to get reliably crisp results with minimal fuss. The technique scales well, uses familiar ingredients, and rewards you with texture and flavor that make weeknight dinners feel special. Give it a try with your favorite sides and make small changes to suit your family tastes.
Use room temperature eggs to help the binder adhere more effectively and create an even crust
Press the panko gently into the cutlet to ensure full contact and avoid loose crumbs falling off while baking
For extra crispness place cutlets on a wire rack set on a rimmed baking sheet so air circulates under them
If broiling for a final minute watch closely because parmesan can brown quickly and burn
This nourishing crispy panko chicken cutlets recipe is sure to be a staple in your kitchen. Enjoy every moist, high protein slice — it is perfect for breakfast or as a wholesome snack any time.
Yes you can prepare the cutlets up to 24 hours ahead by dredging and refrigerating them covered. Bake just before serving.
Freeze coated cutlets briefly on a tray until solid then transfer to a freezer bag. Bake from frozen adding 6 to 8 minutes to the cook time.
The cutlets are done when an instant read thermometer inserted into the thickest part reads 165 F and the crust is golden.
This Crispy Panko Chicken Cutlets recipe makes perfectly juicy, tender, and flavorful steak every time! Serve with potatoes and a side salad for an unforgettable dinner in under 30 minutes.
Preheat oven to 425 F and line a rimmed baking sheet with foil. Place a wire rack on the sheet if using. Arrange three shallow dishes sized for your cutlets.
Whisk flour garlic powder onion powder salt and pepper in the first dish. Beat eggs in the second. Combine panko parmesan and olive oil in the third and toss until evenly moistened.
Coat both sides of a cutlet in the flour tapping off extra then dip in beaten egg letting excess drip off then press into the panko mixture until well coated. Place on prepared tray and repeat.
Bake for 18 to 22 minutes until panko is golden and an instant read thermometer reads 165 F at the thickest point. Optionally broil 1 to 2 minutes for extra color while watching carefully.
Allow cutlets to rest 3 to 5 minutes before serving. Garnish with parsley and lemon wedges and slice against the grain if serving sliced.
Last Step: Please leave a rating and comment letting us know how you liked this recipe! This helps our business to thrive and continue providing free, high-quality recipes for you.
Leave a comment & rating below or tag
@cravele on social media!
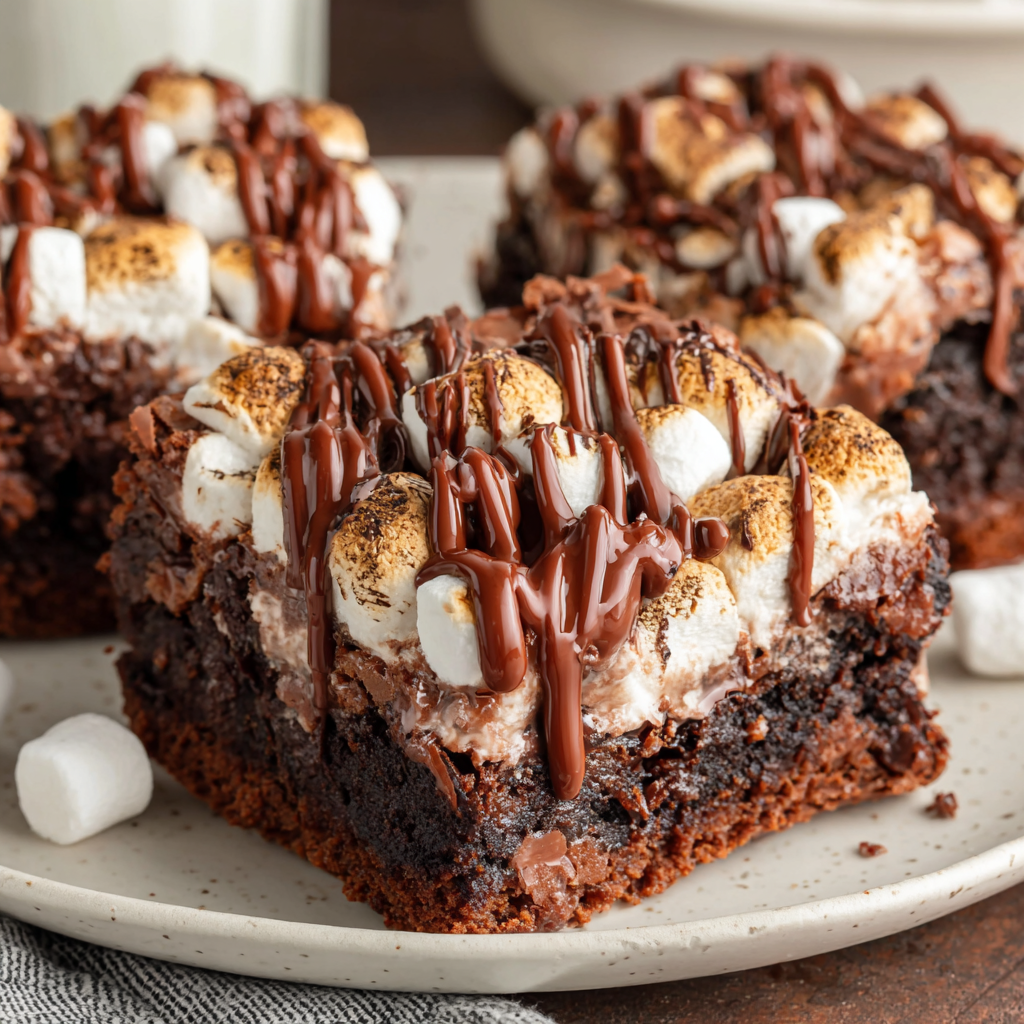
Ultra-fudgy brownies studded with chocolate chunks, crowned with gooey marshmallows and a quick cocoa icing for irresistible, crowd-pleasing decadence.
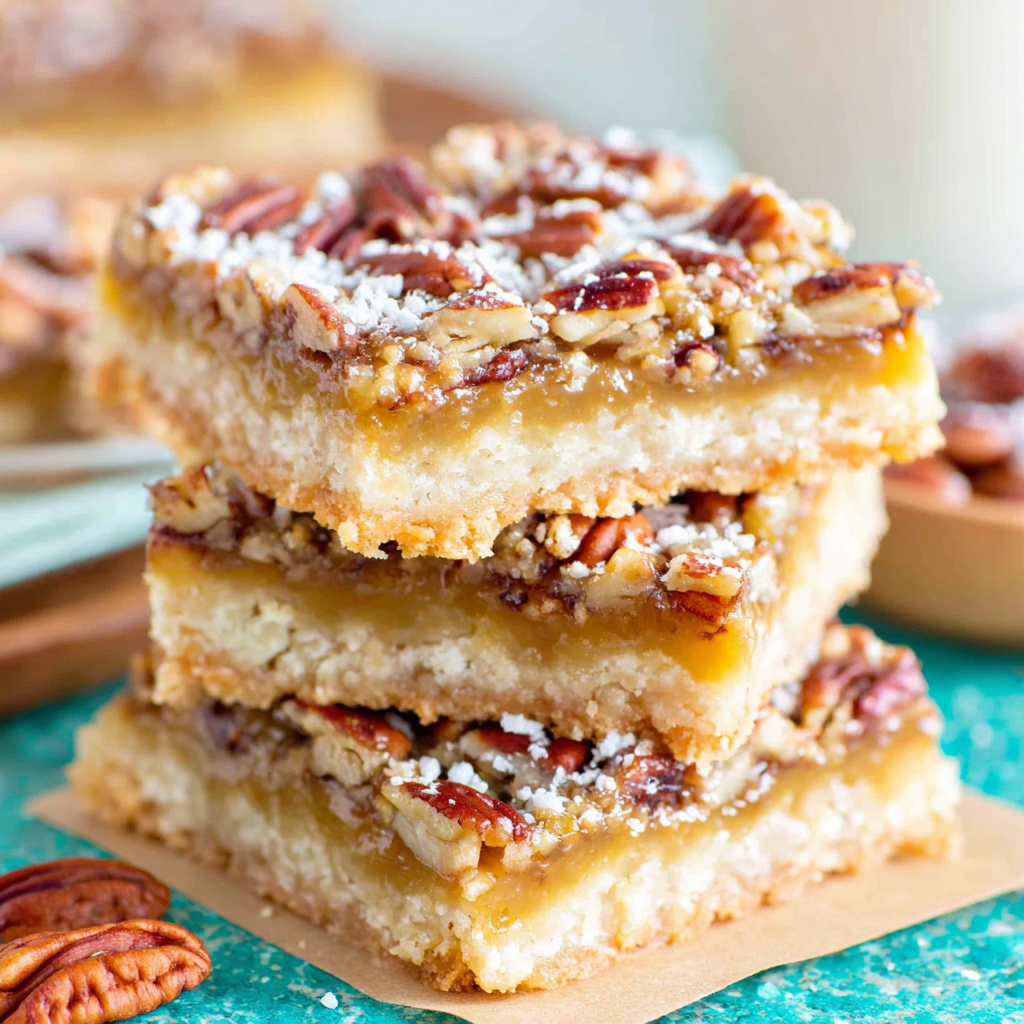
Buttery shortbread crust topped with a gooey brown sugar pecan filling. Easy, crunchy, and truly irresistible with just 10 minutes of prep.
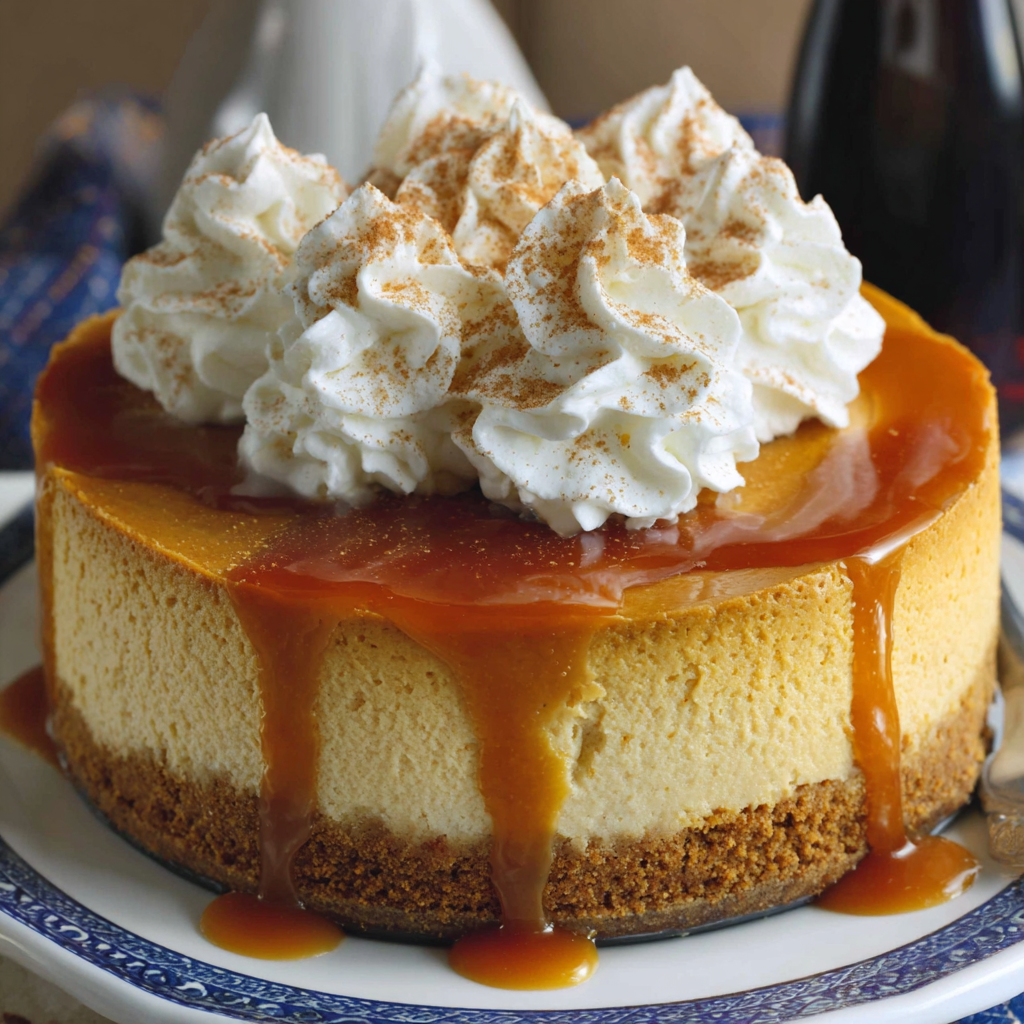
Silky pumpkin cheesecake with a spiced graham crust, no cracks, effortless mixing, and decadent caramel and rum whipped cream for unforgettable holiday celebrations.
Leave a comment & rating below or tag @cravele on social media!
Enjoyed this recipe? Share it with friends and family, and don't forget to leave a review!
This recipe looks amazing! Can't wait to try it.
Comments are stored locally in your browser. Server comments are displayed alongside your local comments.

Join to receive our email series which contains a round-up of some of our quick and easy family favorite recipes.