
>>

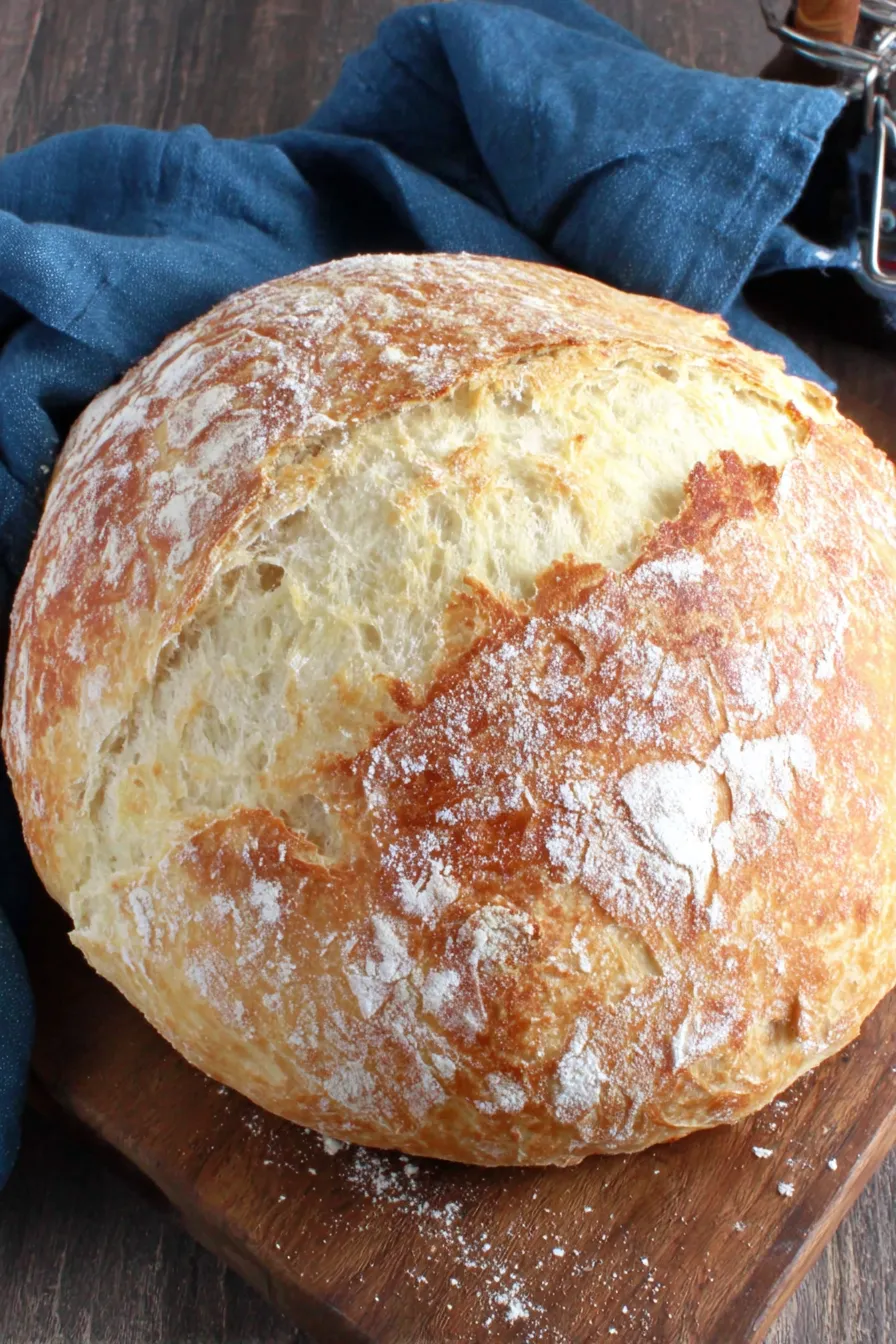
A simple, old-fashioned loaf with a crisp crust and tender crumb — perfect for soups, sandwiches, and dipping in olive oil.

This crusty loaf has been my kitchen’s comforting constant for years. I first learned the basic proportions during a weekend baking binge when I wanted a bread robust enough to stand up to hearty ragùs yet simple enough to bake between errands. The result — a 12-inch batard with a crackling golden crust and an open, chewy interior — quickly became the family favorite. It’s one of those recipes that doesn’t demand exotic ingredients or special equipment but rewards patience and a warm oven with a loaf that feels almost celebratory.
I love this loaf for the contrast between textural extremes: the thin, shattering crust and the tender, slightly glossy crumb inside. The olive oil adds a subtle fruitiness while the minimal salt lets the wheat flavor sing. I often bake this when guests arrive unexpectedly because the shaping is forgiving and the aroma that fills the house makes everyone gather — always a telltale sign that dinner will be a hit. If you like to tear and dip bread at the table, this is the loaf to make.
Practically speaking, this loaf has saved many weeknight dinners. My teenagers request it to mop up pasta sauces, and friends always ask for the recipe after tasting it at a potluck. I discovered that a single small change — a modest 2 tablespoons of olive oil — lifts the overall flavor and keeps the crumb from drying out. It’s a simple trick I use every time.
My favorite part is the ritual of scoring and slashing the loaf: each cut reveals how the dough was handled and the oven’s spring. I remember bringing a warm batard to a neighbor’s impromptu dinner and receiving the kind of compliment that makes a baker grin for days — my neighbor declared it better than bakery bread. That simple moment captures why I bake: to share comfort, conversation and good food.
For short-term storage (1–2 days) keep the loaf in a paper bag at room temperature to preserve the crust. If you plan to keep it longer, slice and place in a resealable plastic bag in the refrigerator for up to 5 days; the crumb will firm but toasts wonderfully. For long-term, double-wrap in plastic and foil and freeze up to 3 months. Reheat straight from frozen at 350°F for 12–15 minutes or thaw then bake 8–10 minutes to refresh the crust.
If you only have all-purpose flour, use it — the loaf will be slightly less chewy but still excellent. Substitute up to half the flour with whole wheat for nuttier flavor but increase hydration slightly (add 1–2 tablespoons water) because whole wheat absorbs more. You can swap olive oil for melted butter for a richer taste, but the loaf will no longer be dairy-free. For a slightly sweeter crust, brush the top with a thin olive oil wash before baking.
Slice thick for open-faced sandwiches, or serve torn pieces alongside a bowl of minestrone or tomato-braised greens. The loaf is also superb with extra-virgin olive oil and flaky sea salt for dipping, or used to mop up stews. For a simple appetizer, toast slices, rub with garlic, drizzle with olive oil and top with chopped tomatoes and basil for a rustic bruschetta.
This style of loaf is rooted in traditional Italian country baking where simple doughs yield maximum flavor through technique rather than fuss. Rustic loaves — shaped as batards or boules — were made with minimal ingredients and baked in communal ovens. The emphasis was on crust development and an open crumb suitable for soaking up sauces, a pillar of Italian dining that pairs well with robust regional dishes.
In cooler months, swap half the water for warm milk (or plant-based milk) to enrich the crumb slightly. Add a handful of roasted garlic and rosemary in autumn for a savory twist. In summer, serve with a chilled tomato salad and herby olive oil. You can fold in olives or sun-dried tomatoes during shaping for a Mediterranean variation.
Make the dough in the evening and let it rise slowly in the refrigerator overnight to develop more complex flavor; bring back to room temperature then shape and bake the next day. Alternatively, bake two loaves and freeze one for quick weeknight meals. Store slices in sandwich-sized bags for grab-and-go breakfasts or grilled cheese sandwiches any night of the week.
There’s something quietly satisfying about pulling a golden loaf from the oven and letting it cool so the crumb sets. Share it with friends, tear it apart with family, or save it for a simple late-night snack. This bread is forgiving, adaptable and always welcome at the table — make it once, and it’ll keep finding its way back into your rotation.
Use an instant-read thermometer to check water is about 110°F for reliable yeast activation.
If your kitchen is cool, place the covered dough in a slightly warm oven (off) or near a warm appliance to encourage rising.
To crisp the crust after refrigeration, reheat the loaf in a 350°F oven for 8–10 minutes.
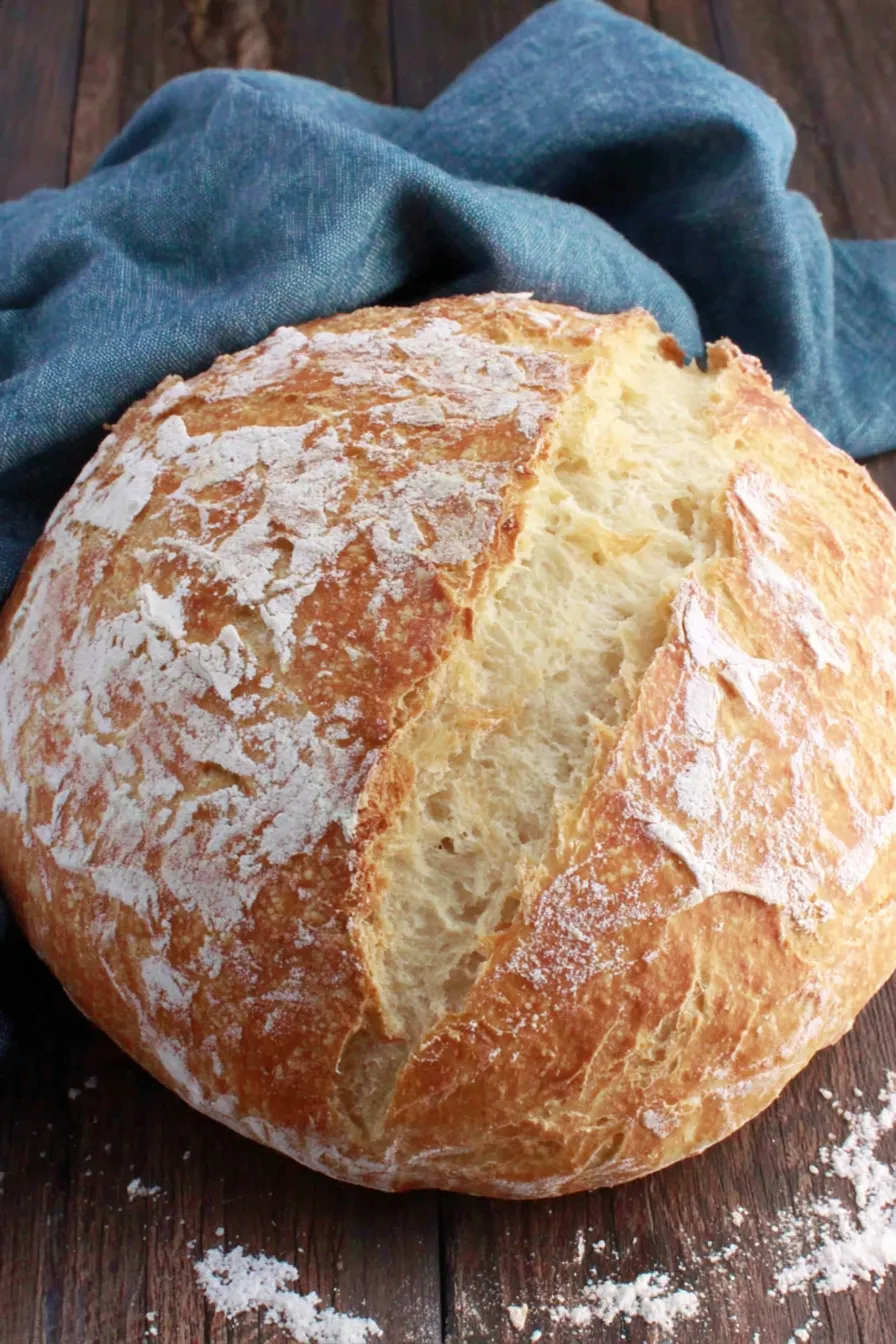
This nourishing rustic italian crusty bread recipe is sure to be a staple in your kitchen. Enjoy every moist, high protein slice — it is perfect for breakfast or as a wholesome snack any time.
This Rustic Italian Crusty Bread recipe makes perfectly juicy, tender, and flavorful steak every time! Serve with potatoes and a side salad for an unforgettable dinner in under 30 minutes.
Combine yeast, sugar and warm water (about 110°F) and let stand 5–10 minutes until foamy to confirm yeast is active.
Add 2 cups flour, olive oil and salt, stirring until a shaggy dough forms. Use a stand mixer or wooden spoon.
Knead by hand 10 minutes or in mixer 5 minutes, adding remaining flour a little at a time until dough is soft, smooth and elastic.
Place dough in an oiled bowl, turn to coat, cover and let rise 1 hour until doubled in size.
Punch down, shape into a 12-inch batard and place on prepared baking sheet. Cover and let rise 20–30 minutes until puffy.
Preheat oven to 400°F, score the loaf with 1/4-inch deep slits, then bake 20–25 minutes until golden brown.
Cool completely on a rack for at least 30 minutes before slicing to allow crumb to set.
Last Step: Please leave a rating and comment letting us know how you liked this recipe! This helps our business to thrive and continue providing free, high-quality recipes for you.
Leave a comment & rating below or tag
@cravele on social media!

Ultra-fudgy brownies studded with chocolate chunks, crowned with gooey marshmallows and a quick cocoa icing for irresistible, crowd-pleasing decadence.

Buttery shortbread crust topped with a gooey brown sugar pecan filling. Easy, crunchy, and truly irresistible with just 10 minutes of prep.

Silky pumpkin cheesecake with a spiced graham crust, no cracks, effortless mixing, and decadent caramel and rum whipped cream for unforgettable holiday celebrations.
Leave a comment & rating below or tag @cravele on social media!
Enjoyed this recipe? Share it with friends and family, and don't forget to leave a review!
This recipe looks amazing! Can't wait to try it.
Comments are stored locally in your browser. Server comments are displayed alongside your local comments.

Join to receive our email series which contains a round-up of some of our quick and easy family favorite recipes.
