
>>

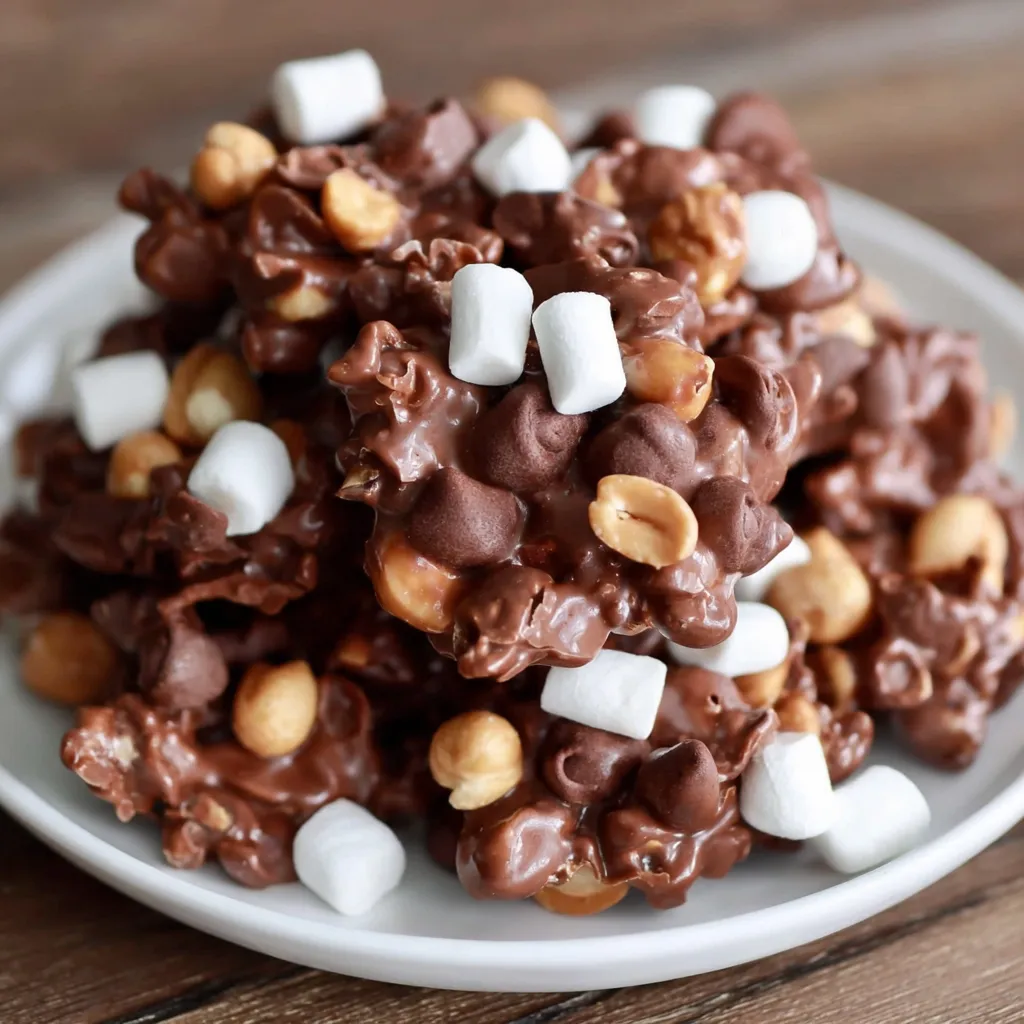
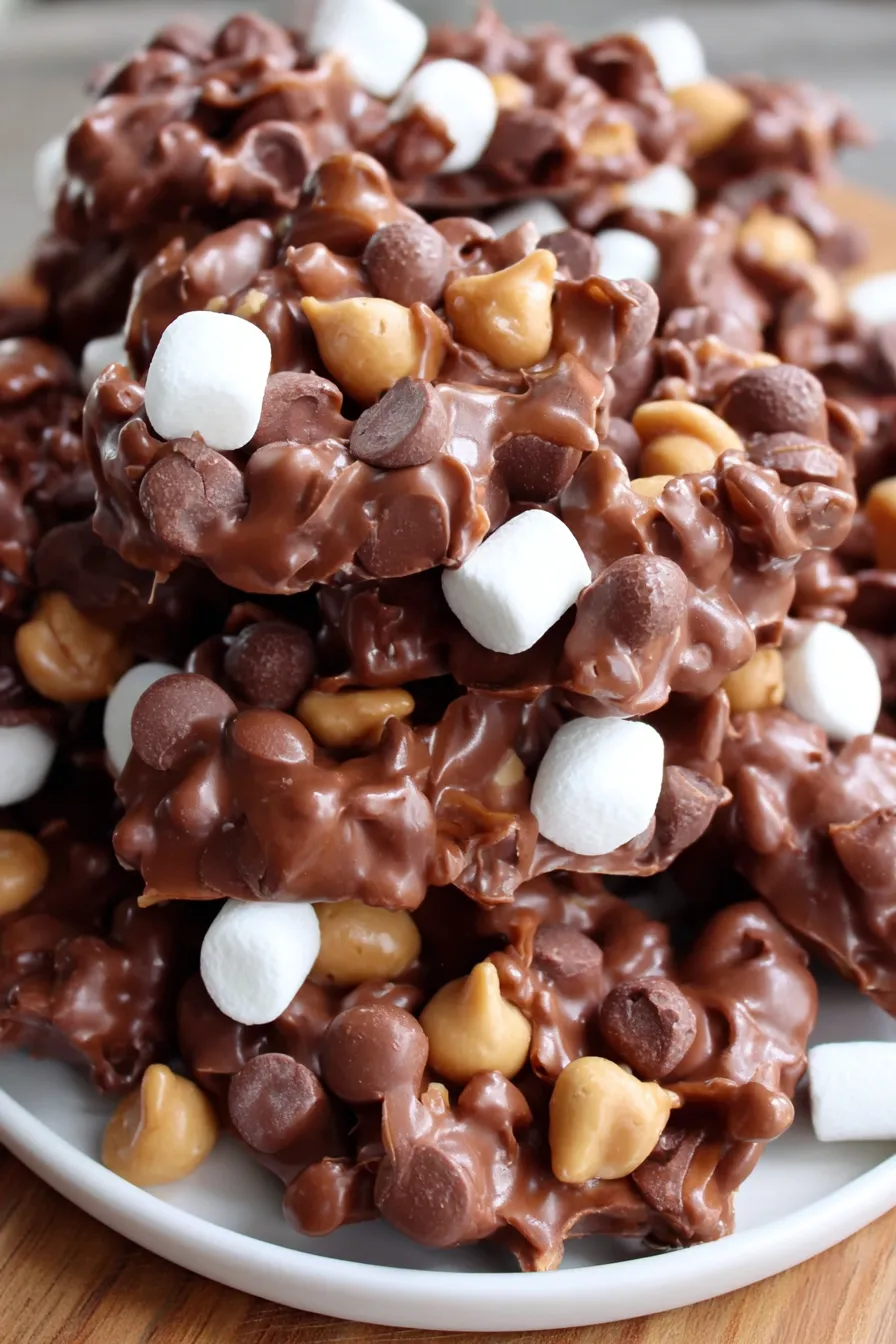
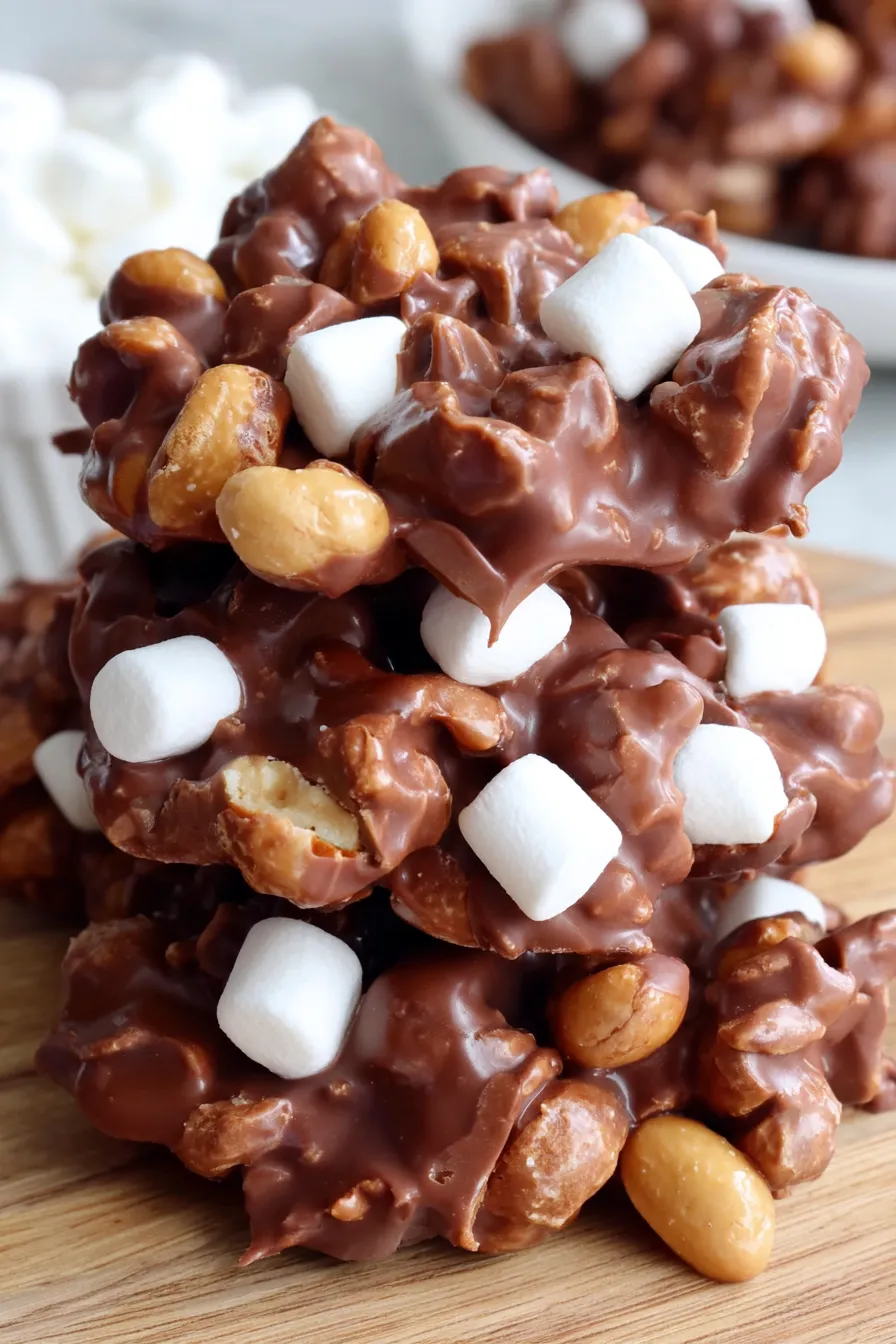
Sweet and salty peanut clusters studded with miniature marshmallows and glazed in semisweet chocolate and butterscotch for an irresistible no-bake treat.
My family always asks for these at every gathering. The first time I boxed them up as gifts the neighbors called within an hour to thank me. Over the years I have tweaked the quantities and learned a few tricks to make them glossy, evenly coated, and quick to set. They are comfort food with a portable attitude.
My favorite part is how quickly they come together during a hectic afternoon. I have brought these to picnics and school events and they always vanish first. The simple ingredient list means I often make a double batch without thinking twice, and I like to tuck a few into little cellophane bags with ribbon when hosting guests. They offer classic comfort with minimal effort.
Store the clusters in an airtight container to preserve crispness and prevent them from absorbing odors. If stacking, place parchment or wax paper between layers. At room temperature they remain good for up to two weeks in a cool, dry place. For longer storage freeze in a freezer-safe container for up to three months. To thaw, move to the refrigerator for an hour and then bring to room temperature before serving. Avoid storing near strong-smelling foods.
If you prefer a different nut try roasted almonds or cashews using the same volume. For a nut-free option substitute toasted sunflower seeds or pretzel pieces. Swap butterscotch chips for white chocolate chips for a different flavor profile. Use coconut oil instead of vegetable oil for a slight coconut note, or omit oil and stir in a teaspoon of light corn syrup if you want a firmer set. Note how each swap changes texture and sweetness.
Present clusters on a decorative platter garnished with extra whole peanuts or a light dusting of cocoa powder. They pair beautifully with strong coffee, milk, or a small scoop of vanilla ice cream for a more decadent treat. For party platters include small labels indicating allergens. These are perfect bite-sized favors and can be arranged in mini cupcake liners for a polished look. Try serving them alongside salted caramels for a variety of sweet and salty options.
Clusters like these draw on classic American confection traditions that celebrate combining nuts, chocolate, and marshmallows. Variations of the concept date back several decades in home kitchens and community bake sales where no-bake sweets were prized for simplicity and portability. The combination of chocolate and nuts speaks to a long-standing preference for contrast in texture and flavor that appears in many regional candy variations across the United States.
For holidays mix in red and green mini M&Ms for a festive look or add crushed candy cane at Christmas for a peppermint twist. In autumn swap butterscotch for pumpkin spice white chocolate and sprinkle with a pinch of cinnamon. For summer gatherings keep them chilled and offer alongside fresh berries. These clusters adapt easily to seasonal tastes while maintaining their quick assembly and travel-friendly nature.
Make a double batch and portion into small containers for grab-and-go snacks. Freeze individual portions in resealable bags for convenient treats that thaw quickly. Preparing the nuts and measuring the chips ahead of time saves minutes when you are ready to melt. Keep a small stash of waxed paper and disposable scoops in your pantry so assembling does not become a project.
These clusters are an easy, reliable way to create homemade sweets that look and taste like you spent hours in the kitchen. Whether for gifting, baking exchanges, or quiet weeknight indulgence, they bring joy with minimal fuss. Try them once and they are likely to become part of your go-to repertoire.
Stir the chips vigorously between 15 to 20 second microwave intervals to keep the chocolate smooth and glossy.
Use fresh miniature marshmallows so they remain soft in the finished clusters.
If you want firmer clusters use shortening instead of oil and chill them longer in the refrigerator.
This nourishing rocky road peanut clusters recipe is sure to be a staple in your kitchen. Enjoy every moist, high protein slice — it is perfect for breakfast or as a wholesome snack any time.
Yes. Store at room temperature in an airtight container for up to two weeks or freeze for up to three months.
Use a heatproof glass container and microwave in short intervals stirring between each to avoid burning.
This Rocky Road Peanut Clusters recipe makes perfectly juicy, tender, and flavorful steak every time! Serve with potatoes and a side salad for an unforgettable dinner in under 30 minutes.
Line a large baking sheet with waxed paper and arrange measuring tools so you can work quickly once the chips are melted.
Combine semisweet chips, butterscotch chips, and vegetable oil in a microwave-safe container. Heat in 30 second bursts, stirring between each, until smooth and glossy to avoid scorching.
Fold in roasted peanuts and miniature marshmallows quickly so the marshmallows retain some chew. Stir until evenly coated.
Use a tablespoon or small scoop to drop spoonfuls onto the prepared sheet and gently tap to flatten any peaks for even setting.
Refrigerate for about 15 minutes until set. Store in an airtight container at room temperature for up to two weeks or freeze for up to three months.
Last Step: Please leave a rating and comment letting us know how you liked this recipe! This helps our business to thrive and continue providing free, high-quality recipes for you.
Leave a comment & rating below or tag
@cravele on social media!

Ultra-fudgy brownies studded with chocolate chunks, crowned with gooey marshmallows and a quick cocoa icing for irresistible, crowd-pleasing decadence.

Buttery shortbread crust topped with a gooey brown sugar pecan filling. Easy, crunchy, and truly irresistible with just 10 minutes of prep.

Silky pumpkin cheesecake with a spiced graham crust, no cracks, effortless mixing, and decadent caramel and rum whipped cream for unforgettable holiday celebrations.
Leave a comment & rating below or tag @cravele on social media!
Enjoyed this recipe? Share it with friends and family, and don't forget to leave a review!
This recipe looks amazing! Can't wait to try it.
Comments are stored locally in your browser. Server comments are displayed alongside your local comments.

Join to receive our email series which contains a round-up of some of our quick and easy family favorite recipes.
