
>>

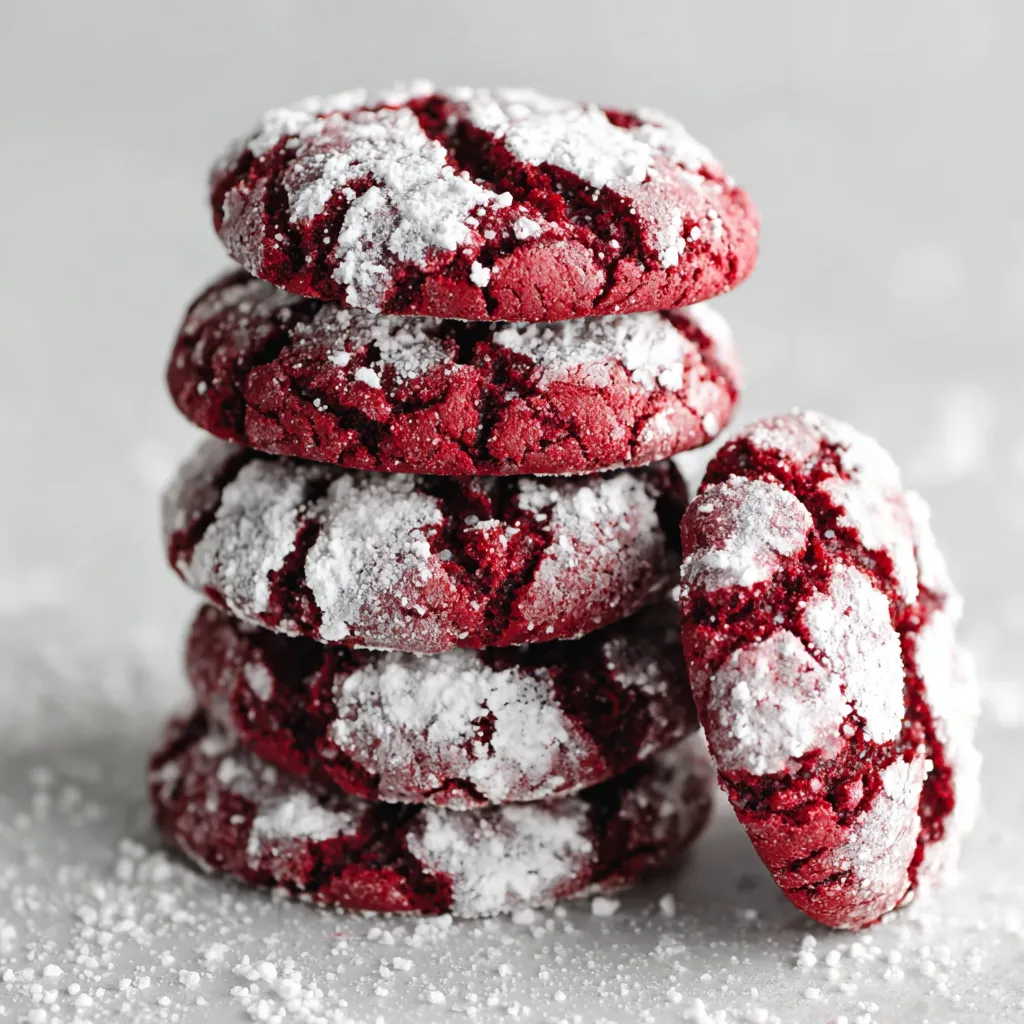
Soft, slightly gooey crinkle cookies with a tender cocoa crumb and a dramatic red hue, rolled in dual sugar for a crackled, snow-dusted finish.
This batch of Red Velvet Crinkle Cookies became my favorite sweet project the first winter I tried them. I was drawn to their dramatic color and the contrast between the slightly crisp exterior and the soft, fudgy center. I discovered the combination when I wanted something special for a holiday cookie swap but without a complicated process. The dough comes together quickly and the red color holds beautifully after baking, delivering that classic red velvet flavor with a light cocoa note and a moist texture that almost melts on the tongue.
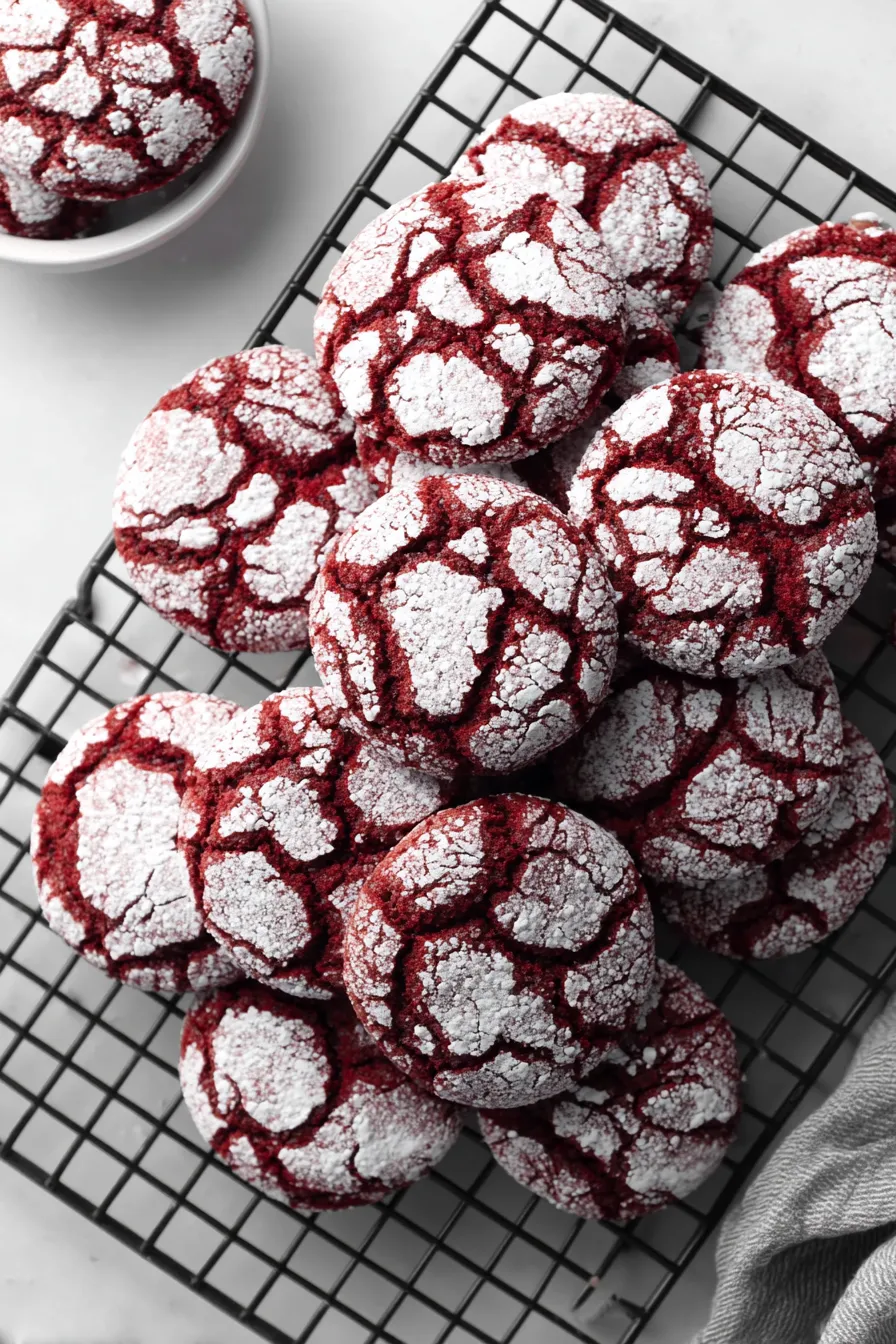
I make them for small celebrations and simple afternoons when someone knocks and asks for something warm from the oven. They are memorable because they look festive without being fussy, and they remain slightly gooey in the middle when baked just long enough. The powdered sugar coating forms signature crinkle lines that make each cookie appear snow-kissed. Every time I bring a plate to the table folks smile before tasting, and that moment is why I keep these in my seasonal repertoire.
Personally I love that these cookies are both showy and forgiving. The first time I made them I underestimated how quickly the powdered sugar seals in moisture, giving each cookie a slightly different crackle. Family members declared them perfect with cold milk and I learned to pull them from the oven while centers still look a bit underbaked, which makes all the difference.
My favorite thing about these cookies is how reliably they make an ordinary afternoon feel celebratory. Friends always ask if I made them for a holiday, even when I share them in February. The simple ritual of rolling each ball in dual sugars became a quiet, joyful task that my partner now helps with. We package extras in waxed paper and tie with ribbon for small gifts which always brings a warm response.
Keep the cookies in a single layer or separated by parchment if stacking in an airtight container at room temperature for up to four days. If you need longer storage freeze cooled cookies in a sealed container with parchment between layers for up to three months. To refresh slightly stale cookies, warm them in a 300 degree Fahrenheit oven for three to five minutes; this lightly crisps the exterior while restoring softness inside. For best powdered sugar appearance avoid refrigerating as moisture causes the coating to dissolve.
If you need dairy free use a plant based spread formulated for baking to replace the butter in equal measure. For a darker chocolate note substitute Dutch processed cocoa keeping the same volume, though the red color will mute slightly. To reduce sugar swap half the granulated for coconut sugar; flavor will be earthier. Use a flax egg to make them egg free however texture will be denser and less tender. Always adjust mixing time when swapping ingredients to avoid over development.
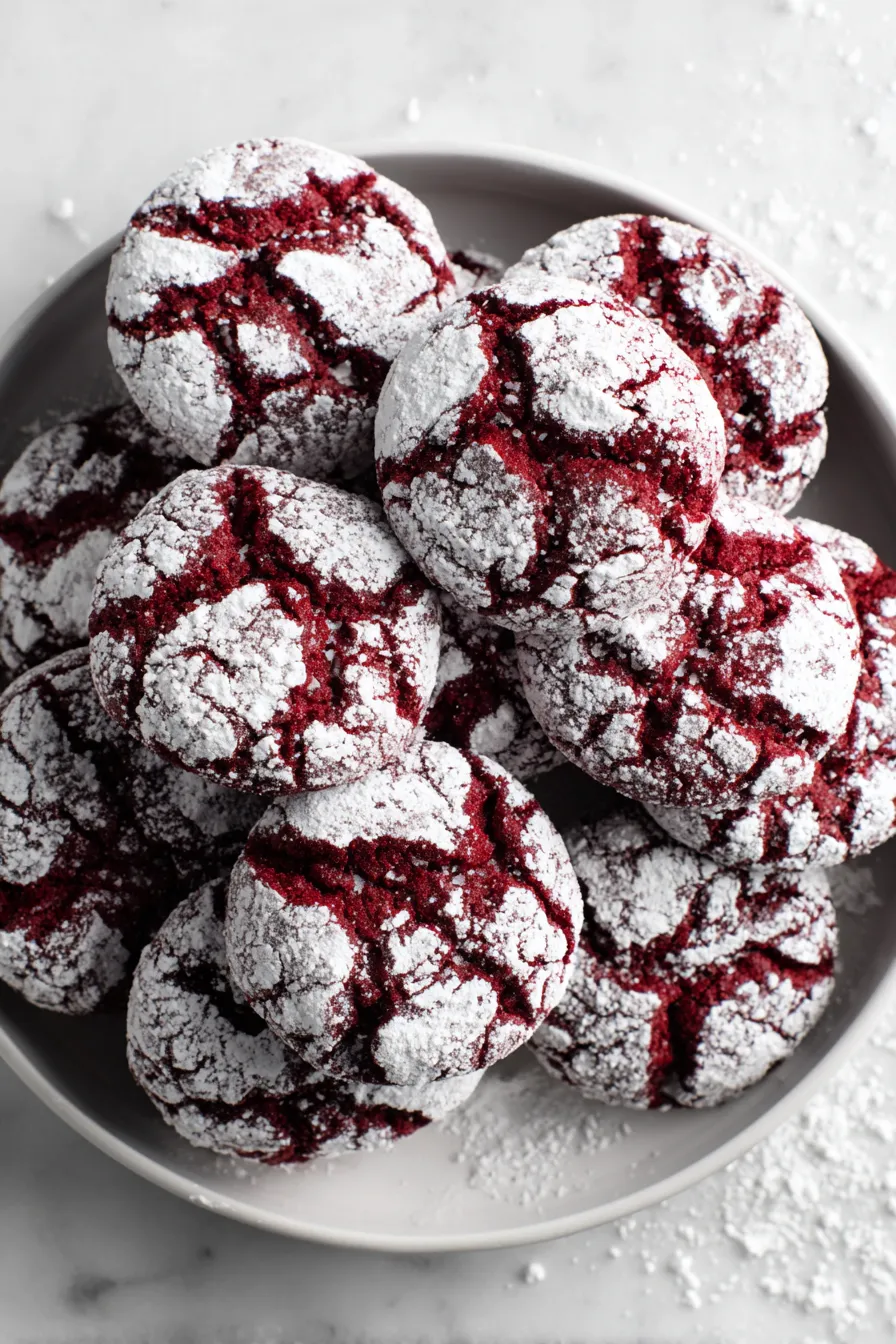
Serve warm with a tall glass of cold milk or a cappuccino for a cozy twist. For gatherings present on a platter dusted with additional powdered sugar and garnished with fresh berries to contrast the red hue. They also pair well with whipped cream or a mascarpone dip lightly sweetened with honey. For a party display, arrange with other small cookies varying colors and textures to make the red stand out.
The red velvet lineage traces back to American baking traditions that prized visual drama and tender crumb. Historically associated with Southern celebration cakes the color contrast and cocoa whisper evolved into many forms. Crinkle style cookies developed later as a handheld iteration that preserved the red velvet trademarks, offering the same visual appeal in an individual portion. This style has become popular at winter holidays and Valentine events because of its color and comforting flavor profile.
For winter swap the powdered sugar coating to a light dusting of cinnamon sugar for warmth. In spring combine the cookies with a citrus glaze or add a teaspoon of orange zest to the dough to brighten the flavor. For holidays fold in a few white chocolate chips right before scooping to add sweetness and a festive color contrast. Chilled dough can be shaped into larger mounds for thicker cookies that are perfect for colder months when heavier treats feel appropriate.
Prepare dough the night before and refrigerate in an airtight container to let flavors meld which deepens the cocoa note. Scoop and roll into sugar coated balls then arrange on a tray and freeze. Transfer frozen balls to a zip top bag labeled with date. Bake directly from frozen adding two minutes to baking time and you will have fresh cookies on demand for parties or unexpected guests. Use a 1 ounce scoop for uniform cookies that bake evenly across batches.
These cookies are a small celebration in every bite and they invite experiment and personalization. I hope you enjoy baking them as much as I enjoy sharing them. Try making a double batch to keep some in the freezer so a festive moment is always within reach.
Use room temperature eggs to ensure even mixing and a smoother emulsion in the dough.
Coat first in granulated sugar then in powdered sugar to get the brightest crackle and a snow kissed finish.
Do not over mix once the dry ingredients are added to keep the cookies tender and slightly fudgy.
Chill scooped dough balls if you need to bake later; chilled dough produces a slightly denser, chewier center.
Warm slightly in a low oven to refresh cookies that have sat for a day or two.
This nourishing red velvet crinkle cookies recipe is sure to be a staple in your kitchen. Enjoy every moist, high protein slice — it is perfect for breakfast or as a wholesome snack any time.
Yes, you can freeze both unbaked scooped balls and baked cookies. Freeze unbaked balls for up to three months and bake from frozen, adding one to two minutes to the bake time.
Powdered sugar will dissolve if refrigerated due to moisture. Store at room temperature in an airtight container for best appearance.
If centers are too soft bake an extra one to two minutes. If cookies are dry reduce bake time slightly and remove while centers still look a touch underbaked.
This Red Velvet Crinkle Cookies recipe makes perfectly juicy, tender, and flavorful steak every time! Serve with potatoes and a side salad for an unforgettable dinner in under 30 minutes.
Preheat oven to 350 degrees Fahrenheit. Line a baking sheet with parchment and set aside to ensure even baking and easy removal.
Beat softened butter with light brown sugar and granulated sugar on medium until light and fluffy, about two to three minutes, scraping bowl as needed for uniform texture.
Add eggs one at a time, mixing until incorporated. Stir in vanilla and red food coloring until evenly distributed. Mix only until combined to preserve tenderness.
Sift together flour, cocoa powder, baking powder and salt to remove lumps and ensure even distribution of leavening.
Add dry ingredients to the wet and beat on low until just combined. The dough should be soft and slightly sticky. Do not overmix.
Scoop 1 ounce portions, roll first in granulated sugar then powdered sugar. Place one inch apart on the sheet and bake for 10 minutes until puffed and cracked. Cool briefly on sheet then transfer to a rack.
Last Step: Please leave a rating and comment letting us know how you liked this recipe! This helps our business to thrive and continue providing free, high-quality recipes for you.
Leave a comment & rating below or tag
@cravele on social media!

Ultra-fudgy brownies studded with chocolate chunks, crowned with gooey marshmallows and a quick cocoa icing for irresistible, crowd-pleasing decadence.

Buttery shortbread crust topped with a gooey brown sugar pecan filling. Easy, crunchy, and truly irresistible with just 10 minutes of prep.

Silky pumpkin cheesecake with a spiced graham crust, no cracks, effortless mixing, and decadent caramel and rum whipped cream for unforgettable holiday celebrations.
Leave a comment & rating below or tag @cravele on social media!
Enjoyed this recipe? Share it with friends and family, and don't forget to leave a review!
This recipe looks amazing! Can't wait to try it.
Comments are stored locally in your browser. Server comments are displayed alongside your local comments.

Join to receive our email series which contains a round-up of some of our quick and easy family favorite recipes.
