
>>

Spooky, creamy Oreo truffles dipped in colored white chocolate, decorated with candy eyes and Halloween sprinkles — a no-bake seasonal favorite.
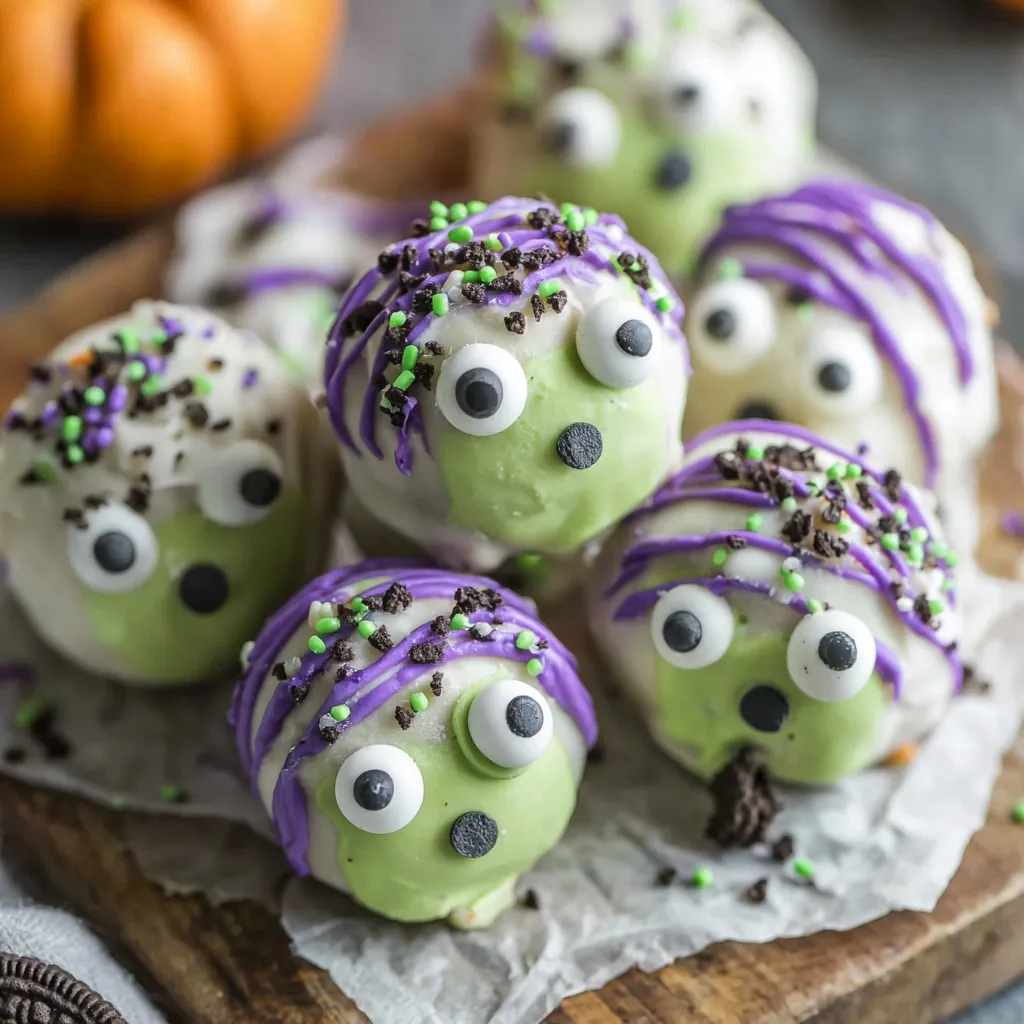
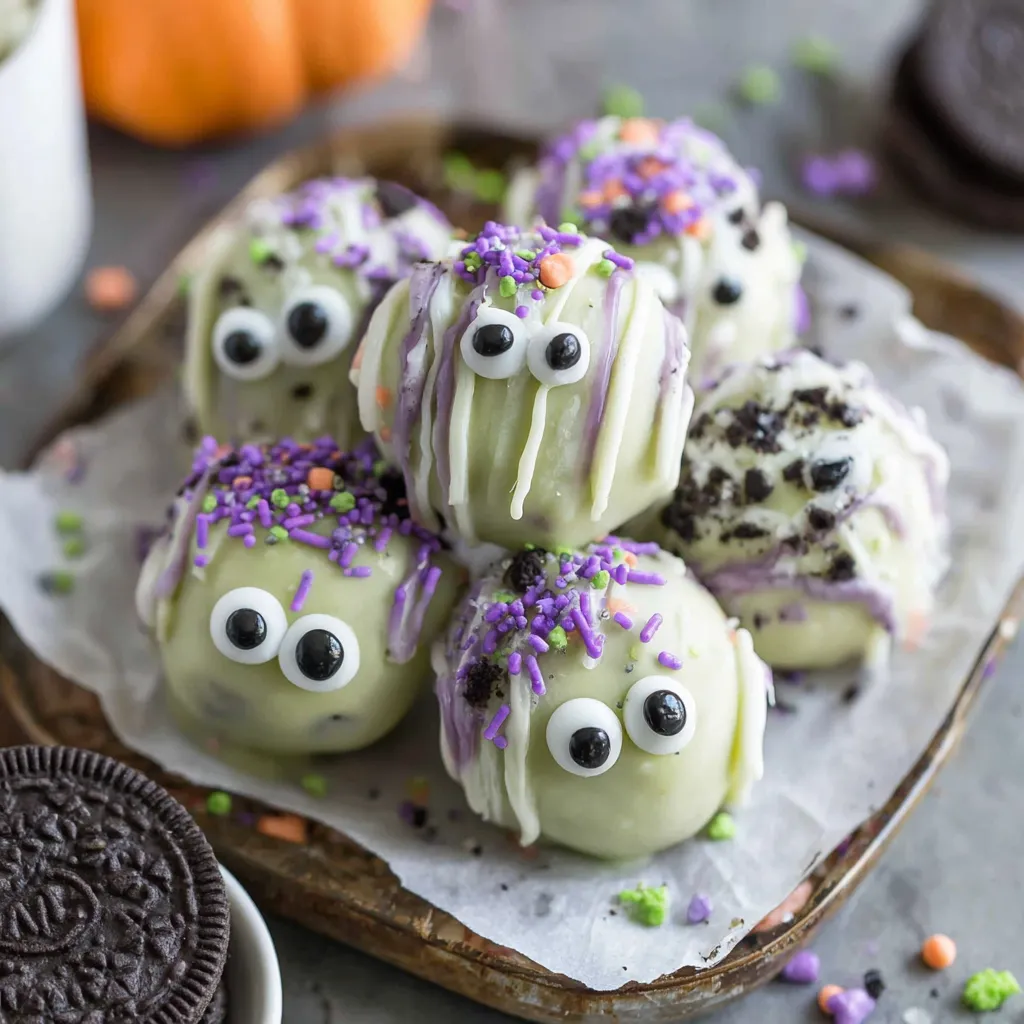
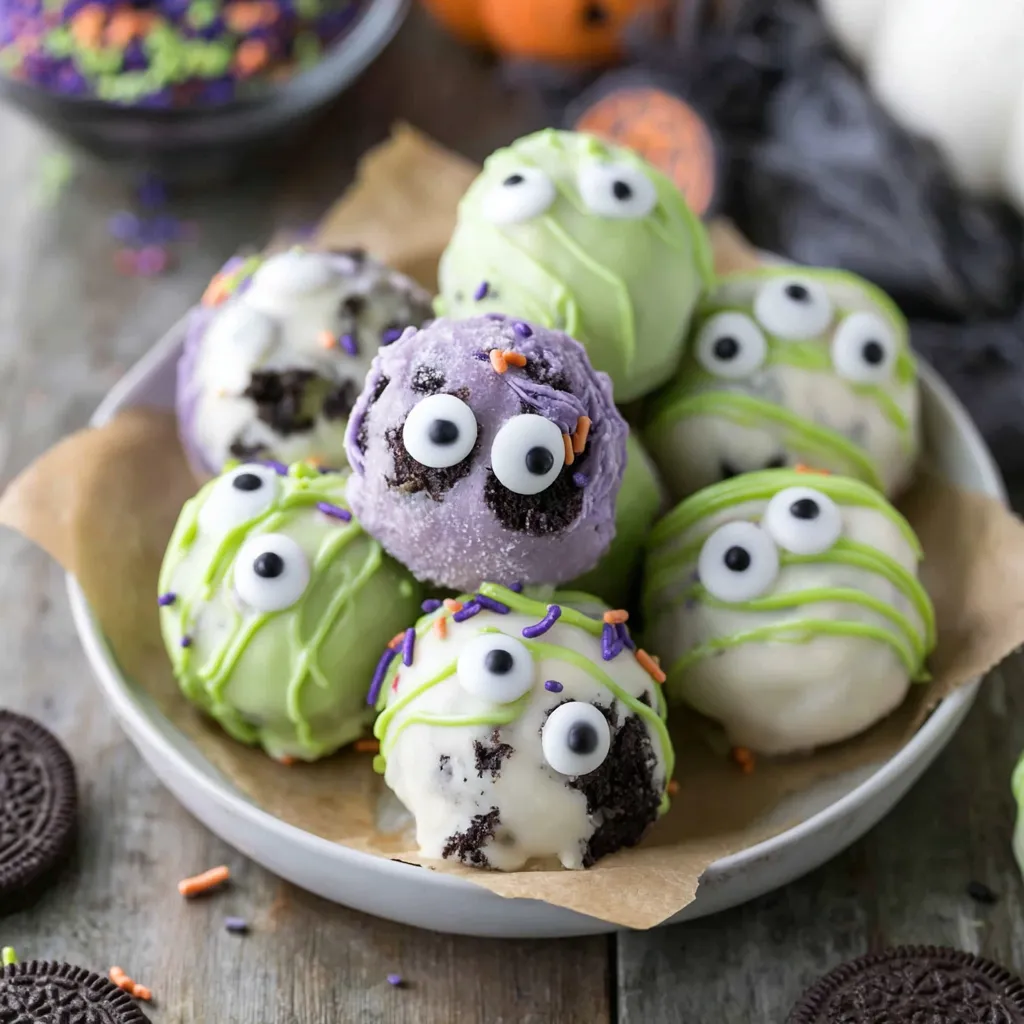
This Halloween, I fell even more in love with simple treats that make a big impression. These No Bake Monster Truffles — essentially Halloween Oreo balls — are one of those joyful discoveries that came from a last-minute party invitation. I needed something festive, fast, and kid-approved. Twenty-four cookies, four ounces of cream cheese, and a little white chocolate later, I had a platter that vanished within an hour. The texture is delightfully creamy and slightly crumbly from the cookie base, with a smooth, sweet white chocolate shell that snaps when you bite it.
I first made these on a rainy October afternoon when my niece wanted to help make 'monsters' for her school treat exchange. The combination of crunchy cookie crumb and luscious cream cheese transforms into a familiar “cookie dough” center that holds its shape when chilled, yet melts in your mouth with the white chocolate coating. Decorating is where the fun happens — green and purple melts, a few candy eyes, and a liberal sprinkle of Halloween confetti make each truffle unique. They’re perfect for parties, classroom treats, or a last-minute neighbor gift.
I love these not only because they look ridiculous and fun, but because guests always ask how they’re made. The method is forgiving — if the center gets too soft, a short freeze fixes it; if the coating thickens, a quick gentle reheat in the microwave smooths it out. My family’s favorite memory is decorating a full tray late at night with scary faces and glittering eyes — the adults nibbling, the kids squealing, and everyone in on the creative mess.
What I love most is how forgiving the method is: these are a perfect last-minute showpiece. Once the kids discovered they could press multiple eyes on a single truffle, the experimentations began — three-eyed blobs and purple-drizzled monsters that were equal parts hilarious and delicious. The clean-up is minimal and the smiles are maximal.
Keep finished truffles in a single layer in an airtight container to prevent condensation from forming on the chocolate surface. If stacking is necessary, separate layers with parchment. Refrigerate up to one week; for longer storage, freeze in a rigid container for up to three months. To thaw, move to the refrigerator for several hours and then bring to room temperature for 20–30 minutes before serving so the texture softens slightly without sweating.
If you prefer a dairy-free version, swap cream cheese for a dairy-free cream cheese and choose vegan white melts. For gluten-free needs, use certified gluten-free sandwich cookies (crumb texture will vary). Dark or milk chocolate can replace white melts — tempering is not required if you use candy melts, but if using couverture chocolate, work quickly and avoid steam. For color alternatives, natural powders like beet or spirulina are tricky with white chocolate; gels provide the most consistent hues without changing texture.
Arrange the truffles on a dark slate or an old cookie sheet lined with parchment and scatter faux cobwebs for atmosphere. Pair with coffee or a lightly spiced hot chocolate to balance the sweetness. For class parties, individually wrap in clear treat bags tied with orange ribbon. Garnishes like crushed candy canes are seasonal swaps — for Halloween, use edible glitter or metallic sprinkles for an extra eerie shimmer.
These are a playful twist on the classic no-bake truffle idea that’s popular in American home baking: cookie crumbs + cream cheese makes a versatile confection base that can be dipped, rolled in nuts, or flavored. The concept of candy-coated cookie balls has been embraced for holiday variations around the world — from Russian tea treats to American cookie-balls at bake sales — and for Halloween, candy eyes and colored coatings add a whimsical, season-specific touch.
For other holidays, change the color palette and embellishments: red and green with crushed pistachios for Christmas, pastel colors and nonpareils for Easter, or orange and brown with toasted pecans for fall harvest parties. Swap candy eyes for tiny fondant flowers for spring events. The base method remains the same, making this an adaptable template for year-round celebrations.
Make the cookie-cheese centers a day ahead and keep them chilled; dip and decorate shortly before serving for the freshest look. Portion the centers on a baking tray and freeze solid, then seal in a freezer bag to store — this prevents them sticking together. When transporting for events, pack in a shallow cooler or insulated bag with ice packs to avoid chocolate bloom or melting in warm weather.
These small, silly treats are a joyous way to celebrate the season — easy enough for new bakers, creative enough for decorators, and reliably loved by children and adults alike. Give them a try and make them your own: change colors, mix-and-match eyes, and enjoy the smiles that follow.
If the chocolate firms while you’re working, microwave in 10–15 second bursts and stir until smooth again.
Use gel food coloring; liquid colorings can thin or seize the chocolate.
Chill the centers until firm before dipping to avoid cracking and to ensure a smooth coating.
Work in batches and keep extra trays chilled so the centers stay firm while you coat others.
This nourishing no bake monster truffles (halloween oreo balls) recipe is sure to be a staple in your kitchen. Enjoy every moist, high protein slice — it is perfect for breakfast or as a wholesome snack any time.
Yes. Store in an airtight container in the refrigerator for up to 7 days, or freeze for up to 3 months. Thaw in the refrigerator before serving.
Use a small ice cream scoop or two tablespoons per ball, yielding roughly 24 truffles from this batch.
Gel food coloring works best. Avoid adding water or liquid colorings to white chocolate as it can seize.
This No Bake Monster Truffles (Halloween Oreo Balls) recipe makes perfectly juicy, tender, and flavorful steak every time! Serve with potatoes and a side salad for an unforgettable dinner in under 30 minutes.
Pulse 24 Oreo cookies in a food processor until they’re a sand-like consistency, or crush in a zip-top bag with a rolling pin.
Add 4 ounces of softened cream cheese to the crumbs and pulse until a cookie dough forms, scraping the bowl as needed.
Scoop the mixture into 1-inch balls using a small ice cream scoop or 2 tablespoons, place on parchment, and freeze for 20 minutes.
Melt about 12 ounces of white melting chocolate in 30-second intervals, stirring until smooth; add 3–4 drops of green gel and mix to color.
Dip chilled balls into the green chocolate using a fork, tapping to remove excess, and return to parchment. If coating firms, reheat briefly.
Melt remaining 4 ounces of white chocolate, tint purple, drizzle over truffles, add candy eyes and sprinkles before the chocolate sets.
Last Step: Please leave a rating and comment letting us know how you liked this recipe! This helps our business to thrive and continue providing free, high-quality recipes for you.
Leave a comment & rating below or tag
@cravele on social media!

Ultra-fudgy brownies studded with chocolate chunks, crowned with gooey marshmallows and a quick cocoa icing for irresistible, crowd-pleasing decadence.

Buttery shortbread crust topped with a gooey brown sugar pecan filling. Easy, crunchy, and truly irresistible with just 10 minutes of prep.

Silky pumpkin cheesecake with a spiced graham crust, no cracks, effortless mixing, and decadent caramel and rum whipped cream for unforgettable holiday celebrations.
Leave a comment & rating below or tag @cravele on social media!
Enjoyed this recipe? Share it with friends and family, and don't forget to leave a review!
This recipe looks amazing! Can't wait to try it.
Comments are stored locally in your browser. Server comments are displayed alongside your local comments.

Join to receive our email series which contains a round-up of some of our quick and easy family favorite recipes.
