
>>

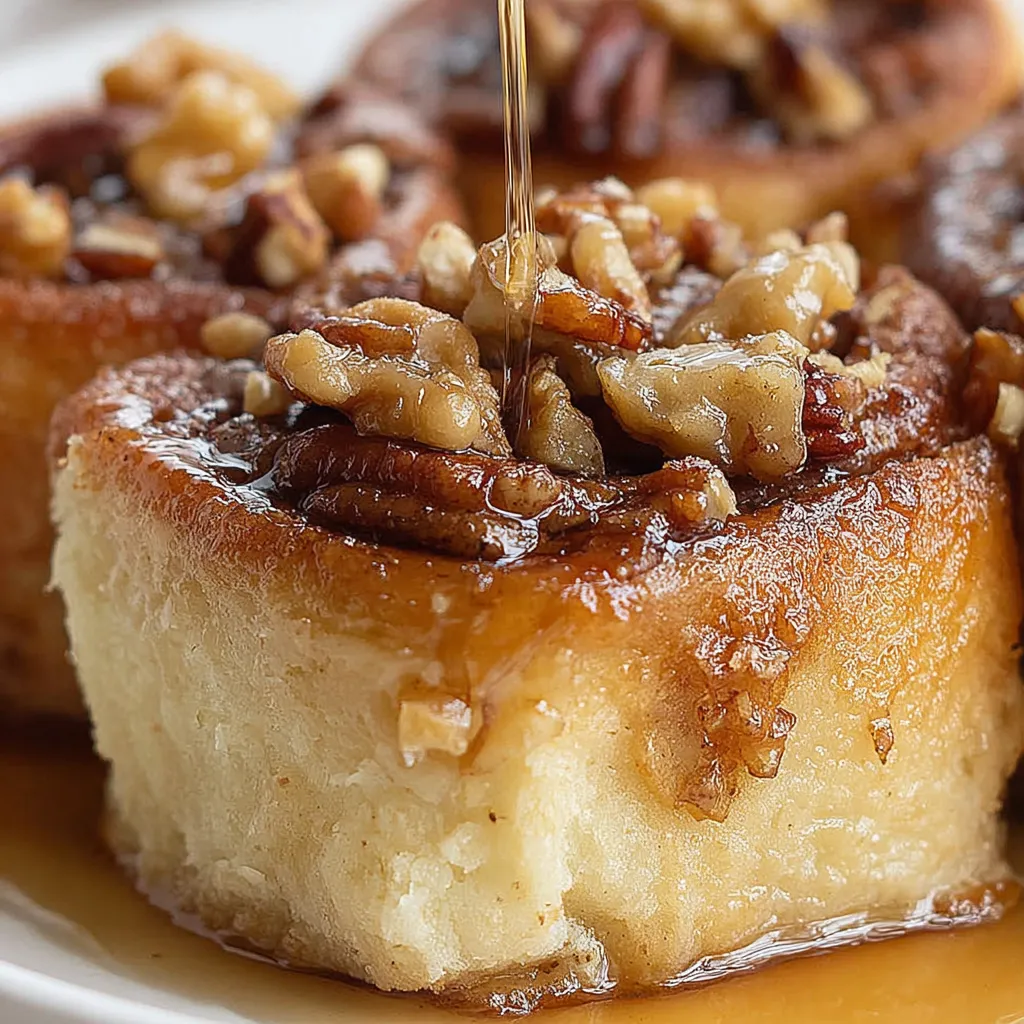
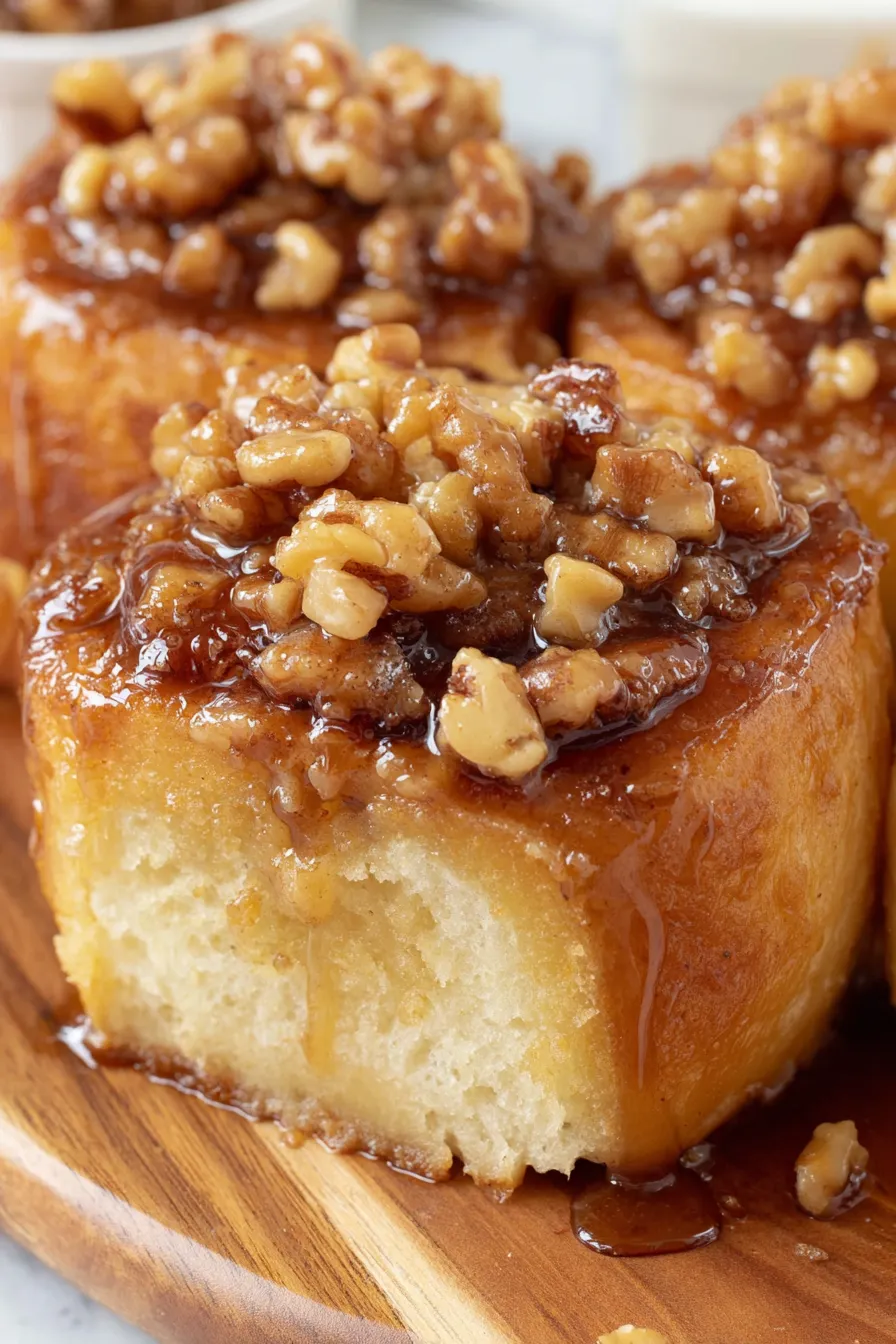
Soft, gooey rolls glazed with a deep maple caramel, studded with walnuts and layered with a brown-sugar filling — weekend-worthy sticky buns that pull people to the table.
This recipe for Maple Sticky Buns has been my go-to weekend treat for years. I first made these on a blustery November morning when I wanted something that smelled like home and tasted like autumn. The combination of dark maple syrup, warm brown sugar and toasty walnuts creates a sticky, sweet layer that caramelizes on the bottom of the pan and becomes the crown of each roll when inverted. The dough is enriched with an egg and a bit of butter so the crumb stays tender but structured enough to hold the swirls of filling.
I usually reserve this bake for a slow Saturday: the process rewards patience and yields a pull-apart tray of rolls that disappear in a few hours. What makes these memorable is the maple — I prefer dark Grade B for depth — and the contrast between the sticky topping and the pillowy interior. Friends often tell me the first bite is like autumn in one mouthful: sweet, nutty and slightly smoky. Serve them warm with coffee or a glass of cold milk and watch family and guests navigate the irresistible pull of the maple lacquer.
When I first served these at a family brunch, my sister closed her eyes after the first bite and said, “You’ve outdone yourself.” That kind of reaction keeps me making these again and again. Over time I refined the maple in the dough and added the walnut crunch so the balance between sweet and nutty is always satisfying.
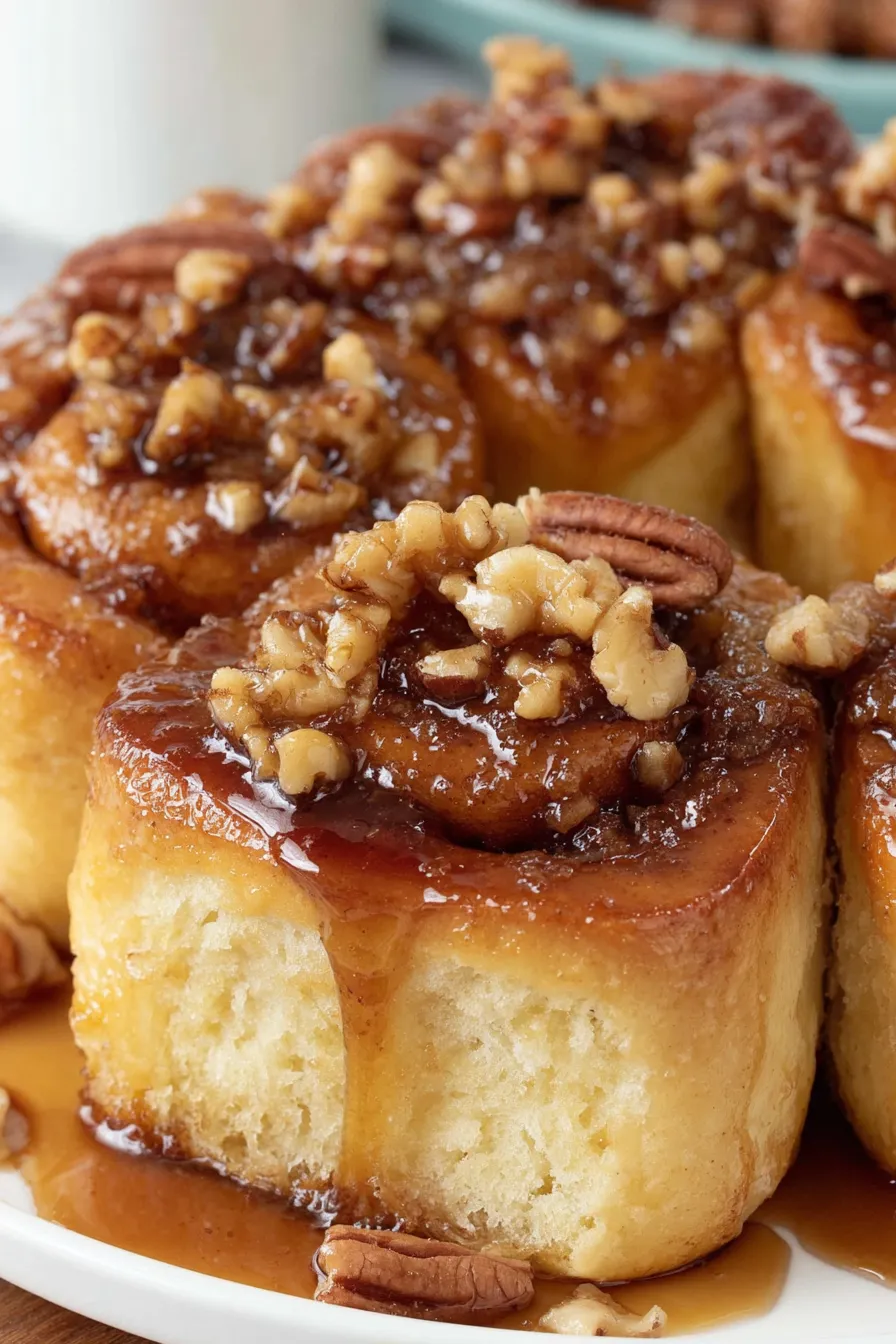
My favorite thing about these is how the maple pooling under the rolls becomes an almost sticky toffee when inverted — the contrast between a slightly crisp, caramelized top and the tender interior is what everyone remembers. I once made these for a neighborhood bake sale and heard gasps when the lid came off; they sold out first. The dough is forgiving, and small missteps in shaping or timing can be corrected — press down gently if a center rose too high, or reheat to revive texture.
Keep cooled buns at room temperature in an airtight container for up to three days; the maple topping remains glossy and the crumb stays tender. For longer storage, individually wrap cooled buns in plastic wrap and place in a freezer-safe bag for up to three months. To reheat frozen or refrigerated buns, thaw in the refrigerator overnight if frozen, then warm in a 300°F oven for about 10–12 minutes covered with foil to prevent burning. For a quick revive, microwave one bun for 12–18 seconds until just warm — avoid overheating to prevent a rubbery texture.
If walnuts aren’t available, pecans or chopped hazelnuts provide similar texture and toasty flavor; reduce size slightly for even distribution. For dairy-free adjustments, substitute vegan butter throughout and use a plant-based milk such as oat or almond — note the final flavor will be less rich but still satisfying. To make these egg-free, use a commercial egg replacer or 3 tablespoons of neutral oil plus 2 tablespoons extra water; the dough will be slightly less yellow but still soft. Avoid imitation maple syrup — if cost is a concern, blend half maple with half molasses for depth, but expect a slightly different sweetness profile.
Serve warm with strong coffee, a spiced latte, or a simple black tea to cut the sweetness. For brunch, present with fresh fruit (berries or orange segments) and a yogurt bowl to balance richness. Garnish with a sprinkle of toasted walnut pieces and a light drizzle of additional maple syrup for show. For a special occasion, add a small scoop of vanilla ice cream to a slightly warm bun — the contrast between cold cream and sticky maple is indulgent and very crowd-pleasing.
Sticky buns and similar sweet rolls trace their ancestry to European enriched-dough traditions — rolls filled with butter and sugar are common throughout Northern Europe. The use of maple syrup is a North American twist, drawing on the long tradition of maple production in northeastern regions of the U.S. and Canada. Incorporating pure maple into both dough and glaze gives these rolls a distinctly regional flavor that ties pantry baking to seasonal harvests and local ingredients.
In winter, boost spice with 1/2 teaspoon cardamom or a pinch of ground cloves in the filling. For spring or summer, fold in a few tablespoons of finely grated lemon zest and swap half the walnuts for toasted sliced almonds for a brighter lift. At holiday time, scatter 2 tablespoons of dried cranberries over the filling before rolling for color and tart contrast against the sweet maple base.
For efficient mornings, prepare the dough and filling the night before. After the initial rise (or the equivalent rest if using rapid-rise), shape the rolls and place them in the greased pan. Cover tightly and refrigerate overnight; the slow cold rise will develop flavor. In the morning, remove the pan, let it sit at room temperature for 30–45 minutes to come to room temp, then bake as directed. This approach provides fresh-baked aroma with minimal active morning time.
These buns pull together technique and flavor in a way that feels both comforting and celebratory. Whether you make them for a quiet family breakfast or to impress a group of friends, the sticky maple lacquer and nutty crunch always leave a memorable impression — and they’re delightful to experiment with once you’ve mastered the basic method. Happy baking!
Use dark (Grade B) pure maple syrup for the richest flavor; imitation syrup won’t caramelize the same way.
If using regular instant or active dry yeast, proof in 1/4 cup lukewarm water and allow a full first rise until doubled (30–45 minutes).
Place the baking pan on a sheet pan to catch any caramel bubble-overs and make cleanup easier.
If the tops brown too quickly, tent with foil for the last 5–10 minutes to prevent over-browning.
Warm the milk mixture to about 105°F (warm to the touch) to activate yeast without killing it.
This nourishing maple sticky buns recipe is sure to be a staple in your kitchen. Enjoy every moist, high protein slice — it is perfect for breakfast or as a wholesome snack any time.
This Maple Sticky Buns recipe makes perfectly juicy, tender, and flavorful steak every time! Serve with potatoes and a side salad for an unforgettable dinner in under 30 minutes.
If using regular instant or active dry yeast, dissolve it in 1/4 cup lukewarm water with a tiny pinch of sugar and wait 5–10 minutes until foamy. If using rapid-rise yeast, skip this proof step.
In a large bowl or stand mixer bowl, whisk together 2 cups flour, salt and the specified yeast. Reserve the extra flour to reach dough consistency during kneading.
Heat 1/2 cup water, 1/4 cup milk and 2 tablespoons butter until just warm to the touch (~105°F). Stir in 1 tablespoon maple syrup so the liquid is evenly flavored.
Add the warm liquid to the dry ingredients, then add the egg and mix until combined. Scrape down the bowl to ensure all flour is hydrated before adding the reserved flour gradually.
Add remaining flour a few tablespoons at a time until dough wraps around the hook and cleans the bowl. Turn out and knead briefly to a smooth ball on a lightly floured surface.
Cover and rest 10 minutes for rapid-rise yeast; if you used active dry yeast, allow a full first rise until doubled (about 30–45 minutes). This step develops flavor and structure.
Pulse walnuts in a food processor, add brown sugar and butter to form a crumbly mix, then pulse in 1 tablespoon maple syrup. Grease an 8×8 pan and layer 1/2 cup maple syrup, 1/2 cup brown sugar, walnuts and butter pieces.
Roll dough into a 9×14–15 inch rectangle. Spread filling evenly, roll from the 9-inch end, compress to 9 inches wide, then cut into nine 1-inch slices using a measuring tape for accuracy.
Place slices cut side up in prepared pan, cover with plastic wrap and let rise until doubled, about 40–45 minutes. Preheat the oven to 350°F while they finish rising.
Bake on a sheet pan at 350°F for 35–40 minutes until golden; tent with foil if browning too quickly. Run a knife around the edges and carefully invert onto parchment to reveal the maple topping. Cool to warm or room temperature before serving.
Last Step: Please leave a rating and comment letting us know how you liked this recipe! This helps our business to thrive and continue providing free, high-quality recipes for you.
Leave a comment & rating below or tag
@cravele on social media!

Ultra-fudgy brownies studded with chocolate chunks, crowned with gooey marshmallows and a quick cocoa icing for irresistible, crowd-pleasing decadence.

Buttery shortbread crust topped with a gooey brown sugar pecan filling. Easy, crunchy, and truly irresistible with just 10 minutes of prep.

Silky pumpkin cheesecake with a spiced graham crust, no cracks, effortless mixing, and decadent caramel and rum whipped cream for unforgettable holiday celebrations.
Leave a comment & rating below or tag @cravele on social media!
Enjoyed this recipe? Share it with friends and family, and don't forget to leave a review!
This recipe looks amazing! Can't wait to try it.
Comments are stored locally in your browser. Server comments are displayed alongside your local comments.

Join to receive our email series which contains a round-up of some of our quick and easy family favorite recipes.
