
>>

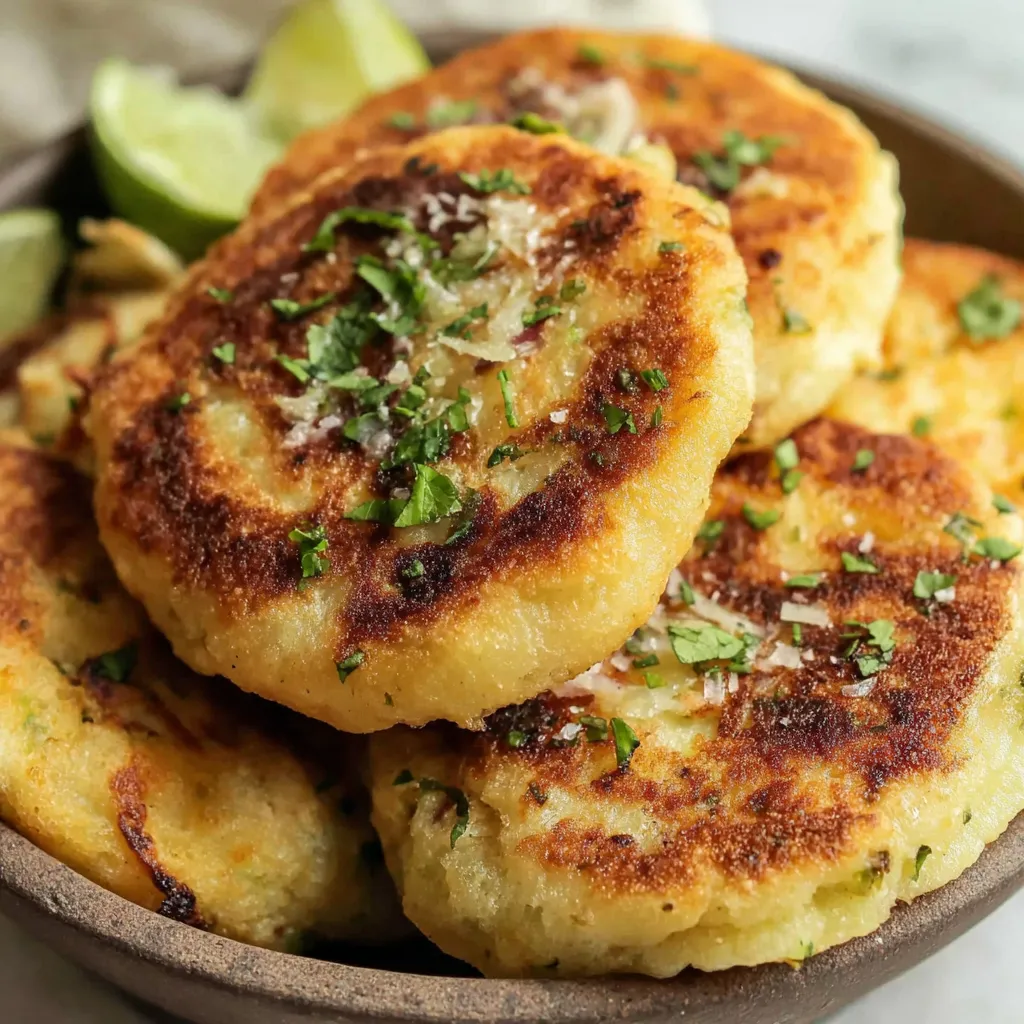
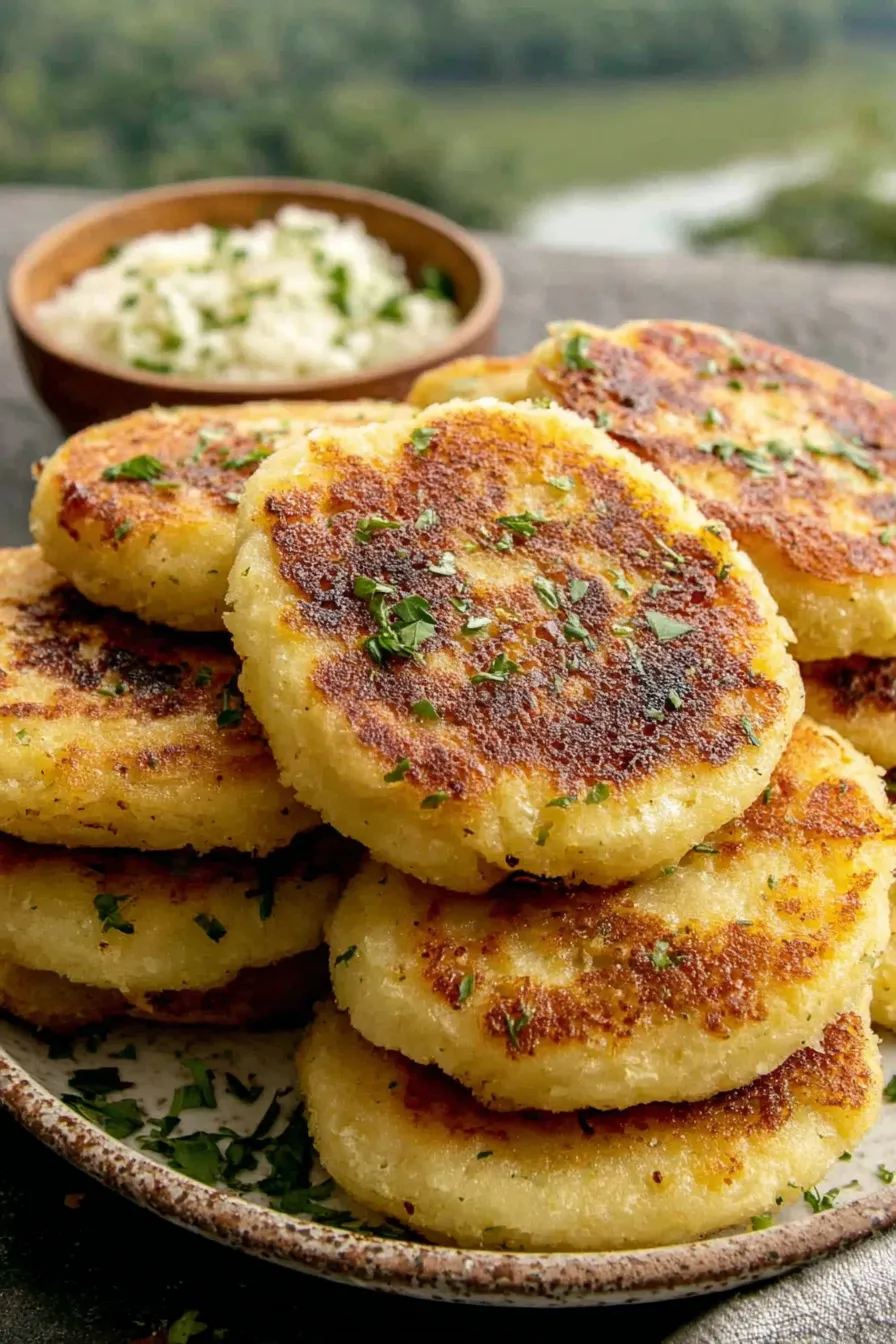
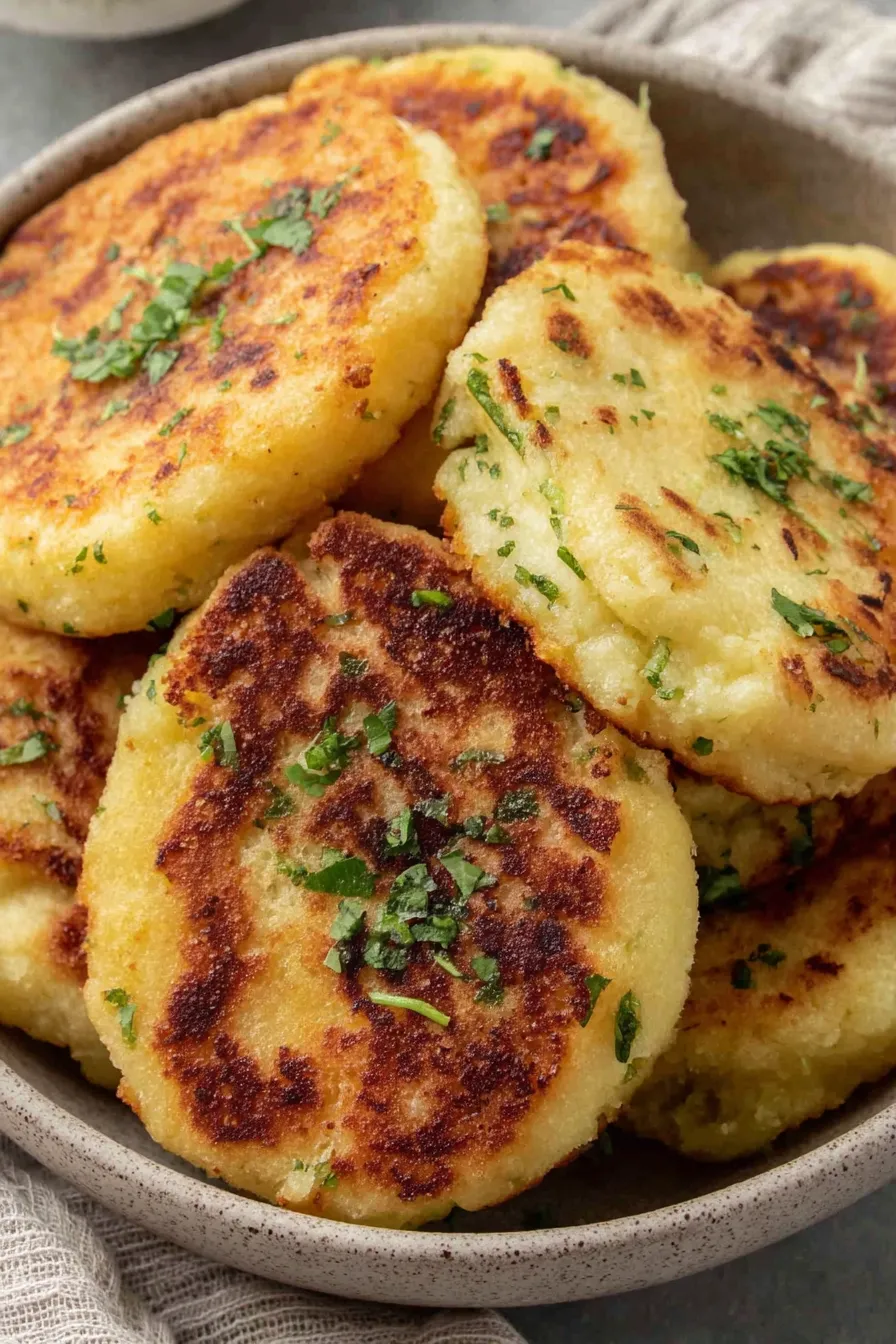
Golden, crunchy-on-the-outside, tender-on-the-inside gorditas made from Maseca masa harina — an easy, authentic snack or meal you can fry at home in under an hour.
I remember the first time I served these at a small family dinner: everyone ended up standing around the stove passing plates and swapping fillings. My sister swore they tasted like the gorditas from a childhood market stall and my neighbor took a container home for breakfast the next day. The process of mixing with warm water and feeling the dough come together is oddly therapeutic, and the payoff — hot, filled pockets — always sparks familiar smiles.
My favorite part is how adaptable these are — once you master the dough consistency and the two-stage frying trick, you can make them for quick dinners, party finger food, or weekend projects with kids. Guests love assembling their own with an array of toppings, and leftovers are always better the next day when reheated slowly in a skillet to regain crispness. The simple ingredient list means they're reliable: every time I make a batch it turns out comforting and nostalgic.
Let the warmed gorditas cool to room temperature on a rack before storing to avoid sogginess. For short-term storage, place in an airtight container in the refrigerator for up to 3 days. For longer storage, freeze flat in a single layer on a baking sheet, then transfer to a freezer bag for up to 3 months. Reheat fridge-stored pieces in a dry skillet over medium heat for 2–3 minutes per side until crisp. For frozen, thaw in the refrigerator then reheat the same way; avoid microwaving because it makes them rubbery.
If you don’t have Maseca, other brands of masa harina will work but may differ slightly in absorbency — add water sparingly. To make richer dough, substitute part of the water with warm chicken or vegetable stock. For a softer interior, incorporate 1 tablespoon neutral oil into the dough. For a lower-oil approach, brush each side lightly with oil instead of shallow-frying; they’ll be less crispy but still delicious. If you need a gluten-free certified brand, check labels carefully.
Serve warm with bright, acidic toppings to cut through the fried richness: pickled red onions, a squeeze of lime, fresh cilantro, and a smoky salsa verde. For a casual meal, offer fillings like refried beans and queso fresco for vegetarians or shredded barbacoa for meat lovers. Add a side of lightly dressed cabbage slaw or grilled corn. For brunch, fill with scrambled eggs, chorizo, and avocado. Garnish with crumbled cotija or a drizzle of crema for a restaurant-style finish.
Gorditas are a beloved part of Mexican street food and home cooking. The name means “little fat ones,” a nod to their plump, sandwich-like shape. Traditionally made from masa (nixtamalized corn), they can be cooked on a comal, griddle, or fried depending on regional preferences. In many regions they’re split and stuffed, while in others they’re slit like pockets. This version uses masa harina — a convenient, shelf-stable ingredient that echoes the classic texture while allowing home cooks outside Mexico to recreate the flavors with ease.
In summer, fill with grilled vegetables, charred corn, or citrus-marinated fish for a lighter take. In fall and winter, offer slow-braised meats, roasted squash, or stews to make a hearty comfort meal. For holiday gatherings, create a build-your-own station with a variety of fillings and garnishes so guests can customize. Adjust spices seasonally — smoky chipotle or ancho chili rubs highlight autumn flavors, while bright citrus and herbs enliven spring versions.
To streamline weekday meals, prepare and shape the dough ahead of time and store the disks in a single layer separated by plastic wrap in the refrigerator for 24 hours. Cook fresh when ready to serve for the best texture. Alternatively, fry a large batch and freeze cooked, cooled gorditas; reheat in a skillet to crisp and then fill. If you plan to fill for lunches, assemble fillings in separate containers to avoid sogginess and let everyone build their own at mealtime.
These crispy Maseca gorditas are forgiving, joyful to make, and endlessly adaptable. Whether you’re feeding a crowd or making a quiet solo dinner, they invite creativity and reward with warm, crunchy satisfaction. Try them once and they’ll likely become a go-to in your rotation.
Use hot (just-boiled) water for better hydration and a softer dough — it brings the masa together more smoothly than cold water.
Let the dough rest under a damp towel for at least 10 minutes; this improves texture and reduces cracking when shaping.
Fry initially at a higher heat to set the crust, then reduce to medium-low to finish cooking the interior without burning the outside.
Shape disks evenly and keep them the same thickness so they cook uniformly; about 1/4 inch thick is ideal.
Reheat leftovers in a dry skillet rather than the microwave to restore crispness.
This nourishing crispy maseca gorditas recipe is sure to be a staple in your kitchen. Enjoy every moist, high protein slice — it is perfect for breakfast or as a wholesome snack any time.
If the dough is too sticky, add a tablespoon of masa at a time until it reaches a firm peanut-butter texture. If it's too dry, add hot water a teaspoon at a time.
Yes — you can freeze cooked gorditas flat, then reheat in a skillet to regain crispness. Thaw overnight in the fridge before reheating for best results.
This Crispy Maseca Gorditas recipe makes perfectly juicy, tender, and flavorful steak every time! Serve with potatoes and a side salad for an unforgettable dinner in under 30 minutes.
Bring about 3 cups of water to a boil. Combine 2 cups Maseca with 1 1/2 cups hot water in a large bowl and mix by hand until a smooth, non-sticky dough forms, similar in texture to firm peanut butter. Adjust with more masa or water as needed and optionally knead in 1–2 tablespoons oil and a pinch of salt. Cover and rest 10 minutes.
Divide into 8 equal portions and roll into balls. Flatten each between your palms or between plastic sheets to about 1/4 inch thickness and palm-sized. Smooth edges to avoid cracking and ensure even thickness so they cook uniformly.
Use a heavy skillet or cast iron and add oil to coat the base about 1/4 inch deep. Heat to medium-high until shimmering (about 350°F) and test with a pinch of dough — it should sizzle immediately.
Fry the disks 3 minutes per side until golden, then reduce heat to medium-low and cook another 7–9 minutes per side to ensure the interior is fully cooked. Transfer to a rack to drain briefly and prevent sogginess.
Slice open each gordita with a sharp knife and stuff with desired fillings like beans, shredded meat, or cheese. Serve immediately with salsas and garnishes.
Last Step: Please leave a rating and comment letting us know how you liked this recipe! This helps our business to thrive and continue providing free, high-quality recipes for you.
Leave a comment & rating below or tag
@cravele on social media!

Ultra-fudgy brownies studded with chocolate chunks, crowned with gooey marshmallows and a quick cocoa icing for irresistible, crowd-pleasing decadence.

Buttery shortbread crust topped with a gooey brown sugar pecan filling. Easy, crunchy, and truly irresistible with just 10 minutes of prep.

Silky pumpkin cheesecake with a spiced graham crust, no cracks, effortless mixing, and decadent caramel and rum whipped cream for unforgettable holiday celebrations.
Leave a comment & rating below or tag @cravele on social media!
Enjoyed this recipe? Share it with friends and family, and don't forget to leave a review!
This recipe looks amazing! Can't wait to try it.
Comments are stored locally in your browser. Server comments are displayed alongside your local comments.

Join to receive our email series which contains a round-up of some of our quick and easy family favorite recipes.
