
>>

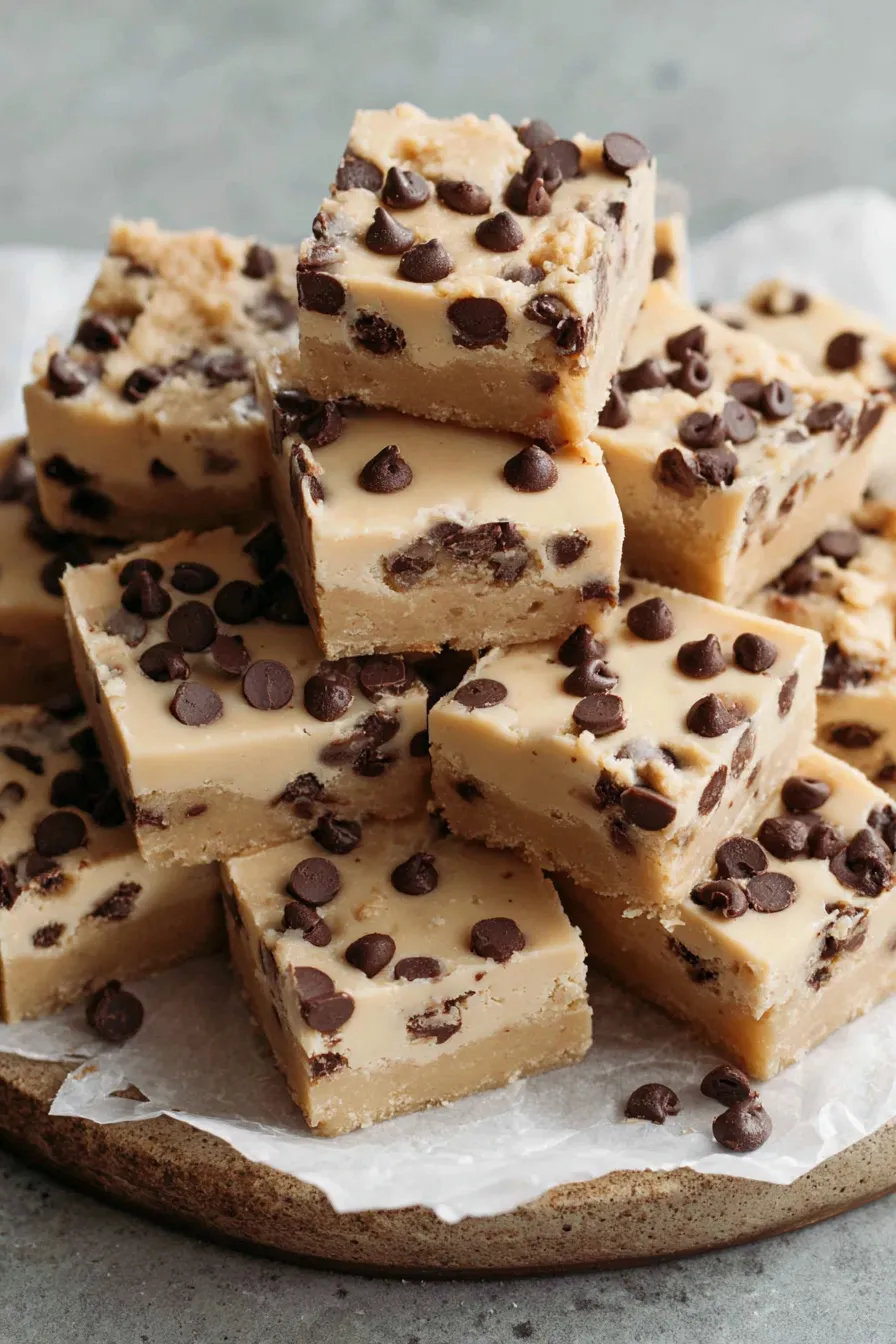
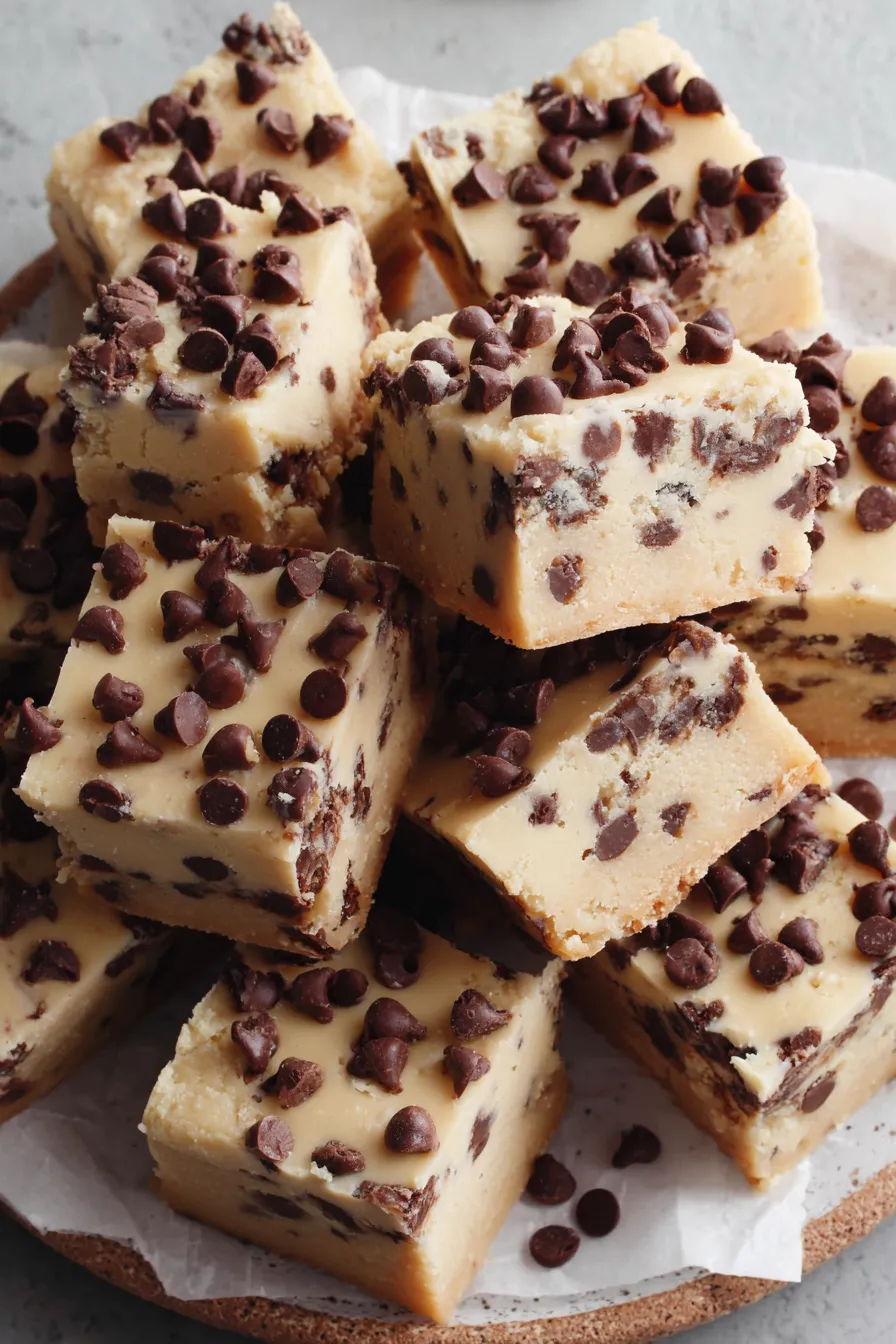
No-bake cookie dough bars layered with a chocolate-peanut butter topping — creamy, nostalgic, and perfect for sharing.
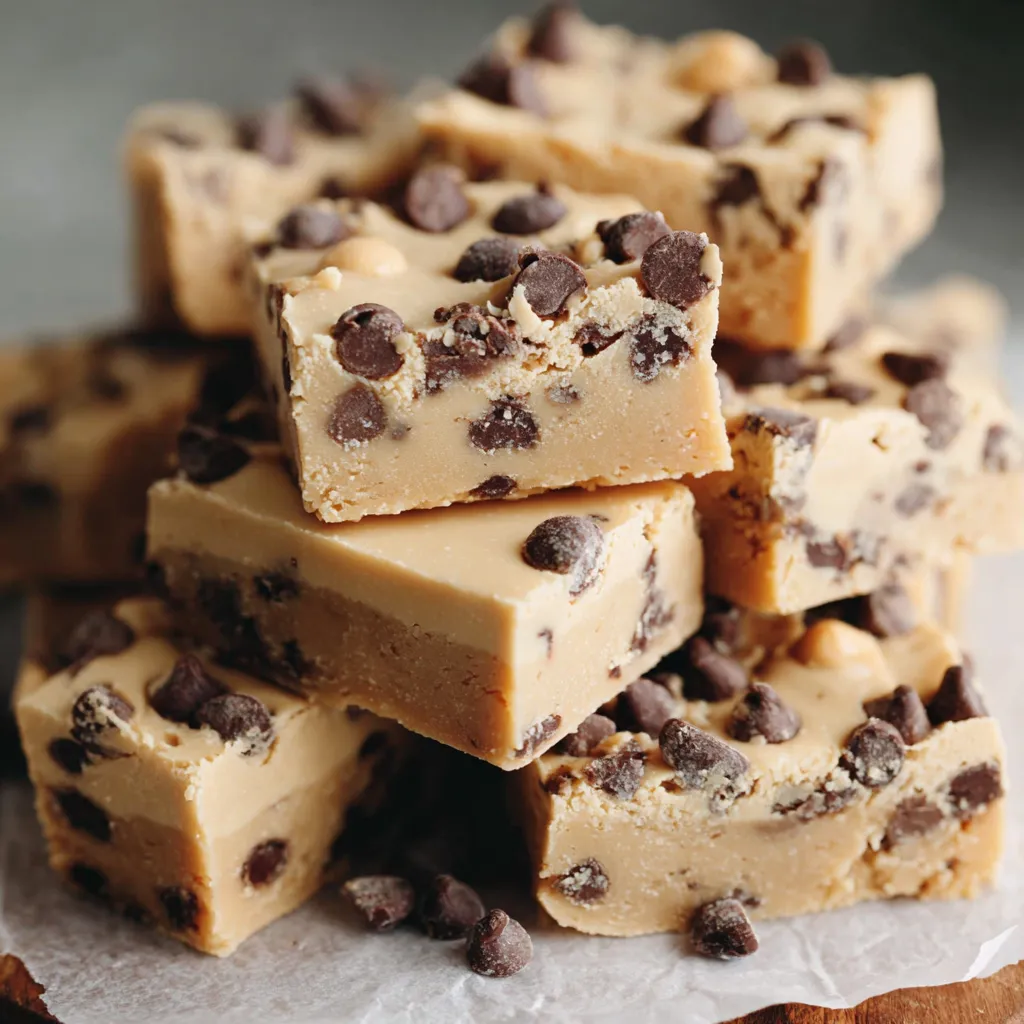
This recipe began as a late-night pantry rescue and ended up as a permanent file in my dessert rotation. I first made these bars on a rainy weekend when I wanted the comfort of raw cookie dough without the worry of eating raw eggs. The result is a rich, pliable base that tastes like the best spoonfuls of cookie dough, combined with a glossy peanut butter-and-chocolate topping that sets into a luscious finish. Every bite is chewy, slightly fudgy from the condensed milk, and studded with bursts of mini chocolate chips.
I love serving these when friends drop by unexpectedly — they slice neatly, travel well, and get devoured faster than anything I bake. The texture is unique: a dense, tender base that still yields when you bite into it, contrasted with a silky topping that cracks gently. I discovered this combination after playing with sweetened condensed milk and realized it binds the dough without eggs or heat. It’s become my go-to for potlucks, after-school treats, and weekend indulgences.
When I first shared these with family, my niece declared them “cookie dough magic.” My husband loved that they didn’t require baking — a small victory for hot-weather dessert prep. Over time I’ve fine-tuned the balance of sweetness and texture, and now these bars are the recipe people request most when I say I’m bringing dessert.
I love how these bars bridge childhood nostalgia and grown-up flavor preferences: the texture reminds me of licking the beater, while the peanut-chocolate topping makes each square feel decadent. Friends often ask for the recipe because it’s so approachable, and I enjoy the ritual of whipping up the base while the house fills with buttery, vanilla aromas.
Store cooled bars in an airtight container in the refrigerator for up to 7 days; I like to layer parchment between squares to prevent sticking. For longer storage, wrap individual bars tightly in plastic and place them in a freezer-safe bag — they keep well for up to 3 months. When you’re ready to serve after freezing, thaw overnight in the refrigerator and bring to room temperature for 20–30 minutes so the topping softens slightly but stays intact. Avoid leaving them at room temperature for extended periods in warm climates, as the peanut butter topping can become too soft.
If you have allergies or preferences, here are reliable swaps: substitute creamy peanut butter with almond butter or sunflower seed butter for a nut-free option — sunflower butter warms similarly and sets well. Swap milk chocolate chips for dark chocolate (60–70%) to cut sweetness without affecting texture. For a vegan version, use vegan sweetened condensed milk and plant-based butter; note the flavor will be slightly different but still delicious. If you need the bars gluten-free, replace all-purpose flour with a 1:1 gluten-free flour blend and allow an extra 10–15 minutes of chill time to firm up.
Serve these bars slightly chilled on a wooden board with a dusting of cocoa or coarse sea salt on top for contrast. They pair beautifully with a short cup of espresso, a glass of cold milk, or a scoop of vanilla ice cream for a plated dessert. For parties, arrange bite-sized squares on a tiered tray garnished with roasted peanuts or sprinkles. They’re also great as a late-night snack — simply wrap a few individually to tuck into lunchboxes or picnic baskets.
While not tied to a single traditional cuisine, these bars are part of the modern American love for no-bake, nostalgic sweets that mimic raw cookie dough safely. The use of sweetened condensed milk as a binder has roots in various global sweets where concentrated milk is used to create fudges and confections — dulce de leche and brigadeiro share similar functions. Combining peanut butter and chocolate is a classic American flavor pairing that recalls childhood candy bars and sandwiches, making this a comforting, familiar treat.
Adapt this base for seasonal celebrations: stir in 1/2 cup crushed peppermint candy and use dark chocolate topping for winter holidays, or fold 1/2 cup toasted coconut and swap peanut butter for a white-chocolate glaze in summer for a lighter profile. For autumn, add 1/2 teaspoon ground cinnamon and a pinch of nutmeg to the dough. These small changes allow the same method to feel festive across the year while keeping the simple chilling and topping steps unchanged.
Make a double batch and freeze half for quick dessert emergencies. Press the dough into foil-lined pans, freeze until firm, then wrap and label. When you want bars, thaw a slab in the refrigerator overnight, add the topping the next day, and chill until set. For portion control, cut the slab into uniform 1.5–2 inch squares and keep them in single layers separated by parchment. This method saves time and keeps the texture consistent.
Enjoy these bars chilled or at room temperature as a treat that always brings people together. They’re simple, forgiving, and a little bit addictive — the very best kind of dessert.
Chill the base for the full 3 hours or overnight to ensure clean slicing.
Use mini chocolate chips so chocolate is evenly distributed in every bite.
If your topping is too thick after microwaving, stir in 1 teaspoon of neutral oil to loosen it.
Heat-treat flour if serving to young children by spreading on a baking sheet and baking at 350°F for 5–7 minutes.
This nourishing chocolate chip cookie dough bars recipe is sure to be a staple in your kitchen. Enjoy every moist, high protein slice — it is perfect for breakfast or as a wholesome snack any time.
This Chocolate Chip Cookie Dough Bars recipe makes perfectly juicy, tender, and flavorful steak every time! Serve with potatoes and a side salad for an unforgettable dinner in under 30 minutes.
Line an 8×8 inch pan with parchment paper or aluminum foil with an overhang; lightly grease if desired.
Beat 1/2 cup softened butter and 3/4 cup packed light brown sugar until pale and fluffy, about 2–3 minutes. Scrape the bowl.
Mix in 1 teaspoon vanilla extract until incorporated.
On low speed, alternate adding 2 cups all-purpose flour and a 14-ounce can of sweetened condensed milk in three additions. Mix until just combined; the dough will be sticky.
Gently fold in 2 cups mini chocolate chips. Press the dough evenly into the prepared pan using lightly floured hands or parchment. Cover and chill for at least 3 hours or overnight.
Combine 1/2 cup creamy peanut butter and 1/2 cup milk chocolate chips in a microwave-safe bowl. Heat in 30-second intervals, stirring until smooth. Spread over chilled dough and chill at least 1 hour until firm. Lift from pan and cut into bars.
Last Step: Please leave a rating and comment letting us know how you liked this recipe! This helps our business to thrive and continue providing free, high-quality recipes for you.
Leave a comment & rating below or tag
@cravele on social media!

Ultra-fudgy brownies studded with chocolate chunks, crowned with gooey marshmallows and a quick cocoa icing for irresistible, crowd-pleasing decadence.

Buttery shortbread crust topped with a gooey brown sugar pecan filling. Easy, crunchy, and truly irresistible with just 10 minutes of prep.

Silky pumpkin cheesecake with a spiced graham crust, no cracks, effortless mixing, and decadent caramel and rum whipped cream for unforgettable holiday celebrations.
Leave a comment & rating below or tag @cravele on social media!
Enjoyed this recipe? Share it with friends and family, and don't forget to leave a review!
This recipe looks amazing! Can't wait to try it.
Comments are stored locally in your browser. Server comments are displayed alongside your local comments.

Join to receive our email series which contains a round-up of some of our quick and easy family favorite recipes.
