
>>

Chewy oat-cookie bars layered with melted milk chocolate and a buttery caramel sauce—easy to make, irresistible to share.
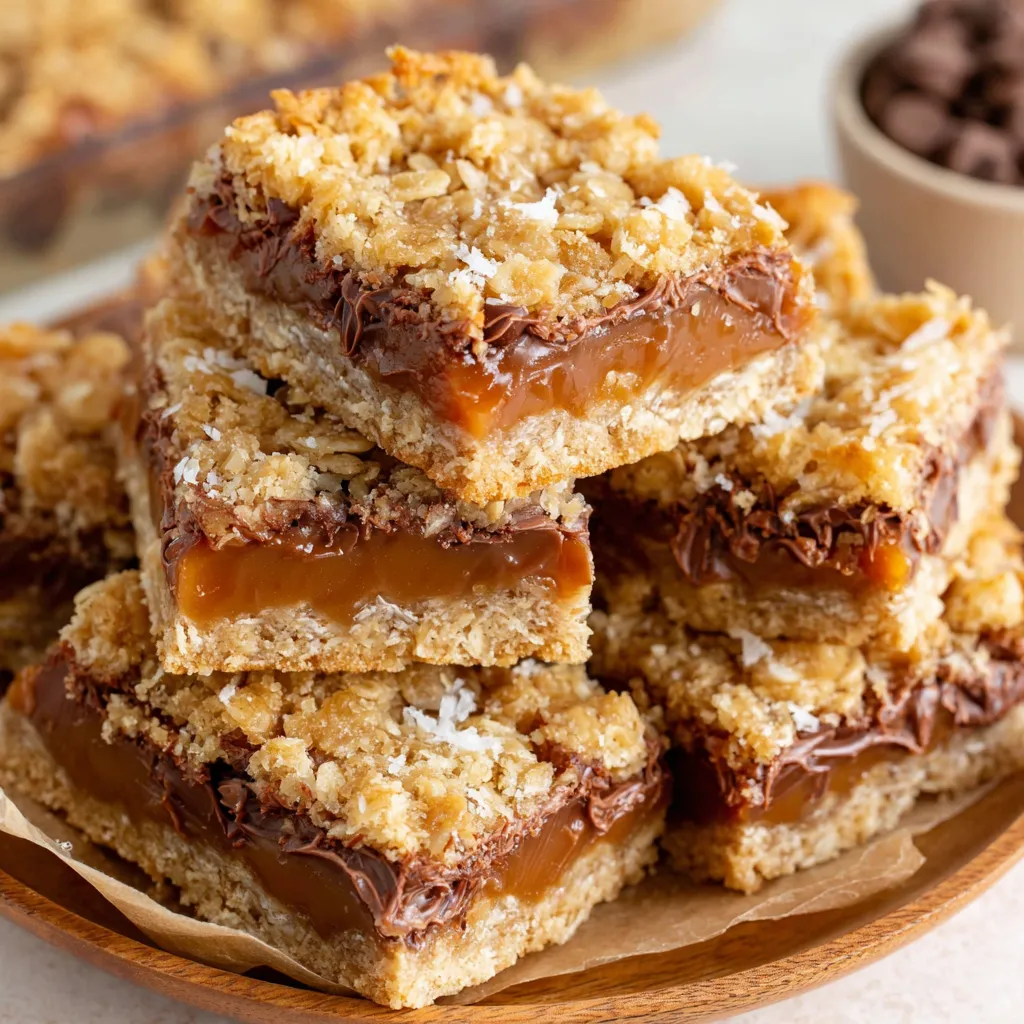
This caramel-and-chocolate bar has been one of my most requested treats since I first tried a similar version at a neighborhood bake sale. I fell in love with the contrast: a slightly crumbly, oat-forward base that gives way to a glossy ribbon of warm caramel and a melty blanket of milk chocolate. I made these for a Thanksgiving cookie exchange the year I discovered them and watched friends trade recipes like secret family heirlooms. Since then, they've become my go-to when I want something that looks indulgent but comes together in just a few simple steps.
I first developed this exact proportion while trying to streamline a complex, multi-step bakery version into something approachable for home kitchens. The result keeps the satisfying chew of old-fashioned oats and the buttery crunch of a shortbread-like cookie, while the chocolate and caramel layer stays impressively stable after chilling—yet soft and yielding when you bite through. Everyone who tastes these asks if I made them from scratch or bought them from a bakery; they don’t believe how little time and how few ingredients it takes. They’re perfect for potlucks, school lunches, or a weekend project when you want to impress without stress.
I’ve brought these to family gatherings and received everything from enthusiastic compliments to requests for the recipe. My kids love the gooey center, while adults appreciate the oat base that keeps the sweetness from being cloying. When friends ask for a treat that travels well and feeds a crowd, these are my first suggestion.
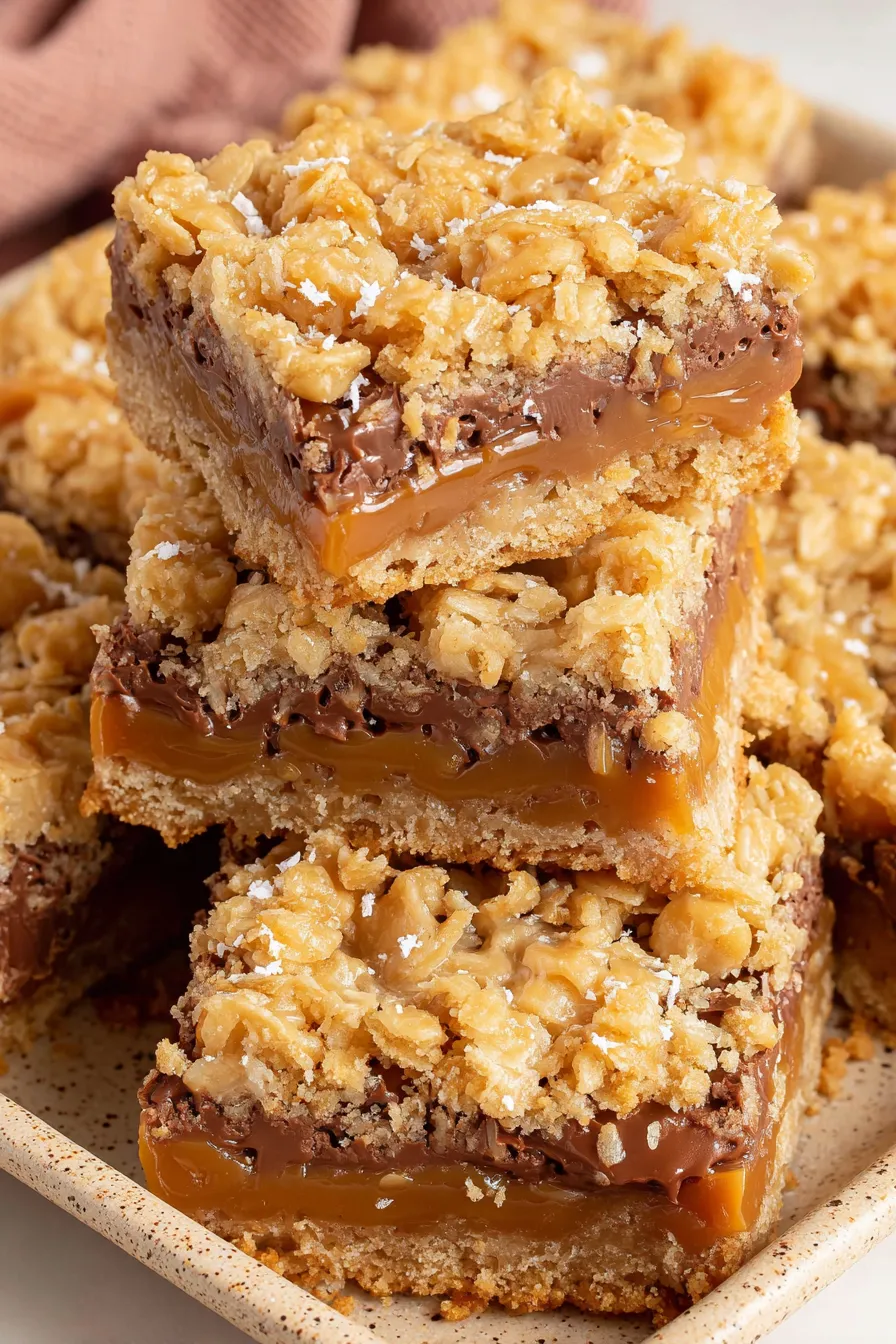
My favorite thing about these is how reliably they impress: I can make a single pan and it disappears at a party. The combination of textures makes them feel bakery-made, and my family’s go-to tweak is a sprinkle of flaky sea salt on top before chilling—balances the sweetness perfectly.

Store chilled in an airtight container for up to 5 days. If stacking layers, place parchment between layers to prevent sticking. For longer storage, freeze fully cooled bars in a single layer until firm, then stack with parchment between layers inside a freezer bag; they’ll keep up to 3 months. To serve, thaw in the refrigerator for several hours so the caramel regains a soft, sliceable texture. Reheat briefly in the microwave (5–8 seconds) if you want a warm, gooey center for one or two pieces.
If you prefer deeper chocolate flavor, swap the milk chocolate chips for 1½ cups semisweet or bittersweet chips (55–70% cacao). To reduce sweetness slightly, use a mixture of dark and milk chocolate. For a dairy-free version, use dairy-free chocolate chips and replace the heavy cream with full-fat canned coconut milk, and use dairy-free caramels; results will be slightly softer and have a coconut undertone. For a nuttier profile, fold ½ cup chopped toasted pecans into the top oat layer before baking.
Serve these bars at room temperature or chilled with a dusting of powdered sugar or a sprinkle of flaky sea salt. They pair beautifully with black coffee, espresso, or a scoop of vanilla ice cream for a decadent dessert. For a casual gathering, stack them on a wooden board with small tongs—guests love the combination of rustic texture and sticky caramel.
Carmelitas are a North American variation on layered cookie bars that became popular in home baking circles for their simplicity and shareability. They combine elements of oat cookie traditions and the classic use of caramel and chocolate found in many American desserts. These bars reflect the long-standing affinity for layered, portable sweets—akin to blondies and seven-layer bars—that are staples at bake sales and family gatherings.
In fall, stir 1 teaspoon ground cinnamon and ¼ teaspoon ground nutmeg into the base for warm spice notes, or fold in chopped toasted pecans. For holidays, add ½ cup dried cranberries to the caramel layer before topping for a tart counterpoint. In summer, serve chilled with a scoop of lemon gelato to cut richness and add a refreshing contrast.
Make the base and chill it briefly, then store the crumb mixture in the fridge for up to 24 hours before assembling to save time on the day you plan to bake. The caramel sauce can be prepared and refrigerated for up to 48 hours; reheat gently before pouring so it’s pourable. For portion control, slice into 16 bars and individually wrap for packed lunches or grab-and-go snacks.
These caramel-and-chocolate bars strike a balance between comfort and showmanship: simple technique, spectacular results. Make a pan, share with friends, and enjoy the way a few pantry staples transform into something everyone remembers.
Press the bottom layer firmly before par-baking so it forms a cohesive base that won’t crumble when sliced.
Warm your knife under hot water and wipe it dry between cuts for clean edges and reduced dragging of caramel.
If melting caramels on the stovetop, keep the heat moderate and stir continuously to avoid scorching.
For a professional finish, sprinkle flaky sea salt over the warm caramel before chilling.
This nourishing carmelitas recipe is sure to be a staple in your kitchen. Enjoy every moist, high protein slice — it is perfect for breakfast or as a wholesome snack any time.
Chill the slab for at least 1½ to 2 hours so the caramel sets and you can slice cleanly.
Yes—you can freeze wrapped bars for up to 3 months. Thaw in the refrigerator overnight.
This Carmelitas recipe makes perfectly juicy, tender, and flavorful steak every time! Serve with potatoes and a side salad for an unforgettable dinner in under 30 minutes.
Preheat oven to 350°F. Line a 9×9-inch pan with parchment, leaving an overhang for easy removal. Lightly mist parchment with nonstick spray.
Combine flour, oats, brown sugar, baking soda and salt. Stir in melted butter and vanilla until just combined; do not overmix. The mixture should hold when pressed.
Press half of the mixture into the pan, compacting firmly. Bake for 10 minutes to set the bottom layer before adding chocolate and caramel.
Unwrap caramels and melt with heavy cream in a small saucepan over medium, stirring until smooth. Alternatively microwave in short bursts, stirring between each.
Scatter chocolate chips over the hot par-baked crust. Pour warm caramel evenly over the chips so they soften and form a continuous layer.
Sprinkle remaining cookie mixture over the caramel, pressing lightly. Bake 20 minutes until golden and set. Cool briefly, then refrigerate 1½–2 hours before slicing.
Last Step: Please leave a rating and comment letting us know how you liked this recipe! This helps our business to thrive and continue providing free, high-quality recipes for you.
Leave a comment & rating below or tag
@cravele on social media!

Ultra-fudgy brownies studded with chocolate chunks, crowned with gooey marshmallows and a quick cocoa icing for irresistible, crowd-pleasing decadence.

Buttery shortbread crust topped with a gooey brown sugar pecan filling. Easy, crunchy, and truly irresistible with just 10 minutes of prep.

Silky pumpkin cheesecake with a spiced graham crust, no cracks, effortless mixing, and decadent caramel and rum whipped cream for unforgettable holiday celebrations.
Leave a comment & rating below or tag @cravele on social media!
Enjoyed this recipe? Share it with friends and family, and don't forget to leave a review!
This recipe looks amazing! Can't wait to try it.
Comments are stored locally in your browser. Server comments are displayed alongside your local comments.

Join to receive our email series which contains a round-up of some of our quick and easy family favorite recipes.
