
>>

An upside-down tart of tender caramelized Granny Smith apples and flaky pastry — a timeless, impressive dessert that’s surprisingly simple to make.
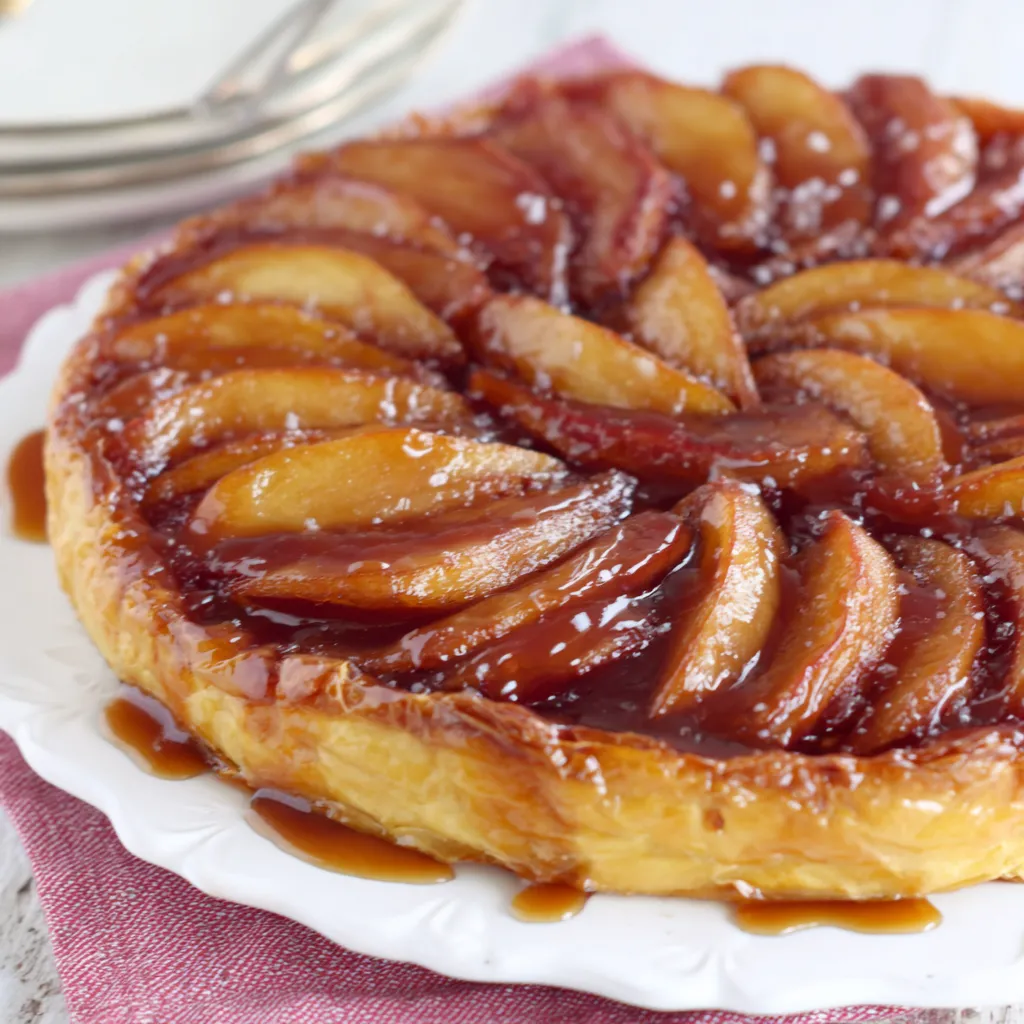
This caramel apple tarte tatin has been a weekend showstopper in my kitchen for years. I first learned the basics while staying with a friend in the Loire Valley and then adapted the technique to suit the way my family eats: tart, a little buttery, with apples that hold their shape but melt on the tongue. The contrast between a glossy blonde caramel and a crisp, golden puff pastry is the sort of texture play that always draws an appreciative hush around the table.
I discovered a dependable method for this dish during an autumn when I wanted something elegant but fuss-free for a small dinner party. The apples are arranged tightly so each slice soaks up just enough caramel, and finishing the tart after a short rest makes the turning-out moment dramatic but reliable. It’s a dessert that feels like a treat yet uses pantry staples and one sheet of puff pastry, so it comes together without a lot of specialized ingredients.
My family always remembers the first time I flipped a tarte tatin: worried it would stick, I held my breath and watched the pan reveal a shining dome of apples. Since then it’s been the dessert I bring to small gatherings when I want to impress without stressing. The recipe taught me how to read caramel color and how to pack apples so they release just enough juice into the caramel without turning mushy.
My favorite moment is when a fork pierces a slice and the caramel strands pull apart — that glossy ribbon is what makes guests smile. The first time I served this at a family gathering, everyone asked for the recipe and tucked into seconds with a dollop of crème fraîche, which cut through the sweetness beautifully.
Store cooled tarte tatin covered with foil or in an airtight container in the refrigerator for up to 3 days. To preserve some crispness, reheat individual slices in a 350°F oven for 8 to 12 minutes — avoid microwaving, which will soften the pastry. If you’ve prepared the apples and caramel in advance, keep them in the skillet lightly covered and assembled with pastry just before baking; assembled but unbaked tarts can be refrigerated for up to 8 hours.
If Granny Smiths are unavailable, Braeburn or Pink Lady apples work well because they are firm and slightly tart. For a dairy-free version, substitute vegan butter, though the caramel will be slightly thinner and flavor will differ. If you want a less-sweet profile, reduce sugar to 1/2 cup, but expect a milder caramel and paler color. Use store-bought puff pastry or make quick rough puff if you prefer a handmade base.
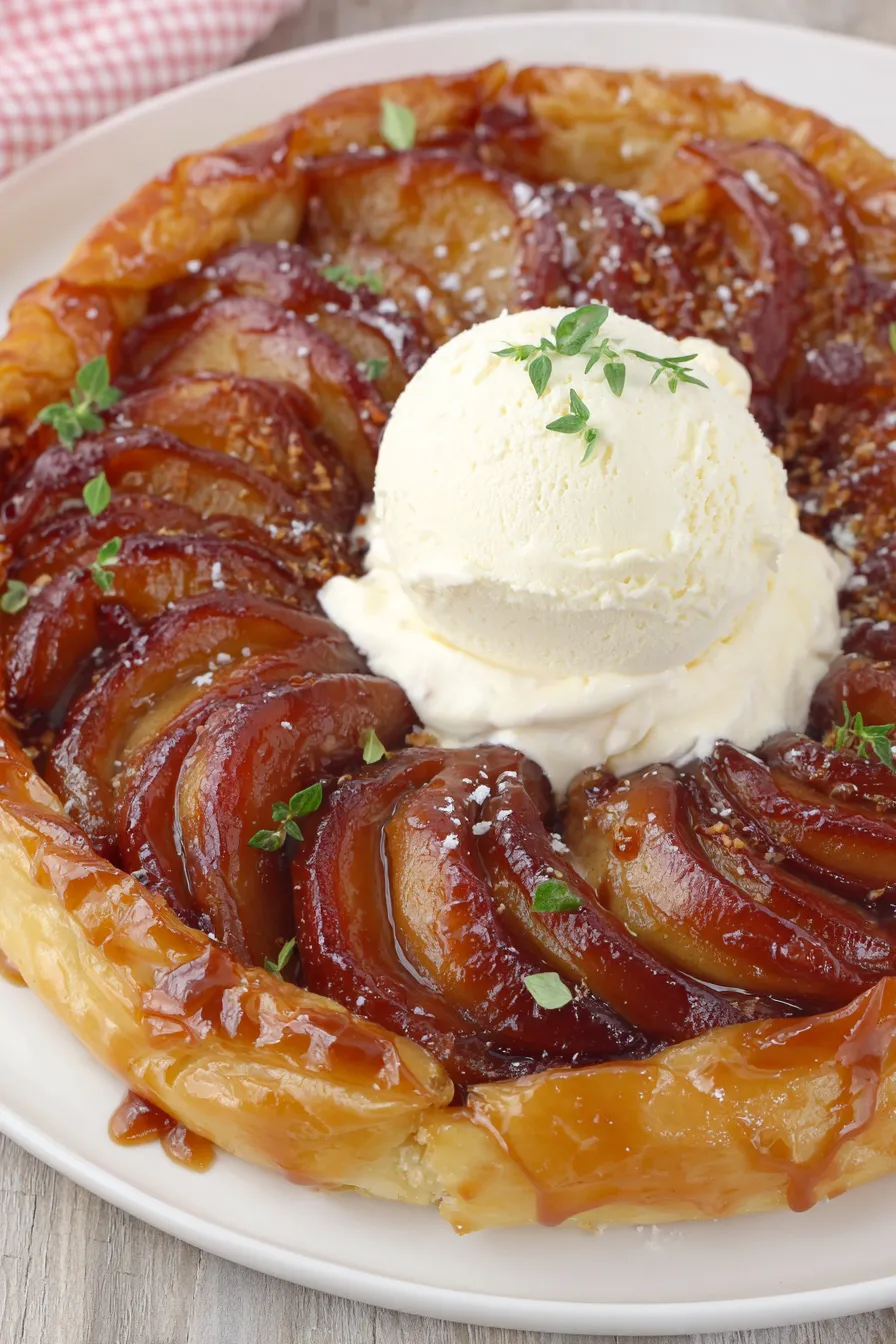
Serve warm with a scoop of vanilla ice cream or a spoonful of crème fraîche to balance the sweetness. For a more formal dessert, dust the plate with a light sprinkle of cinnamon or finely chopped toasted nuts. This tart pairs beautifully with black tea or a medium-bodied dessert wine, and it makes a lovely centerpiece for small dinner parties or holiday gatherings.
The tarte tatin is a classic French preparation that originated in the late 19th century when the Tatin sisters accidentally caramelized apples in a pan. The upside-down tart became iconic for its simplicity and dramatic presentation. Regional variations use pears, quinces, or even savory vegetables; the technique of cooking fruit in caramel before baking has spread worldwide as a hallmark of rustic French pastry.
In autumn and winter, use aromatic spices like a pinch of ground cinnamon or cardamom added to the apples before baking. In spring, try a lighter touch with tart green apples and a squeeze of lemon juice. For holiday celebrations, add a splash of Calvados or apple brandy to the caramel just off the heat for an extra layer of warmth and complexity.
For easier hosting, caramelize and arrange the apples in the morning, cover the pan and refrigerate. Roll the pastry and keep it chilled on the counter until you’re ready to finish. Bake about 30 minutes before serving and allow a 20-minute rest, so timing a dinner course with the tart is straightforward. Use an oven thermometer to ensure a consistent 400°F baking temperature.
Finish by slicing the tart with a sharp knife and serving warm. The combination of glossy caramel and tender-tart apples is simple but unforgettable — a dessert that invites people to linger at the table and talk a little longer.
Watch the caramel closely; remove from heat when it’s a pale blonde to avoid bitter, overcooked flavors.
Pack the apple slices tightly in concentric circles so the tart keeps its shape when inverted.
Use room-temperature butter so it melts evenly and blends smoothly with the sugar.
Do not skip the brief cooling before adding pastry — it prevents the caramel from running off the sides.
This nourishing classic caramel apple tarte tatin recipe is sure to be a staple in your kitchen. Enjoy every moist, high protein slice — it is perfect for breakfast or as a wholesome snack any time.
Allow the pan to rest about 20 minutes before turning out. If the caramel cools too much it will firm and be difficult to invert.
Use a heavy, oven-safe skillet or a tarte tatin tin with sloping sides; nonstick coatings can make inversion easier, but a well-seasoned pan also works.
This Classic Caramel Apple Tarte Tatin recipe makes perfectly juicy, tender, and flavorful steak every time! Serve with potatoes and a side salad for an unforgettable dinner in under 30 minutes.
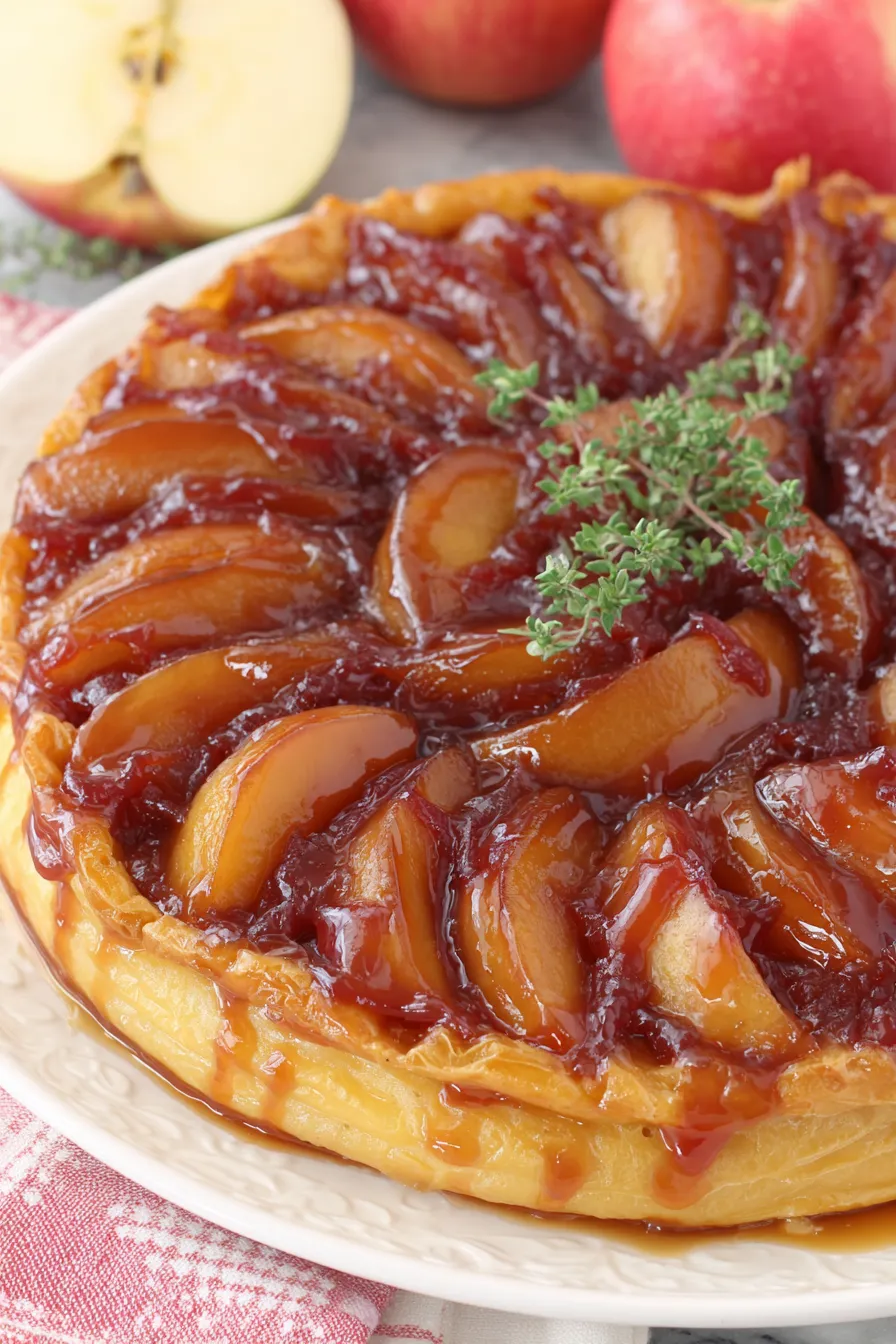
Set the oven to 400°F. Peel, core and cut 3 medium Granny Smith apples into 1-inch-thick wedges and keep them ready in a bowl.
Melt 1/4 cup (4 tablespoons) unsalted butter in a 10 1/2-inch oven-safe skillet over medium heat. Add 3/4 cup granulated sugar and allow it to dissolve without excessive stirring.
Cook over medium heat until the sugar and butter form a pale blonde caramel. Swirl gently if needed; remove from heat before it darkens to avoid bitter flavor.
Arrange the apple wedges in concentric circles from the outside toward the center, packing them tightly. Press down gently with a spatula so the apples sit partly submerged in the caramel.
Remove the pan from heat and let the caramel set for about 30 minutes; this prevents the caramel from running off the pastry during assembly.
Roll the puff pastry to 1/8-inch and place it over the apples, tucking the edges down the sides. Prick the pastry a few times to vent steam.
Bake for 25 to 30 minutes at 400°F until the pastry is golden-brown. Remove and rest at room temperature for about 20 minutes, then invert onto a serving plate.
Last Step: Please leave a rating and comment letting us know how you liked this recipe! This helps our business to thrive and continue providing free, high-quality recipes for you.
Leave a comment & rating below or tag
@cravele on social media!

Ultra-fudgy brownies studded with chocolate chunks, crowned with gooey marshmallows and a quick cocoa icing for irresistible, crowd-pleasing decadence.

Buttery shortbread crust topped with a gooey brown sugar pecan filling. Easy, crunchy, and truly irresistible with just 10 minutes of prep.

Silky pumpkin cheesecake with a spiced graham crust, no cracks, effortless mixing, and decadent caramel and rum whipped cream for unforgettable holiday celebrations.
Leave a comment & rating below or tag @cravele on social media!
Enjoyed this recipe? Share it with friends and family, and don't forget to leave a review!
This recipe looks amazing! Can't wait to try it.
Comments are stored locally in your browser. Server comments are displayed alongside your local comments.

Join to receive our email series which contains a round-up of some of our quick and easy family favorite recipes.
