
Banana Truffles

Decadent banana-and-pineapple truffles coated in white candy shell, finished with chocolate drizzle, sprinkles and a stemmed cherry—perfect for parties and sweet tooth cravings.
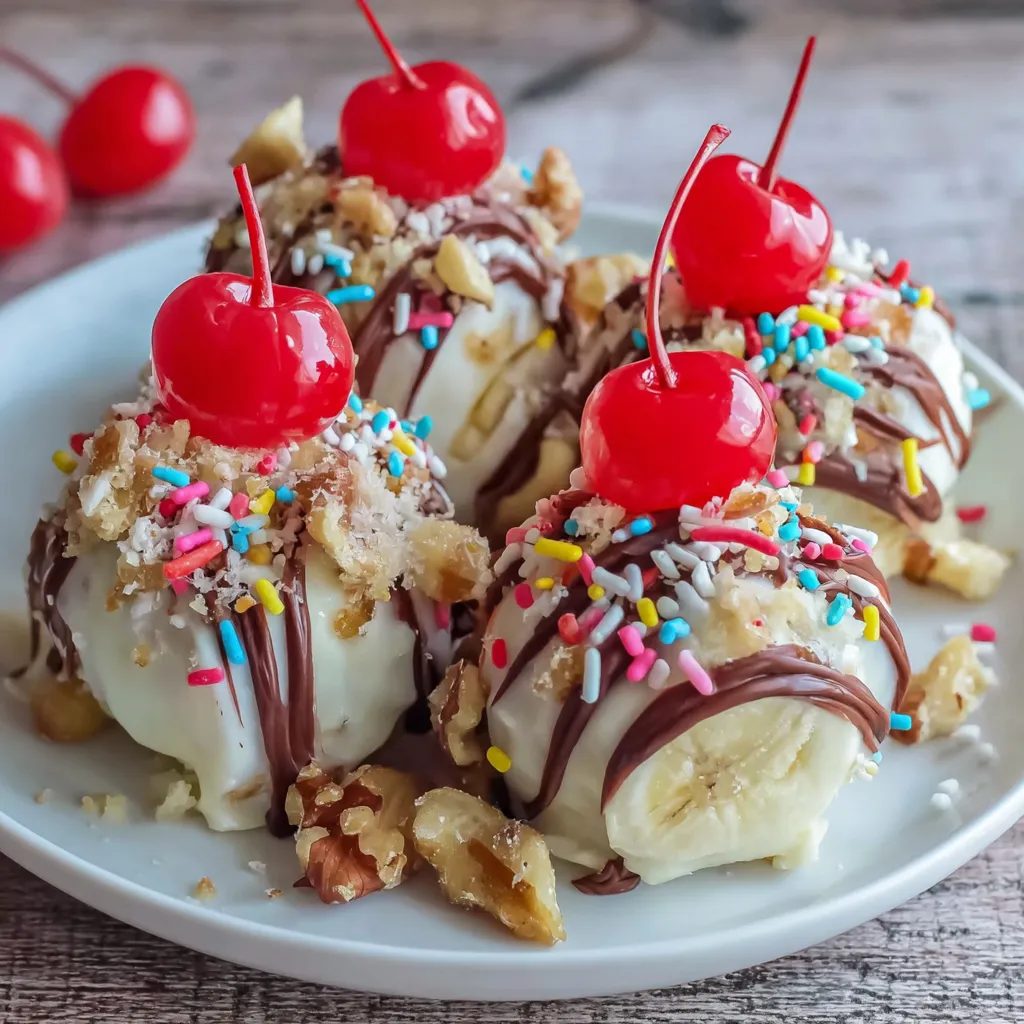
This recipe for Banana Truffles has become my secret weapon for celebrations—one of those small, nostalgic bites that always brings people to the counter. I first developed this combination while trying to salvage fading ripe bananas and an open box of white cake mix from a weekend bake-a-thon. The first batch was an experiment in texture: the dense, cream-cheese bound centers contrasted with a crisp candy shell, punctuated by juicy pineapple and walnut crunch. Since then, these have shown up at holiday parties, picnic dessert plates, and an impromptu neighbor drop-off that made me a local legend for a week.
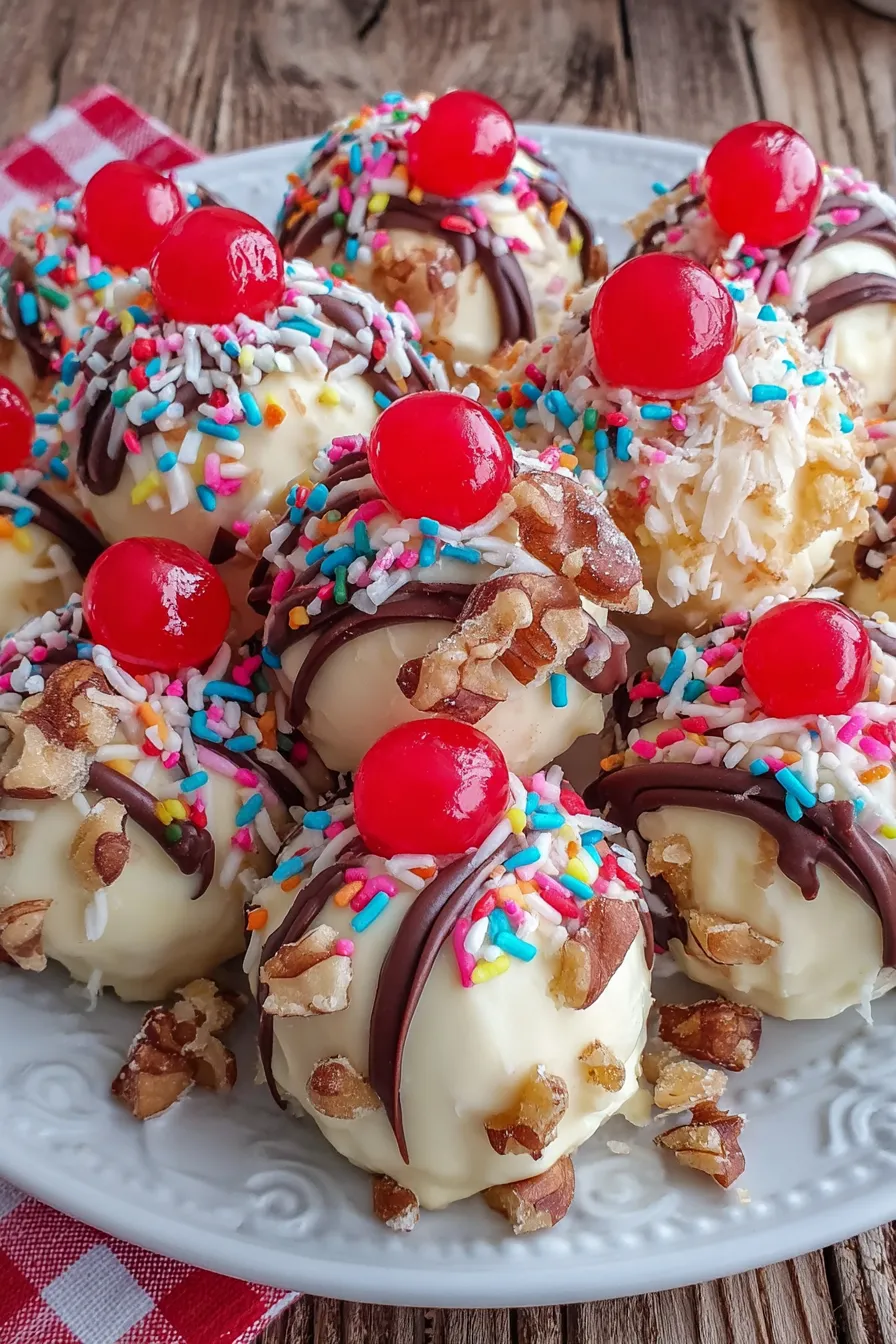
What makes these particularly special is the balance of flavors and textures. The cream cheese lends richness and helps the cakes-mix base bind into scoopable balls, while the drained crushed pineapple gives a faint tropical brightness that keeps each bite from being cloying. Chopped walnuts add a welcome textural counterpoint. Coating the chilled centers in a glossy white candy coating creates a satisfying snap that pairs beautifully with the silky chocolate drizzle and the playful pop of sprinkles and a stemmed maraschino cherry on top. They travel well, chill quickly, and always disappear faster than I expect.
Why You'll Love This Recipe
- Ready mostly with pantry staples and a simple block of cream cheese—no oven required, so they’re great for hot days when you want to avoid baking.
- Quick active time: about 20 minutes of hands-on work, with predictable chilling windows that you can adapt to your schedule.
- Make-ahead friendly: the centers can be formed and refrigerated the day before coating, and finished truffles keep well for several days refrigerated.
- Crowd-pleasing and customizable: swap nuts, use different candy colors, or add liqueur for grown-up versions; they’re perfect for parties or bite-sized treats.
- Textural contrast: creamy interior, crunchy walnuts, and a crisp candy shell make each bite multilayered without complicated techniques.
- Portable and party-ready: each is individually coated and garnished, so no slicing is required—perfect for finger-food platters.
I remember bringing a batch to a summer neighborhood potluck and watching strangers line up for seconds; one guest thought I’d bought them from a bakery. That moment—seeing a small, homemade treat outshine other more elaborate desserts—reminds me that thoughtful combinations often beat complexity.
Ingredients
- White cake mix (1 15.25 oz box): Use a standard white cake mix for a neutral, sweet base. I like Duncan Hines or Pillsbury; the dry mix provides structure so you can form truffles without baking. Look for a box labeled 15.25 ounces for this amount.
- Cream cheese (8 oz block, softened): Full-fat cream cheese gives the best texture and flavor. Soften to room temperature for easy mixing—don’t microwave unless it’s brief, or the mixture can become greasy.
- Vanilla extract (1 teaspoon): Adds depth and rounds out the banana flavor—use pure vanilla for the best aroma.
- Crushed pineapple (1/2 cup, very well drained): Canned crushed pineapple packed in juice works fine; press it in a sieve or line with paper towels to remove excess moisture so the centers aren’t soggy.
- Chopped walnuts (3/4 cup): Toast them briefly in a dry skillet if you want more flavor and crunch. Pecans or macadamias are good alternatives.
- Banana (1 medium, sliced): Use a ripe banana with brown speckles for sweetness and pronounced banana flavor. Mash slightly when mixing for even distribution.
- White candy coating (8 oz): Candy coating or almond bark melts smooth and gives a crisp shell—look for Wilton White Candy Melts or similar brands.
- Chocolate melting wafers (1/2 cup): Use dark or milk chocolate wafers for the drizzle contrast; Ghirardelli or Nestle melting wafers work well.
- Rainbow sprinkles and stemmed maraschino cherries: For garnish—adds color and a classic party feel. Use cherries with stems for an elegant pop on top.
Instructions
Prepare your workspace: Line a large cookie sheet with parchment paper and place it within reach. Have a medium mixing bowl, a 1–2 inch cookie scoop, and a small bowl for melting chocolate ready. Chilling trays in the coldest part of your refrigerator helps the centers firm up quickly. Make the base mixture: In a medium bowl, beat together the white cake mix, softened cream cheese, and vanilla until the mixture is uniform and feels dough-like. Use a sturdy spoon or an electric hand mixer on low; scrape down the bowl to ensure even incorporation. The cream cheese should be fully blended so there are no lumps. Fold in fresh components: Gently fold in the very well drained crushed pineapple, chopped walnuts, and sliced banana (you can lightly mash the banana slices with a fork first if you prefer a smoother distribution). Overmixing will yield a softer mass; stop when ingredients are evenly distributed. Form the truffles: Using a 1–2 inch cookie scoop, portion the mixture and roll into 1 to 1 1/2 inch balls with your palms, smoothing each one for a neat appearance. Place them on the prepared parchment, spacing about 1 inch apart. If the mixture sticks, lightly oil your hands or wear food-safe gloves. Chill to firm: Refrigerate the tray of formed centers for 1 hour to firm up. This step is crucial—if the centers aren’t cold, the coating may slip or crack. Melt the white coating: About 5–10 minutes before the hour is up, melt the white candy coating in a microwave-safe bowl at 50% power for 60 seconds, stir, then continue in 30-second bursts until smooth. Stir thoroughly to eliminate hot spots. Dip and set: Using a fork or dipping tool, fully submerge each chilled ball in the white coating, lift out, tap gently to remove excess, and return to the parchment. Refrigerate again for 30 minutes to set the shell. Decorate: Melt the chocolate wafers similarly until silky smooth. Spoon a small dollop of melted chocolate on each truffle, top with a stemmed maraschino cherry and a sprinkle of rainbow decorations. Return to the refrigerator for another 30 minutes to fully set before serving.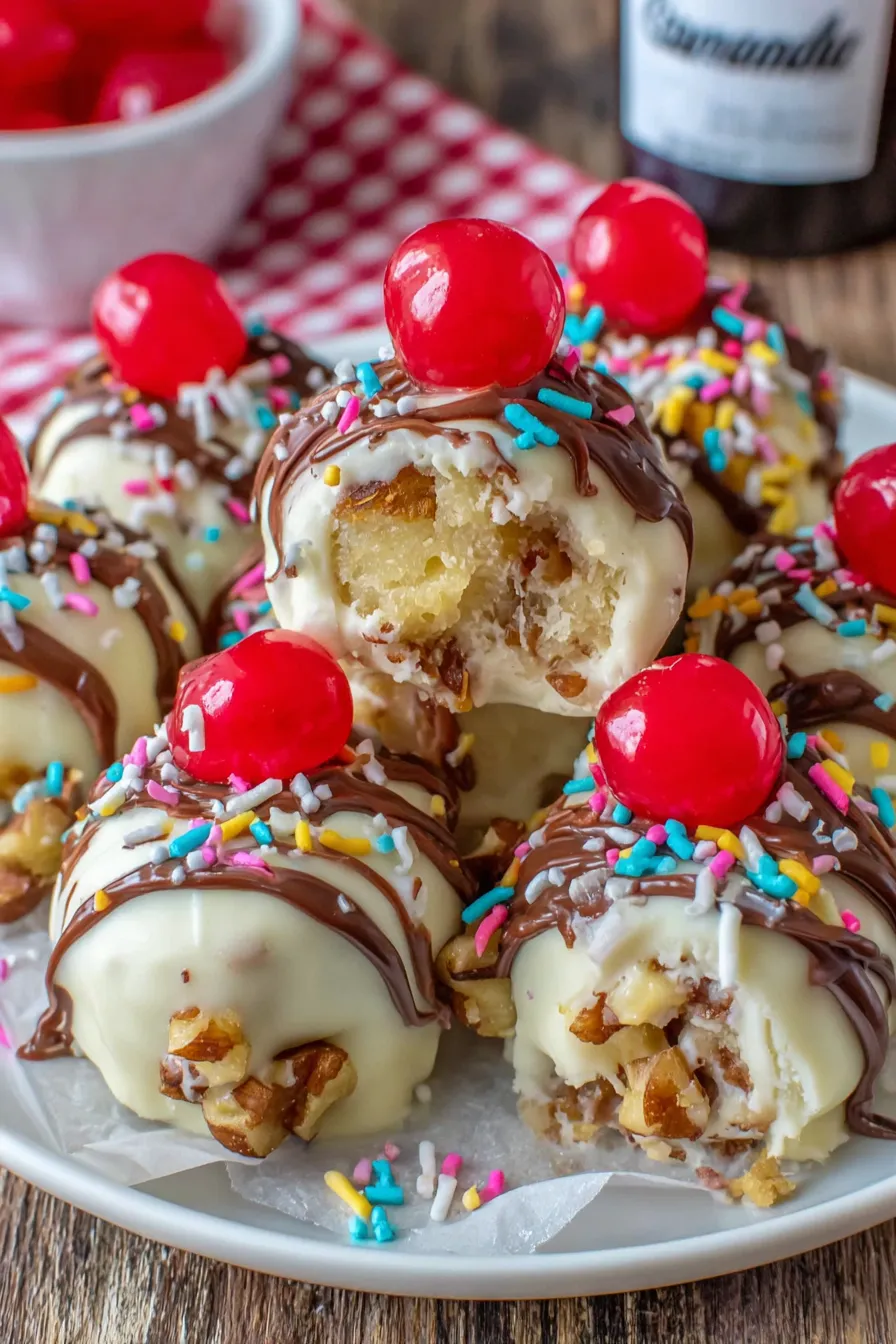
You Must Know
- Store refrigerated in an airtight container for up to 5 days; they hold shape well because of the cream cheese and dry cake mix base.
- These freeze nicely for up to 3 months; thaw in the refrigerator for several hours before serving to avoid condensation on the candy shell.
- High in calories and sugar per piece—ideal for occasional treats and parties rather than everyday snacking.
- Allergy note: contains tree nuts (walnuts), dairy (cream cheese, candy coating may contain milk), and gluten from the cake mix unless a gluten-free substitute is used.
- Visual cue: a smooth, firm interior is ready to be dipped; if centers are soft or warm, chill longer to prevent coating failure.
One of my favorite things about these is how adaptable they are—I've swapped cherries for glazed orange segments for winter gatherings and switched walnuts to toasted pecans at Thanksgiving. Guests always appreciate the thoughtful garnish and clean presentation; it’s the small details that make a simple sweet feel special.
Storage Tips
Store finished pieces in a single layer or separated with parchment rounds in an airtight container in the refrigerator for up to 5 days. For longer storage, freeze on a tray until solid, then transfer to a freezer-safe bag for up to 3 months. Thaw overnight in the refrigerator to avoid moisture forming on the candy shell. If you’ll be transporting them, keep them in a cool cooler or insulated bag to prevent melting.
Ingredient Substitutions
For a nut-free variation, replace walnuts with toasted sunflower seeds or leave them out entirely. To make the centers gluten-free, swap the white cake mix for a certified gluten-free white cake mix of equivalent weight. For a dairy-free option, use vegan cream cheese and dairy-free candy coatings; results will be slightly softer and may need extra chilling time. If you prefer a stronger banana profile, fold in 1/4 cup of mashed banana instead of sliced pieces, but reduce added moisture by draining pineapple more thoroughly.
Serving Suggestions
Serve chilled on a decorative platter with colorful paper liners for parties. They pair well with coffee, espresso, or a light dessert wine. For kid-friendly events, add edible glitter or colored candy melts. For adult gatherings, sprinkle flaky sea salt on the chocolate drizzle or use a splash of banana liqueur in the base mixture for an extra grown-up depth.
Cultural Background
These truffles are a modern, American-style adaptation of cream-cheese based no-bake confections that became popular in mid-20th century home baking. Using boxed cake mix as a base is a resourceful technique that home cooks embraced for quick, consistent results. The addition of pineapple and banana nods to tropical flavors that have been popularized in American desserts since the early 20th century.
Seasonal Adaptations
In summer, use bright, tropical garnishes like toasted coconut or lime zest. For the holidays, switch sprinkles to seasonal colors and use sugared cranberries instead of cherries. Autumn versions benefit from replacing pineapple with finely chopped candied apple and adding a pinch of cinnamon to the base.
Meal Prep Tips
Form the centers up to two days in advance and keep chilled. Reserve dipping and final garnishing for the day of serving to maintain the crispest shell and freshest cherries. Transport in a single layer with parchment and an ice pack if you’re traveling to an event.
These Banana Truffles are a celebration of texture, nostalgia, and smart shortcuts. Whether you’re feeding a crowd or making a thoughtful homemade gift, their bright look and balanced flavors make them a go-to recipe when you want a small, memorable sweet.
Pro Tips
Drain crushed pineapple thoroughly by pressing in a fine mesh sieve or between paper towels to prevent soggy centers.
Use a 1–2 inch cookie scoop for uniform truffles; consistent size ensures even chilling and coating.
Warm candy coating gradually at 50% microwave power and stir regularly to prevent seizing and burning.
Chill in the refrigerator rather than at room temperature for faster, steadier firmness and to avoid condensation under the candy shell.
Toast walnuts briefly in a dry skillet to deepen flavor and increase crunch without adding oil.
This nourishing banana truffles recipe is sure to be a staple in your kitchen. Enjoy every moist, high protein slice — it is perfect for breakfast or as a wholesome snack any time.
FAQs about Recipes
Can I freeze Banana Truffles?
Yes. Freeze individually on a tray until solid, then transfer to a freezer-safe container for up to 3 months. Thaw in the refrigerator before serving.
What do I do if the coating slides off?
If centers feel soft after coating, return them to the refrigerator for 30–60 minutes. Ensure centers are fully chilled before coating next time.
Tags
Banana Truffles
This Banana Truffles recipe makes perfectly juicy, tender, and flavorful steak every time! Serve with potatoes and a side salad for an unforgettable dinner in under 30 minutes.
Ingredients
Base
Mix-ins
Coating & Garnish
Instructions
Line a tray and prep tools
Prepare a large cookie sheet with parchment paper and set aside. Have a 1–2 inch cookie scoop, microwave-safe bowls, and spatulas ready.
Cream together base ingredients
In a medium mixing bowl, cream together the cake mix, softened cream cheese, and vanilla until fully combined and 'dough-like'. Use a hand mixer or sturdy spoon; scrape the sides to ensure an even texture.
Fold in pineapple, walnuts and banana
Add the very well drained crushed pineapple, chopped walnuts, and banana slices. Mix gently until the components are equally distributed without overworking the mixture.
Scoop and shape
Using a 1–2 inch cookie scoop, portion the mixture and roll into 1 to 1 1/2 inch balls. Smooth each ball in your palms and place them on the parchment-lined tray.
Chill centers
Refrigerate the formed balls for 1 hour to firm up. Proper chilling prevents the coating from sliding off during dipping.
Melt white candy coating
About 5–10 minutes before the chilling finishes, melt the white candy coating in a microwave-safe bowl at 50% power for 60 seconds, stir, then continue in 30-second intervals until smooth.
Dip truffles
Dip each chilled truffle fully into the melted white coating, tapping off excess and returning them to the parchment. Refrigerate again for 30 minutes to set the shell.
Decorate with chocolate and garnish
Melt the chocolate wafers until silky smooth. Spoon a small dollop of chocolate onto each truffle, add a stemmed maraschino cherry and sprinkles, then refrigerate for an additional 30 minutes before serving.
Last Step: Please leave a rating and comment letting us know how you liked this recipe! This helps our business to thrive and continue providing free, high-quality recipes for you.
Nutrition
Did You Make This?
Leave a comment & rating below or tag
@cravele on social media!
Categories:
You might also like...
Fudgy Marshmallow Brownies
Ultra-fudgy brownies studded with chocolate chunks, crowned with gooey marshmallows and a quick cocoa icing for irresistible, crowd-pleasing decadence.
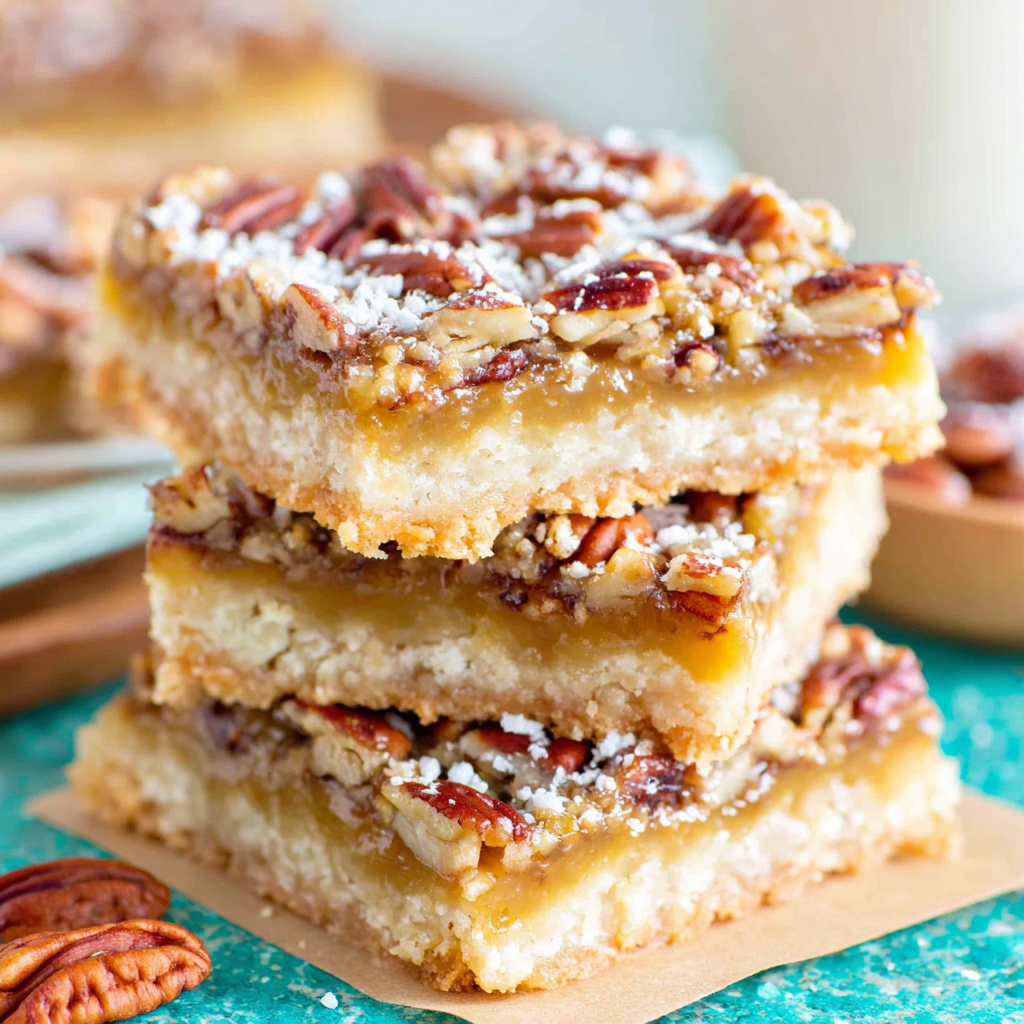
Buttery Pecan Pie Bars
Buttery shortbread crust topped with a gooey brown sugar pecan filling. Easy, crunchy, and truly irresistible with just 10 minutes of prep.
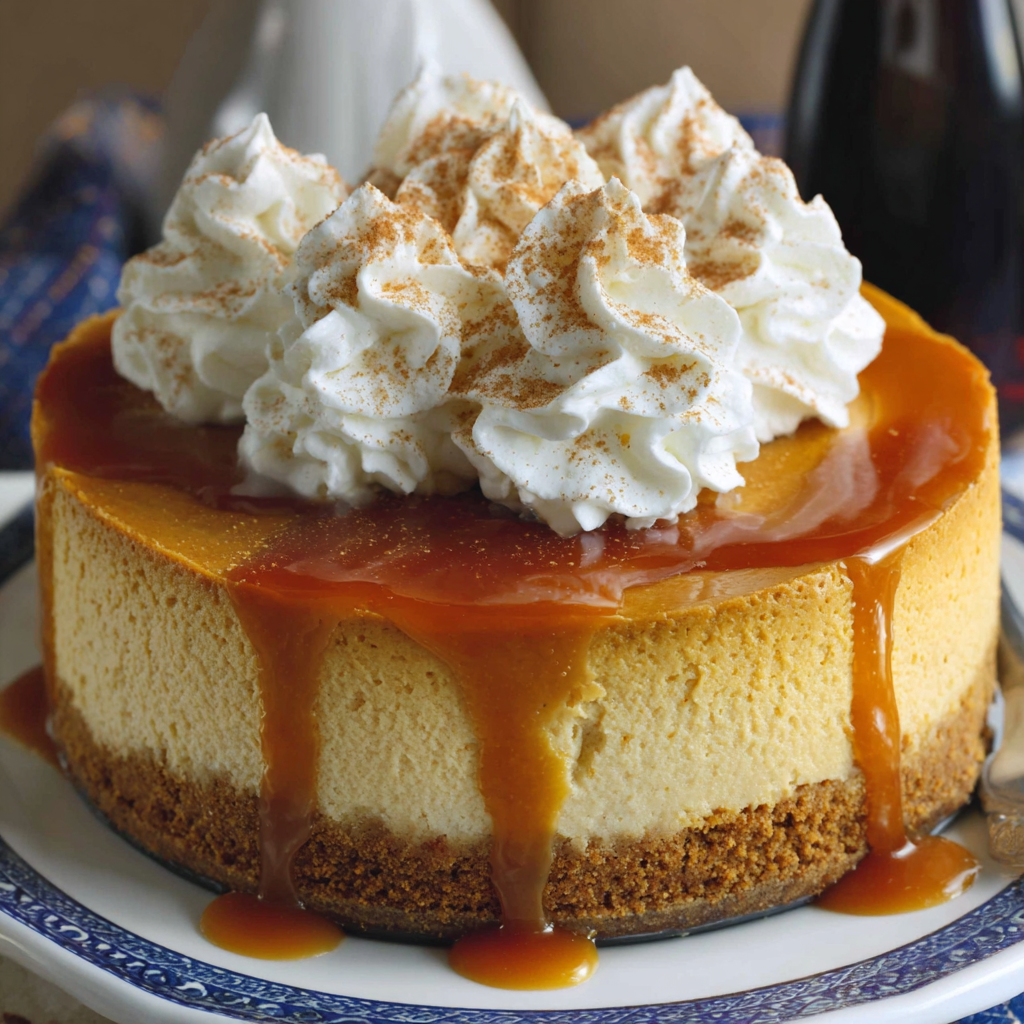
Silky No-Crack Pumpkin Cheesecake
Silky pumpkin cheesecake with a spiced graham crust, no cracks, effortless mixing, and decadent caramel and rum whipped cream for unforgettable holiday celebrations.
Did You Make This?
Leave a comment & rating below or tag @cravele on social media!
Rate This Recipe
Share This Recipe
Enjoyed this recipe? Share it with friends and family, and don't forget to leave a review!
Comments (1)
This recipe looks amazing! Can't wait to try it.
Comments are stored locally in your browser. Server comments are displayed alongside your local comments.

Hi, I'm Emily!
What's Popular
30-Minute Meals!
Join to receive our email series which contains a round-up of some of our quick and easy family favorite recipes.